background image

16

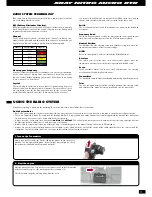
This section describes proper starting techniques and some troubleshooting information.

STARTING THE ENGINE

Safety Information

Keep loose objects such as shirt sleeves, neckties, and scarves away from the spinning tires, flywheel, and gears. Be careful not to drop utensils such as screwdrivers and 
pencils into the spinning tires, flywheel, and gears. If these objects contact moving engine or transmission parts, it may cause mechanical breakage and personal injury.

When you operate an engine, keep children and others away from you and the engine. 
Anyone who is not operating the engine must be at least 6 meters away from the engine. If the engine comes off, it may cause injury.

Never operate the engine in an enclosed area such as a basement or a garage. Model engines, like automobiles, emit poisonous exhaust fumes during operation. Only 
operate the engines outdoors where there is good ventilation.  

Make certain the glowplug clip is not in the way of the spinning tires, flywheel and gears. Damage may be caused if it contacts the spinning tires, flywheel or gears.

Check the throttle linkage connections before starting and running the model truck. 
If any connections fail, it may cause personal injury.

We strongly recommend wearing safety eyeglasses or safety shields when you operate an engine.

Model engine fuel is highly flammable and must be handled with the extreme caution. Keep objects that create fire risks (such as cigarettes) away from the engine and fuel 
supply system. No-one should be smoking nearby the engine or fuel.

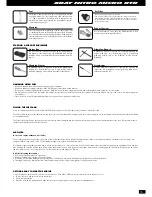
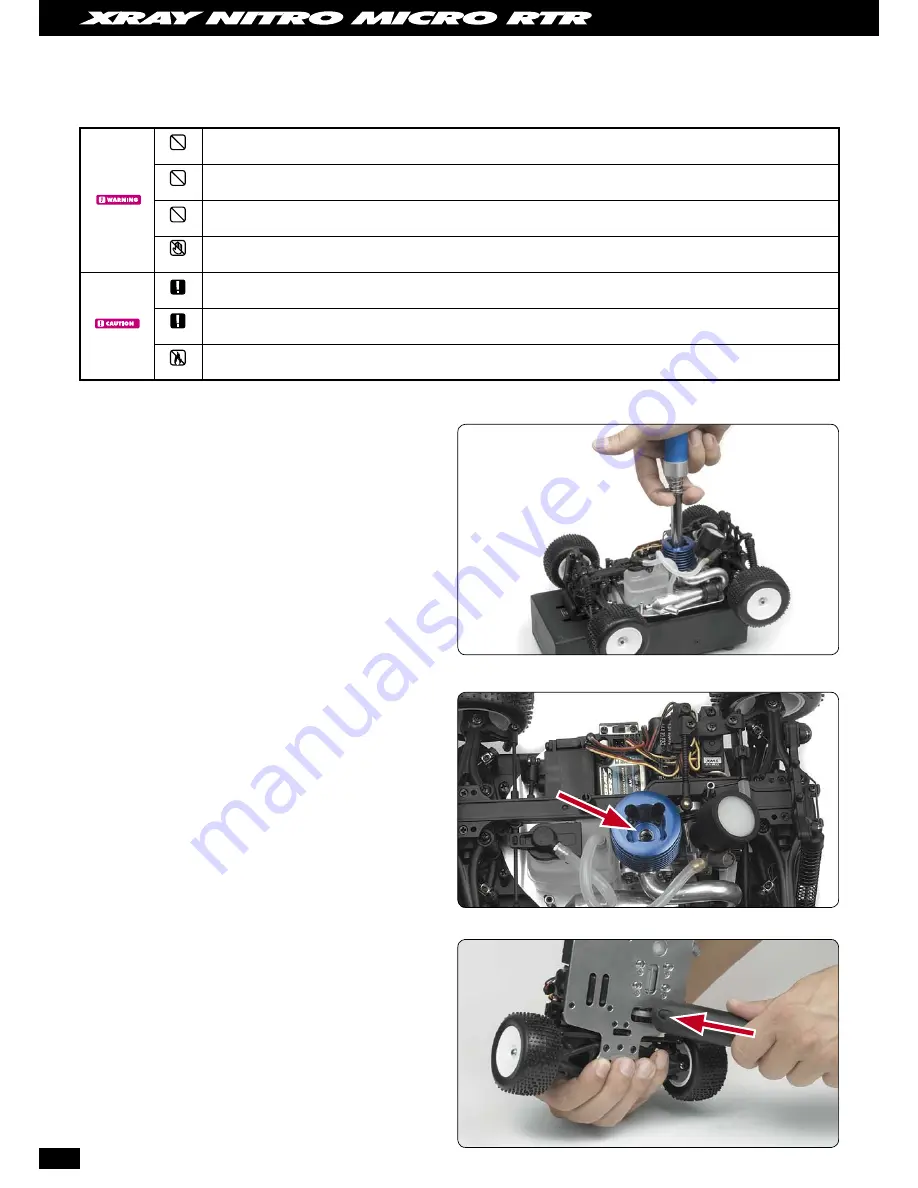
FLAMMABLE

DO NOT TOUCH

PROHIBITION

COMPULSORY

PROHIBITION

PROHIBITION

COMPULSORY

Fill up the fuel tank and "dry-start" the engine for 2-3 seconds without applying the 
glowplug starter, and with the carburetor in "idle" position; this primes the fuel lines 
and allows the fuel to reach the engine. Then apply the glowplug starter and start the 
engine. The engine should fire up immediately.

If the engine does not fire up immediately, check the fuel line to see if fuel is reaching 
the carburetor. If fuel is not reaching the carburetor, remove the glowplug starter, 
cover the exhaust tailpipe and "dry-start" the engine for 2 seconds. This will build up 
extra pressure in the pipe and in the pressure line to the fuel tank, causing the fuel to 
be pushed to the carburetor.

Apply the glowplug starter, and start the engine.
Once the engine has started, apply a little throttle and allow the engine to warm up 
to operating temperature. This is an important routine that you should always follow. 
The internal parts need to receive lubrication and reach operating temperature before 
the engine can have a load applied to it.

If your transmitter has throttle servo trim adjustment (a.k.a. "end point adjustment"), 
adjust the range of motion of the throttle linkage for full throttle and full brake.

STARTING PROCEDURE

Excess fuel in the cylinder may cause the engine to flood (by extinguishing the 
glowplug), or it may cause a hydraulic lockup (when excess fuel fills the cylinder 
above the piston, preventing the piston from moving upward). If this happens, DO 
NOT try to start the engine, or severe engine damage may result.

1. Remove the glowplug, open the throttle fully, cover the glowplug hole  

with a cloth, then turn over the engine. The excess fuel will be ejected through 
the glowplug hole.

2. Check the operation of glowplug with the glowplug starter before screwing the 

glowplug back in again. 

  Restart the engine.

FLOODING & HYDRAULIC LOCKUP

To stop the engine safely and quickly, turn the truck over and press a hard plastic part 

(for example, the handle of a screwdriver) against the rotating flywheel.

STOPPING THE ENGINE

Summary of Contents for Nitro Micro NT18MT

Page 1: ...M I C R O...

Page 2: ...cts inside rotating and moving parts as this may cause damage or serious injury as your nger hair clothes etc may get caught Be sure that your operating frequency is clear before turning on or running...

Page 3: ...c oil nitro methane etc The flammability and volatility of these elements is very high so be very careful during handling and storage of nitro fuel Keep nitro fuel away from open flame sources of heat...

Page 4: ...are subject to wear If a piston liner has worn out or if the big end conrod connection has worn you must replace these parts If the engine has broken you must check that all other moving parts are sti...

Page 5: ...e onboard electronics Battery pack high quality XRAY receiver battery pack provides power to the onboard electronics Engine high performance NT18 0 8cc micro nitro engine with 2 shoe clutch provides p...

Page 6: ...AL CHARGING CYCLING THE BATTERY PACKS The receiver battery pack and starterbox battery pack must be cycled before rst time use When cycling the receiver battery pack for the rst time carefully follow...

Page 7: ...responsible for the proper use of this battery pack and any damage that may occur due to its use or misuse XRAY is not liable for any injury damage or harm caused to any person or property arising fr...

Page 8: ...CKS INSTALL ALL SHOCKS front and rear INITIAL POSITIONS Re install shock collar and spring from each shock front and rear Unthread the shock cap from the shock body and remove the shock membrane Threa...

Page 9: ...n battery pack in the truck Use only fresh alkaline or rechargeable batteries all of the same brand Make sure that rechargeable batteries are fully charged according to the manufacturer s instructions...

Page 10: ...ing Wheel Controls the left right steering of the truck XRAY RADIO SYSTEM Power Switch Turns the transmitter on or off Steering D R Dual Rate Adjusts the steering sensitivity External Charging Jack Re...

Page 11: ...tteries Receiver The radio receiver inside your truck that receives signals from the transmitter and relays them to the steering servo and throttle servo Servo Small electronic motor unit in your truc...

Page 12: ...tune the steering position if the truck does not drive straight with the steering wheel in the neutral position centered 5 Adjust the Steering Trim optional Use the throttle trim knob on the transmit...

Page 13: ...while battery is still warm After use battery retains heat Wait until it cools down before charging Disconnect and remove the battery pack if you plan to not use the start box for a period of time e...

Page 14: ...all times Follow the instructions carefully The information in this manual will help to prevent injuries to users and other as well as protecting objects from damage GRAPHIC INDICATIONS The following...

Page 15: ...wdriver A small flat blade screwdriver is required for adjusting the carburetor We recommend using high quality tools such as those offered by HUDY HANDLING NITRO FUEL Use a fuel bottle to put fuel in...

Page 16: ...er and with the carburetor in idle position this primes the fuel lines and allows the fuel to reach the engine Then apply the glowplug starter and start the engine The engine should fire up immediatel...

Page 17: ...the flywheel to move the piston to the bottom of the cylinder BDC 7 Run the engine for several more heat cycles 5 8 minutes up to 2 3 throttle then complete cool down 5 8 minutes up to 3 4 throttle th...

Page 18: ...he right RPM Once you are satisfied that you have achieved reliable carburetor settings you are ready to put your truck on the track STAGE 2 SETTING THE IDLE SPEED Take the truck off the ground and op...

Page 19: ...onds 2 Tighten both front and rear diffs slightly by 1 16 turn 3 Run the truck again for 2 minutes at throttle 4 Tighten both front and rear diffs slightly by 1 16 turn The differential should still t...

Page 20: ...the engine running Idling Adjustment Screw Use to adjust the idle setting of the carburetor Do not allow carburetor to close to less than 1mm Adjust the servo horn mounting position for the carbureto...

Page 21: ...ou should use piston hole sizes to suit the track conditions rather than alter the oil viscosity Use only the genuine premium quality silicone shock oils The shock oils are availabe in 50ml size in th...

Page 22: ...s Less preload thinner less spacers lower ride height may give higher corner speed on high bite tracks better suited to smooth tracks More preload thicker more spacers higher ride height less prone to...

Page 23: ...r engine unnecessarily as this may upset precision fits such as piston cylinder and crank pin connecting rod assembly If it is necessary to clean your engine completely such as after a crash remove on...

Page 24: ...l with Bearings 385001 Alu Adj Ball Differential Hard Coated Set 940610 High Speed Ball Bearing 6x10x3 Rubber Sealed 2 Rear Alu Oil Shock Absorbers 2 389622 Micro Monster Truck Tire Insert Skew 4 4 38...

Page 25: ...st the carburetor settings if the weather has significantly changed since the last time you ran the engine The engine s compression may be low due to wear This will make the engine difficult to start...

Page 26: ...387542 382650 382250 930610 930610 905214 386205 382500 382090 905260 386210 906258 389170 386410 906208 906258 389103 389170 905262 389150 386400 901303 907258 386400 356400 386400 901303 388950 9610...

Page 27: ...6 388820 388840 610001 681801 388710 901304 681201 681401 681851 960025 907257 910255 970024 906258 964053 964054 388540 388531 388550 388560 388580 388516 930407 965032 930812 385002 383090 385062 93...

Page 28: ...O Box 103 911 50 Tren n Slovakia Europe Phone 421 32 7440180 info teamxray com XRAY MODEL RACING CARS P O Box 103 911 50 Tren n Slovakia Europe Phone 421 32 7440180 info teamxray com XRAY MODEL RACING...

Reviews: