


Saving the movie
Once you have composed the clips and pieces you want in
your movie, you can preview by clicking the Play button in
the canvas window.
• The settings for the movie are dependent upon your
use for the movie. In general, the following settings
provide maximum transportability.
• Click in the Project window to make it active.
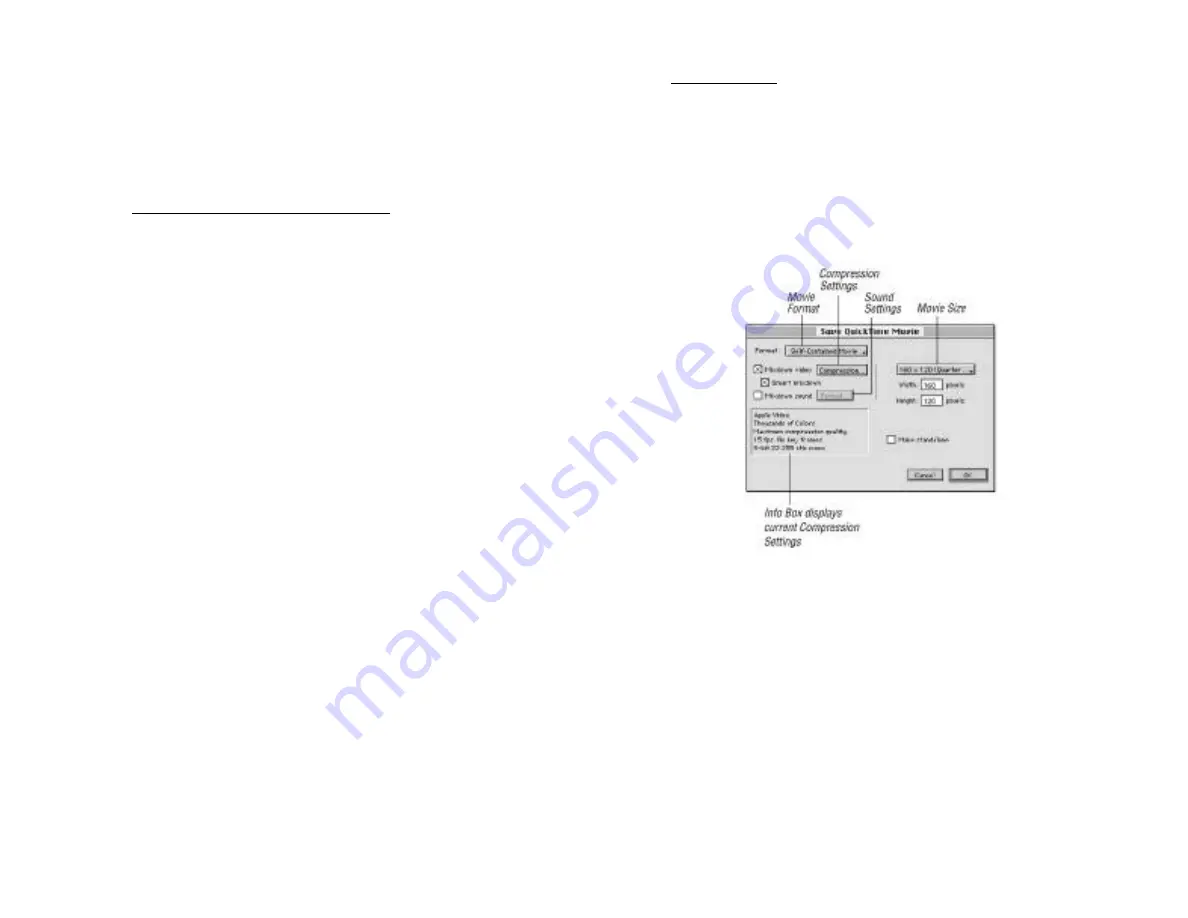
• Choose “Save Movie” from the File menu. The Save
as QuickTime Movie dialog box appears.
From the Movie Format pop-up menu, select Self-
Contained.
From the Movie Size pop-up menu, select the InterView
320x240 setting
Check the Mixdown video and Smart Mixdown options
box to enable the Video Compression mixdown options.
Chapter 5 - Using InterView
Page 41
• In the case of clips with both audio and video, the
video goes into the video track and the audio goes
into the audio track.
• Click the PLAY button in the Canvas window to view
the digitized clip and the results after adding other
clips.
Adding digitized still images to the movie
Digitized still images must be imported into the Bin to use
them in a project.
• Click the “Import” button in the Bin window. The
Import dialog appears.
• Add Picture files to the list of files to be imported by
double-clicking on them. Click “Done” to import the
files into the Bin.
• Each file must get converted to a QuickTime movie
when it is imported into VideoShop.
• A dialog appears, asking if you want to save the
converted movie.
• For each still image, set the compression as follows
and click OK: - Compressor: Video - Quality: Best
(100) - The files appear in the Bin.
• To edit still images, drag them from the Bin onto the
video track in the Project window. The clip only con-
tains video data, so it just appears in the video track.
• Click the PLAY button in the Canvas window to view
the digitized clip and the results after adding other
clips.
Chapter 5 - Using InterView
Page 40


