


4. At this point, with your video source connected and on,
your digitizing window should be showing video through
InterView, and you should be hearing audio. You can test
the connections now by turning on your camera or playing
your tape/disc and verifying that the Digitizing window is
capturing your video.
• If you are not able to view in the digitizing window,
review the previous section, “Testing your connec-
tions with InterReView.”
• If everything is working correctly, quit VideoShop.
This step saves your settings to the preferences file.
Proceed to the next section to begin capturing and
digitizing.
Chapter 5 - Using InterView
Page 33
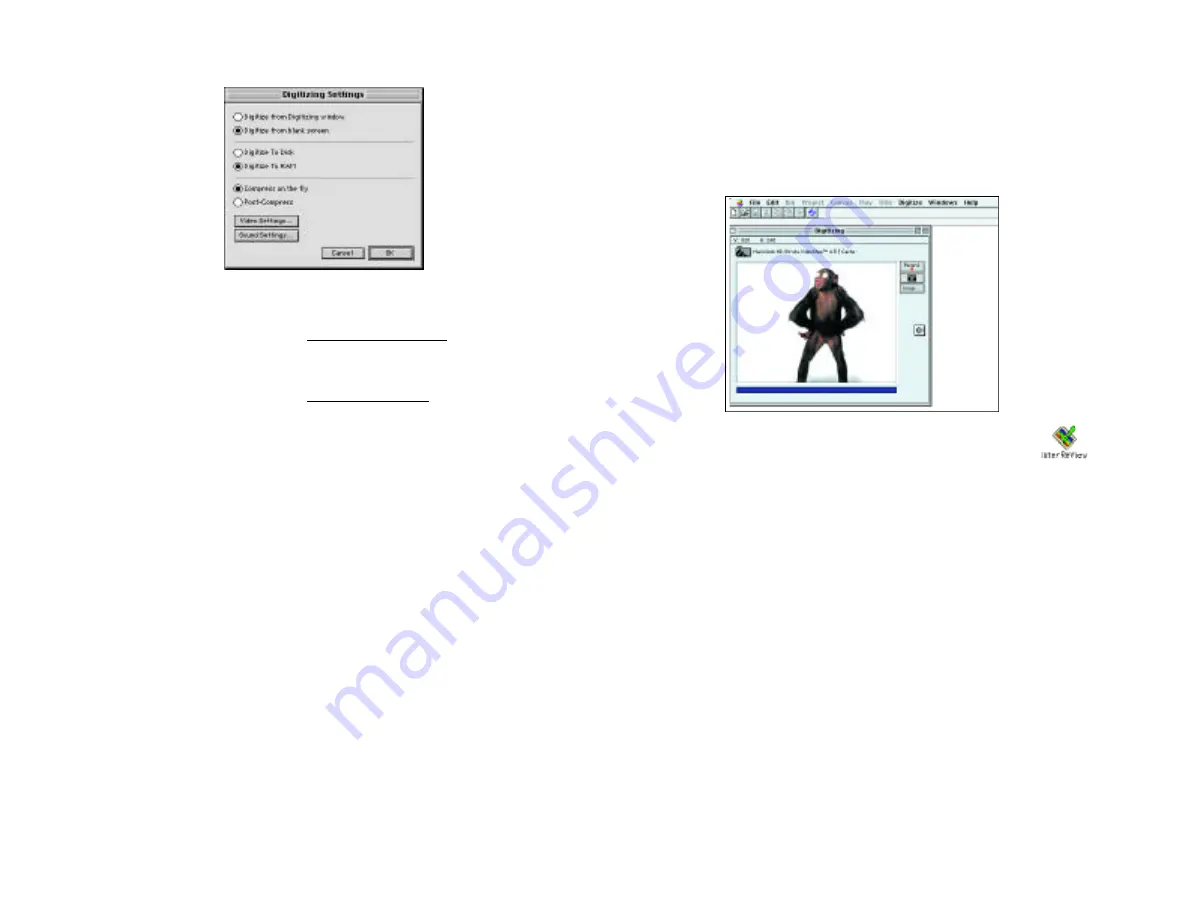
• From the Digitizing menu, select “Digitize Settings…”
the Digitize Settings dialog box appears.
For Fast Capture with abundant unused RAM
(100 MB or more), select “Digitize from blank screen,” “
Digitize to RAM,” and “Compression on the fly.”
For Fast Capture with limited unused RAM (50 MB or
less), select “Digitize from blank screen,” “Digitize to Disk,
“Post-Compression, Compression on the fly.”
For Fastest Capture with QuickTime 4.0, you can also
select “Post--Compression.” This function is not supported
on QuickTime 3.0.
Click “OK” to close the dialog.
• From the Digitizing menu, select “Digitizing Size”
with the setting 320x240.
Chapter 5 - Using InterView
Page 32


