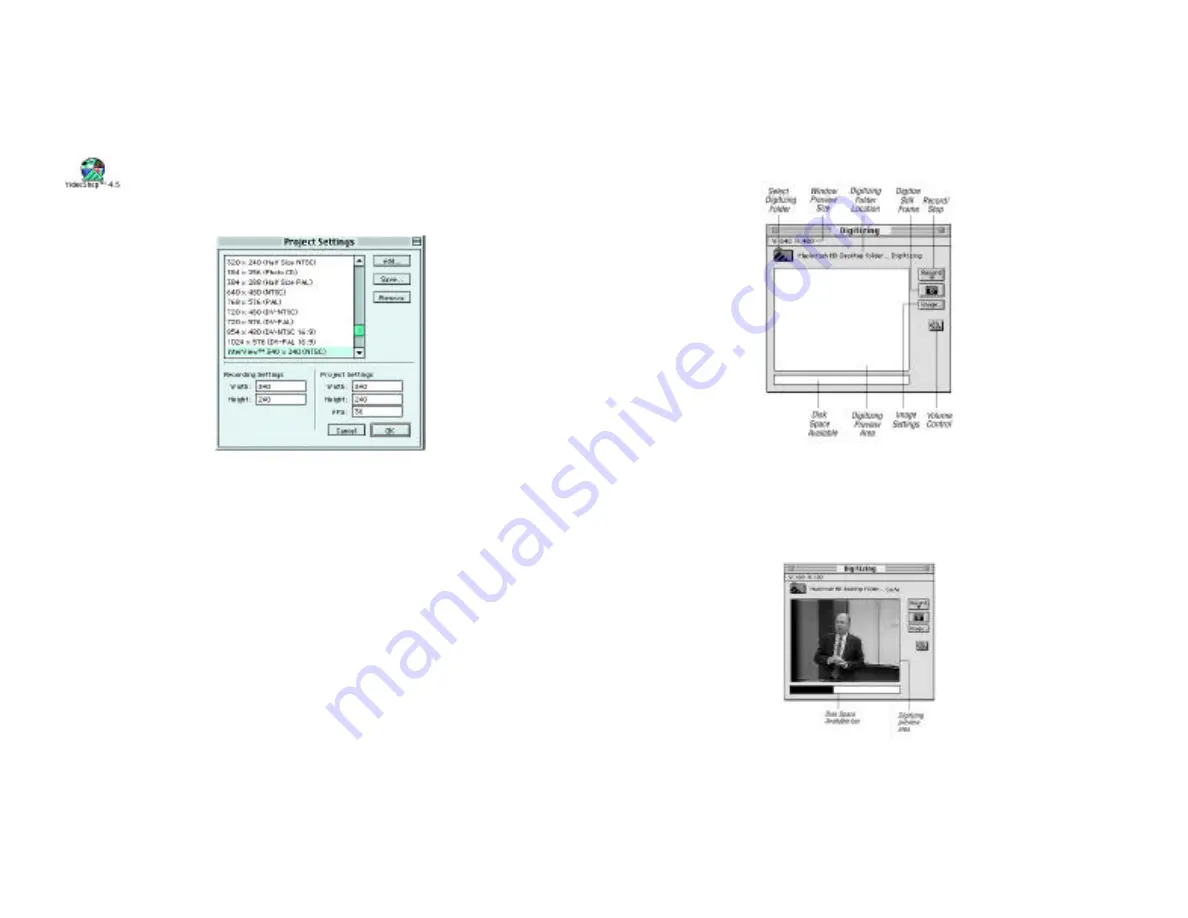
3. Select “Show Digitizing Window” from the
Windows menu or click the Digitize button (video camera
icon) on the button bar. The Digitizing window will be
displayed with a slight delay while the InterView
software initializes.
4. The size of the Digitizing area is displayed at the top
left of the Digitizing window: 320x240.
5. Turn on your VCR; insert a tape; press play. If you are
using a camcorder or live video tuner, turn the power on.
• Observe that the video appears in the preview area of
the Digitizing window. If connected, the audio should
be playing through the speaker as well.
Chapter 5 - Using InterView
Page 35
Capturing your video
You are now ready to begin capturing/digitizing your video.
This section assumes that you have followed the steps in the
previous sections.
1. Launch the Strata VideoShop software.
2. Select “New” from the File menu to start a new project.
• The Project Settings dialog box appears.
Note: You don’t have to have a project open to
digitize. You can open the Digitizing window at any time
with the “Show Digitizing Window” command. The digi-
tized clips are stored in the VideoShop cache folder (or desig-
nated digitizing folder.)Note however, that the clips will only
be displayed in the Bin folder if a project is open.
• Select the “InterView” settings.
Note: If the InterView settings do not appear, quit
VideoShop and run the InterView installer again. The
installer will insert the settings even if it goes on to say that
no installation was necessar y. Run VideoShop again and
select “New” from the File menu. If the InterView settings are
still not present, contact tech support.
• Click OK to start a new project with these settings.
A new project starts and VideoShop’s main windows
appear.
Chapter 5 - Using InterView
Page 34


