Inform the System Administrator who will then set the NVM settings at the press touch
screen to identify the fuser type and set minimum and maximum NVM width values.
When you then connect the bypass connector to the fuser, the press detects the fuser
type and width and confirms it is appropriate for the system.
Note
The bypass connectors required for each fuser width type are located in the
Nationalization kit. To order additional fusers for this product, contact your Customer
Support Center.
Warning
Before performing this procedure, power off the press and allow 50 minutes for the fuser
to cool down. Always observe the warning labels inside the press.
1. If needed, ask the System Administrator to update the NVM width range settings
for the fuser at the press Control Panel and identify the specific width range of media
that can be run through the fuser.
Refer to the Default and Custom Paper Width Settings tables in the NVM Setting
procedure defined in the Common Settings section of the System Administrator
Guide. Always set the NVM settings before using the new fuser.
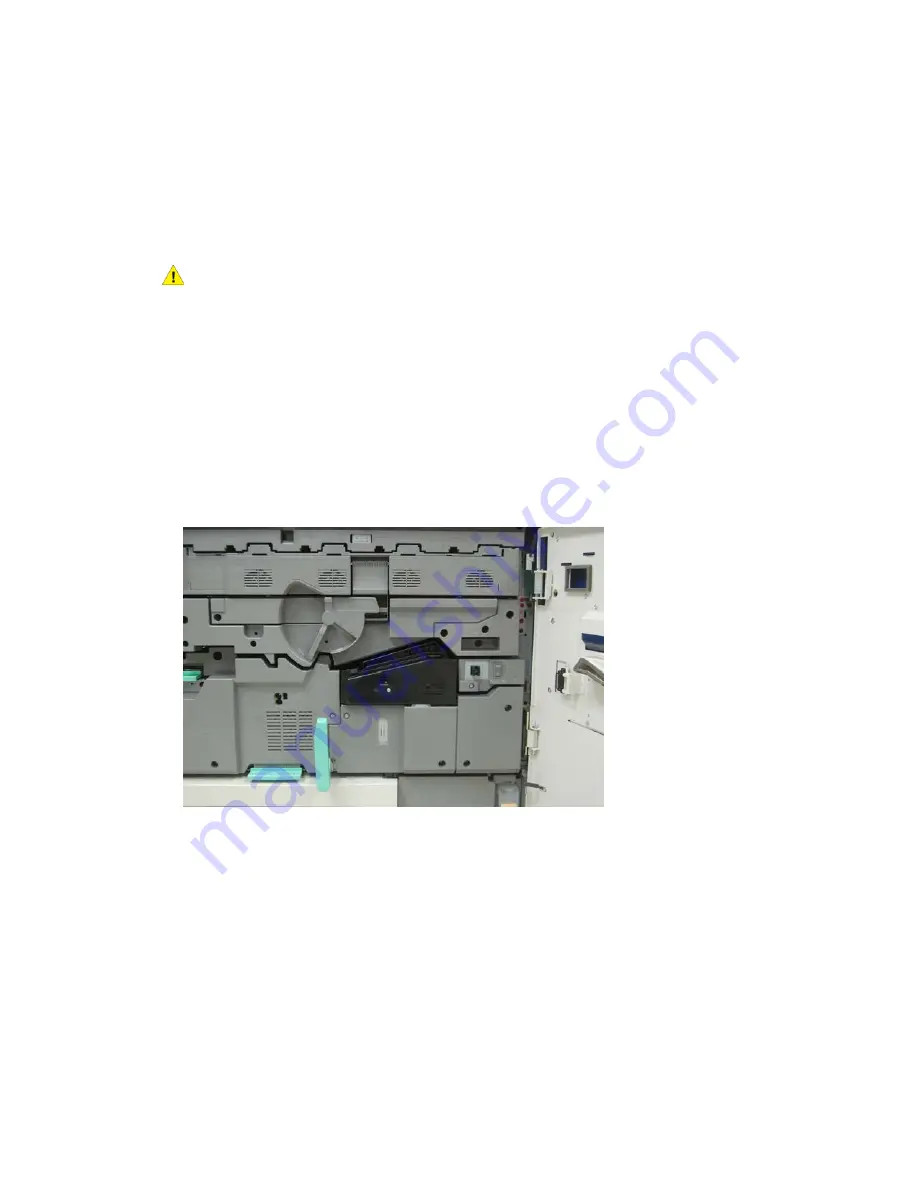
2. Open both the Left and Front Center Doors.
3. Locate the black fuser cover.
Xerox
®
Versant™ 2100 Press
5-32
Quick Start Guide
Maintenance


