Xerox Travel Scanner 150
User’s Guide
71
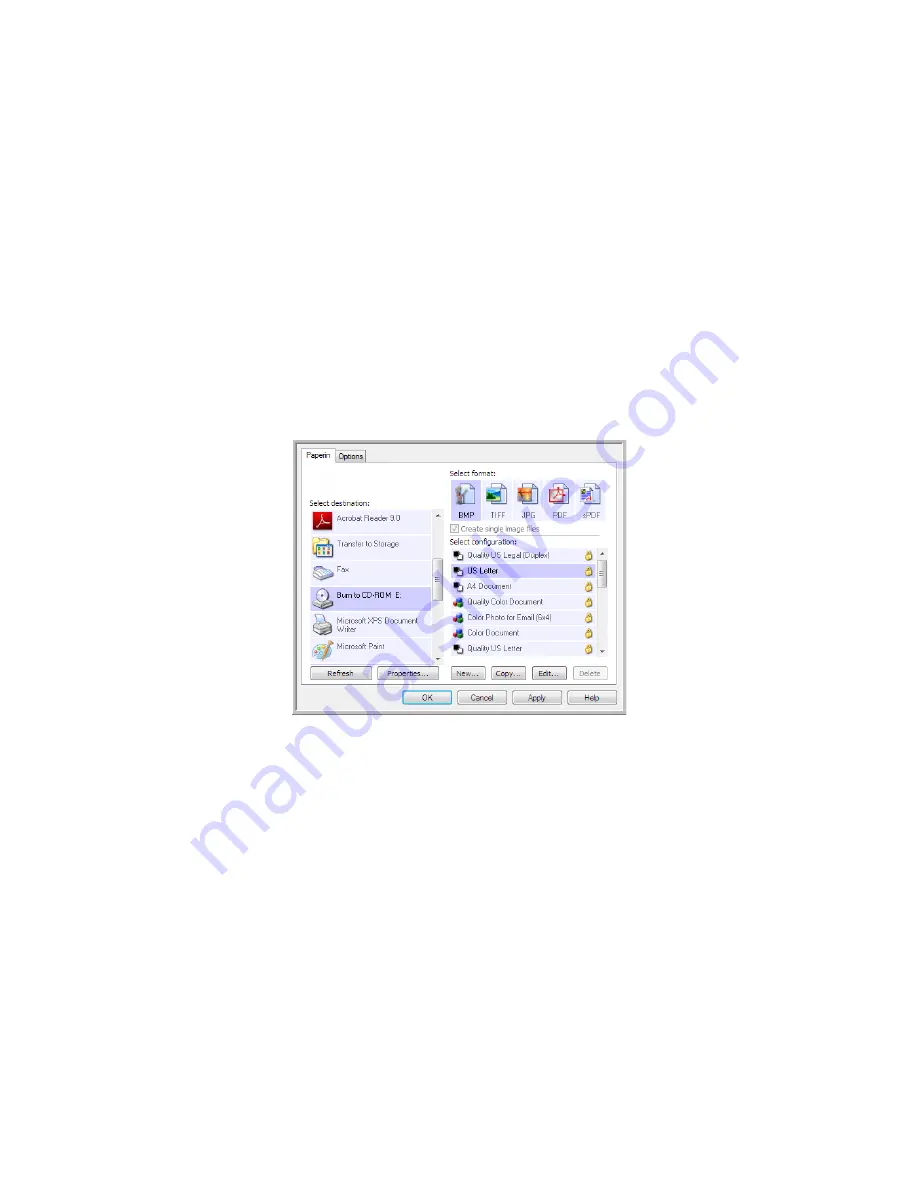
Burn to CD-ROM
If you have a CD burner attached to your computer, you can scan directly from your scanner onto a CD. This feature
is available only on computers running Windows version XP or later.
Supported file types
—since the files are going to be burned to a CD, all file formats in One Touch are available.
Note that text file formats are only available if an OCR module or application is installed. Please refer to
Text
Formats
on page 61 to see a list of text file formats that are available when OCR is installed.
Destination type
—the Burn to CD-ROM destination is classified as a “Storage Link”. To make it available in the
destination list, you must select Storage and CD-R/W on the Options tab in the One Touch Properties window.
1.
Open the One Touch Properties window.
2.
Select
Burn to CD
as the Destination Application.
3.
Choose a File Format and a Scan Configuration.
4.
Click
OK
.
5.
Now start scanning using the scanning button you set to scan and burn to a CD.
The scanner will start scanning. When finished the file will be saved to the Windows temporary location for CD
files. An information bubble will appear in the Windows notification area telling you that there are files waiting
to be burned to CD.
Summary of Contents for Travel Scanner 150
Page 1: ...Xerox Travel Scanner 150 One Touch 4 6 August 2012 05 0840 100 User s Guide...
Page 6: ...Xerox Travel Scanner 150 User s Guide 6 Energy Star for the USA 189 Index...
Page 14: ...Xerox Travel Scanner 150 User s Guide 14...
Page 34: ...Xerox Travel Scanner 150 User s Guide 34...
Page 124: ...Xerox Travel Scanner 150 User s Guide 124...
Page 166: ...Xerox Travel Scanner 150 User s Guide 166...
Page 180: ...Xerox Travel Scanner 150 User s Guide 180...
Page 190: ...Xerox Travel Scanner 150 User s Guide 190...
Page 194: ...Index Xerox Travel Scanner 150 User s Guide 194...


