


User Guide
19
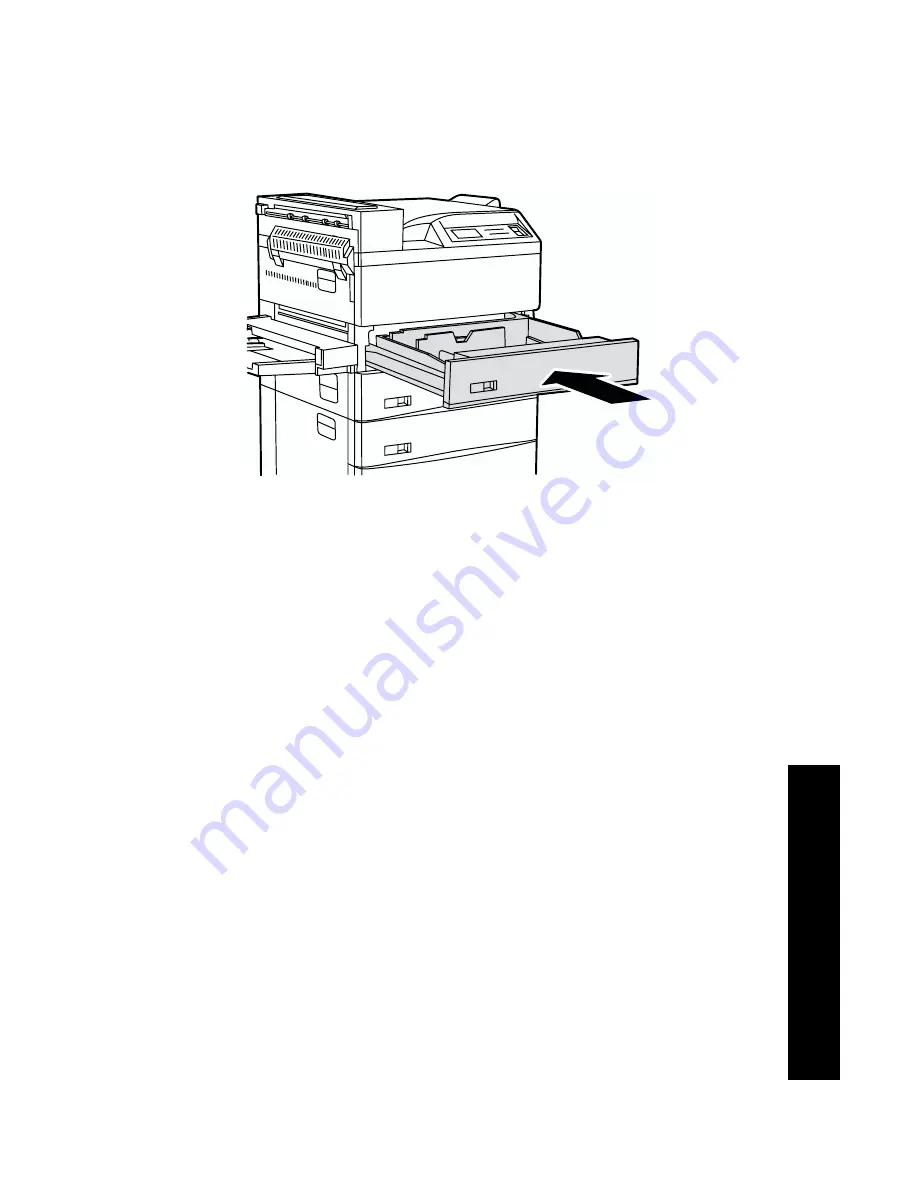
10.
Push the tray all the way back into the printer until it latches.
11.
If you changed the type of paper in the tray, use the control panel
to specify the paper type:
a.
Press the
Menu
keys (labeled
1
or
5
) to scroll to the
Tray
Menu
.
b.
Press the
Item
keys (labeled
2
or
6
) to scroll to
Tray 1 Type
,
Tray 2 Type
, or
Tray 3 Type
.
c.
Press the
Value
keys (labeled
3
or
7
) to scroll to the correct
paper type (plain, preprinted, letterhead, etc.).
d.
Press the
Enter
key (labeled
4
).
e.
Press the
On Line
key (labeled
0
) to exit the menus.
12.
If you are using the Custom Paper Tray:
a.
Specify the type of paper in the Custom Paper Tray. In the
Tray Menu
, set the
Custom Tray Type
menu item to the
media type and set the
Custom Size
menu item to the
standard size to be used by PCL or PostScript to format the
output image on the page. (In most cases, this will be the next
larger standard paper size from the custom size being used.)
b.
In your application, format the page (including setting the
margins) to ensure that the image is properly positioned on
the paper based on the standard size (that you defined in the
Tray menu).
4525-18
Loading Media
Summary of Contents for DocuPrint N4525
Page 1: ...XEROX DOCUPRINT N4525 NETWORK LASER PRINTER USER GUIDE...
Page 2: ......
Page 3: ...Xerox DocuPrint N4525 Network Laser Printer User Guide 721P56360 July 2000...
Page 12: ......
Page 108: ...94 DocuPrint N4525 Network Laser Printer...
Page 114: ......
Page 115: ...http www xerox com 721P56360 2000 11 KEEP THE CONVERSATION GOING SHARE THE KNOWLEDGE...


