


DocuColor 5252 System Administration Guide
2-18
Tools Mode
1
Touch the
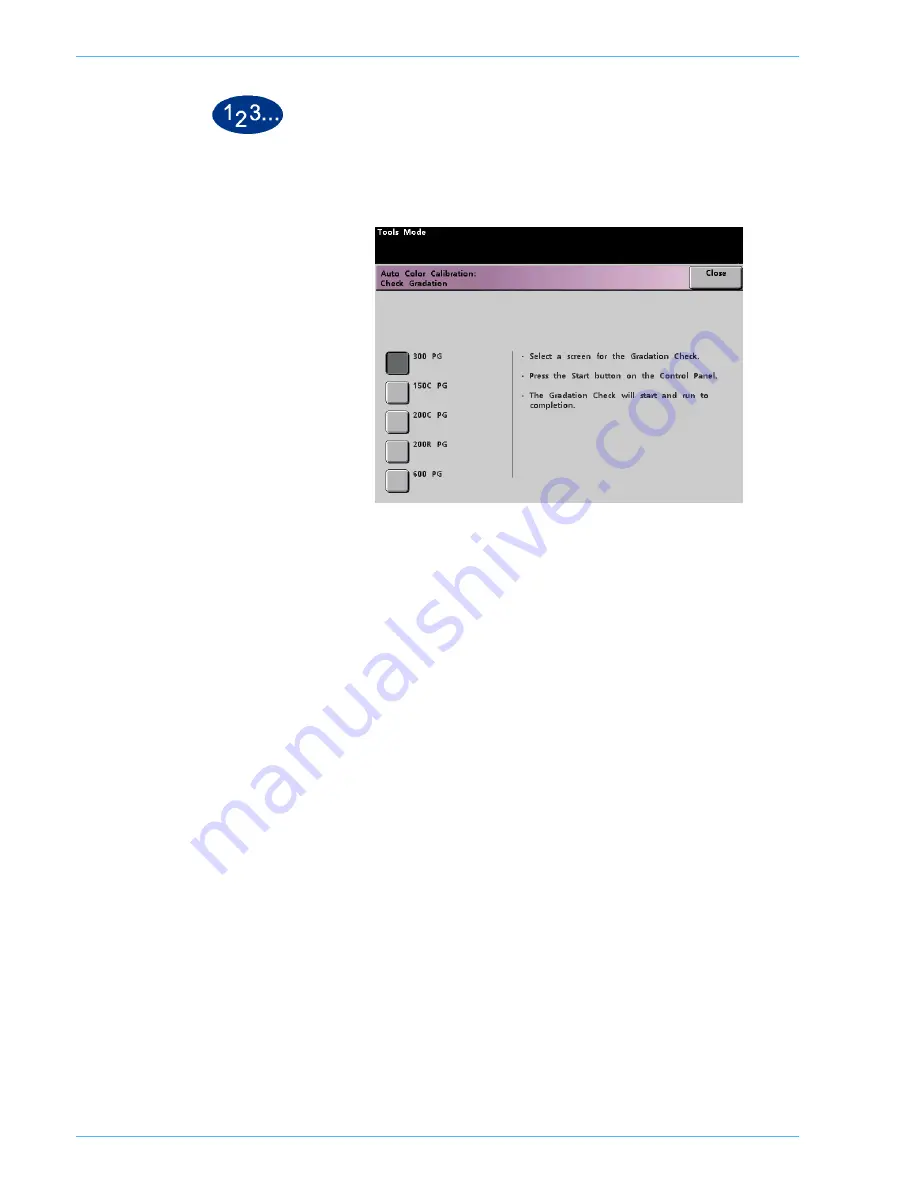
Check Gradation
button on the
Auto Color Calibration
screen to begin the process. The
Check Gradation
screen
appears.
2
Touch the button for the screen for which you want to check the
gradation.
3
Press the
Start
button on the Control Panel. The gradation check
process starts and gradated color patch prints are printed.
4
Repeat the process for each screen for which you want to check
the gradation.
Summary of Contents for DocuColor 5252
Page 1: ...DocuColor 5252 Digital Color Press System Administration Guide August 2003 701P40701...
Page 6: ...DocuColor 5252 System Administration Guide iv Table of Contents...
Page 20: ...DocuColor 5252 System Administration Guide 1 14 Introduction...
Page 138: ...DocuColor 5252 System Administration Guide 3 20 Auditron...
Page 139: ......