


Xerox CopyCentre, WorkCentre, WorkCentre Pro 232/238/245/255/265/275 Tab Supplement
7
3
Copying onto tabs
This chapter describes how to copy onto tab stock.
Setup
Refer to the Section 2,
Setup on page 3
and:
1
Load the tab stock into the Bypass Tray, Tray 1 or Tray 2
2
Create your tab master pages
Program Inserts
Tab dividers are copied using the
Insert
feature. This feature enables different types
of stock to be automatically inserted into a set. Up to 40 inserts can be added per copy
set.
1
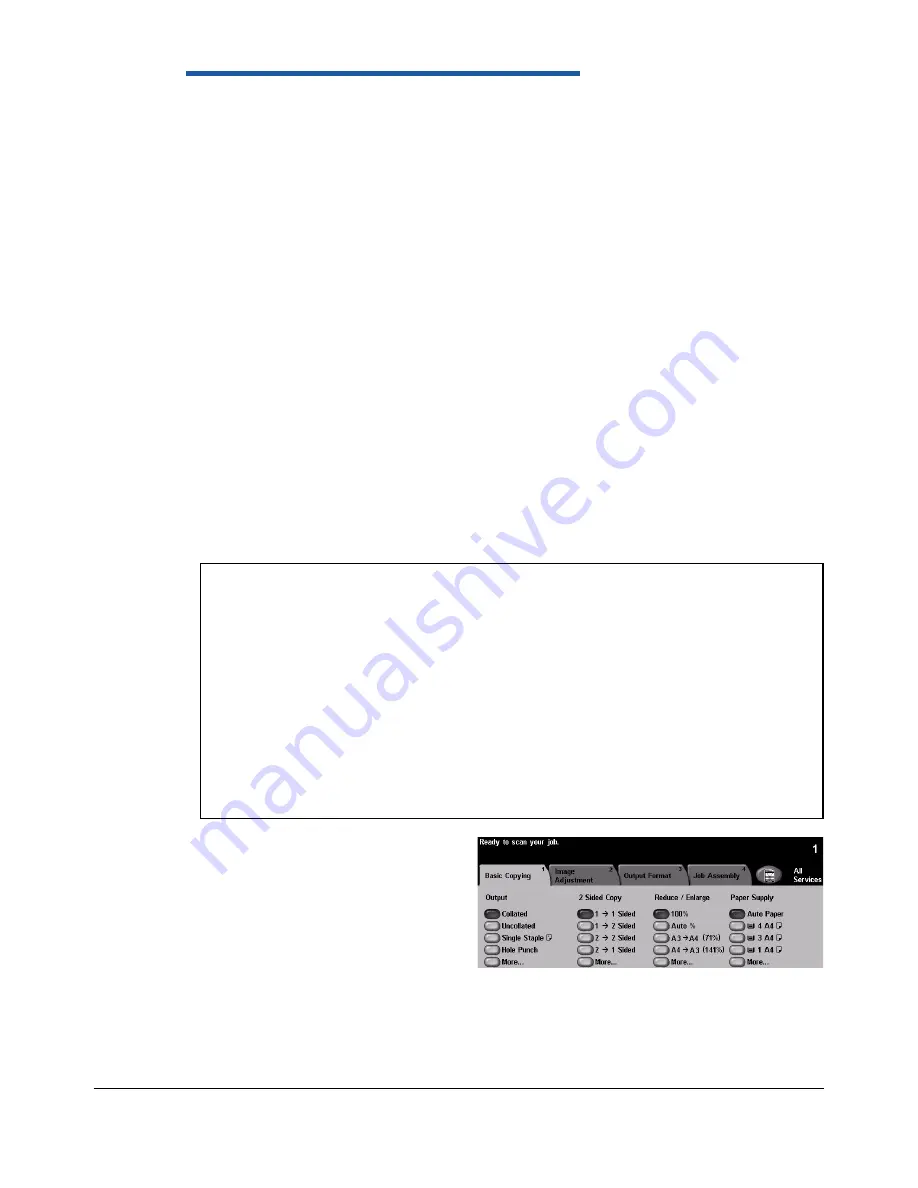
From the
Basic Copying
screen select either
1 - 1 sided
or
2 - 2 sided
copying.
2
Select the paper tray that
contains the stock you want to
use for the body of the
document which should be in
either Trays 3 or 4.
3
Select the
Job Assembly
tab.
Note:
– If your original document contains printed tab dividers that you wish to copy,
refer to Copying using Build Job on page 12.
– The Insert feature can only be used with 1-1 or 2-2 sided copying and is not
available when Auto Paper is selected.
– The Cover feature can also be selected to create a finished document with
covers front and back and printed tab dividers.
– If your original document has more than 70 pages or mixed output
requirements, you will need to use the Build Job feature. Select Job
Assembly > Build Job > On > Save. You will need to split your original
document into segments and program the Inserts feature for each segment.


