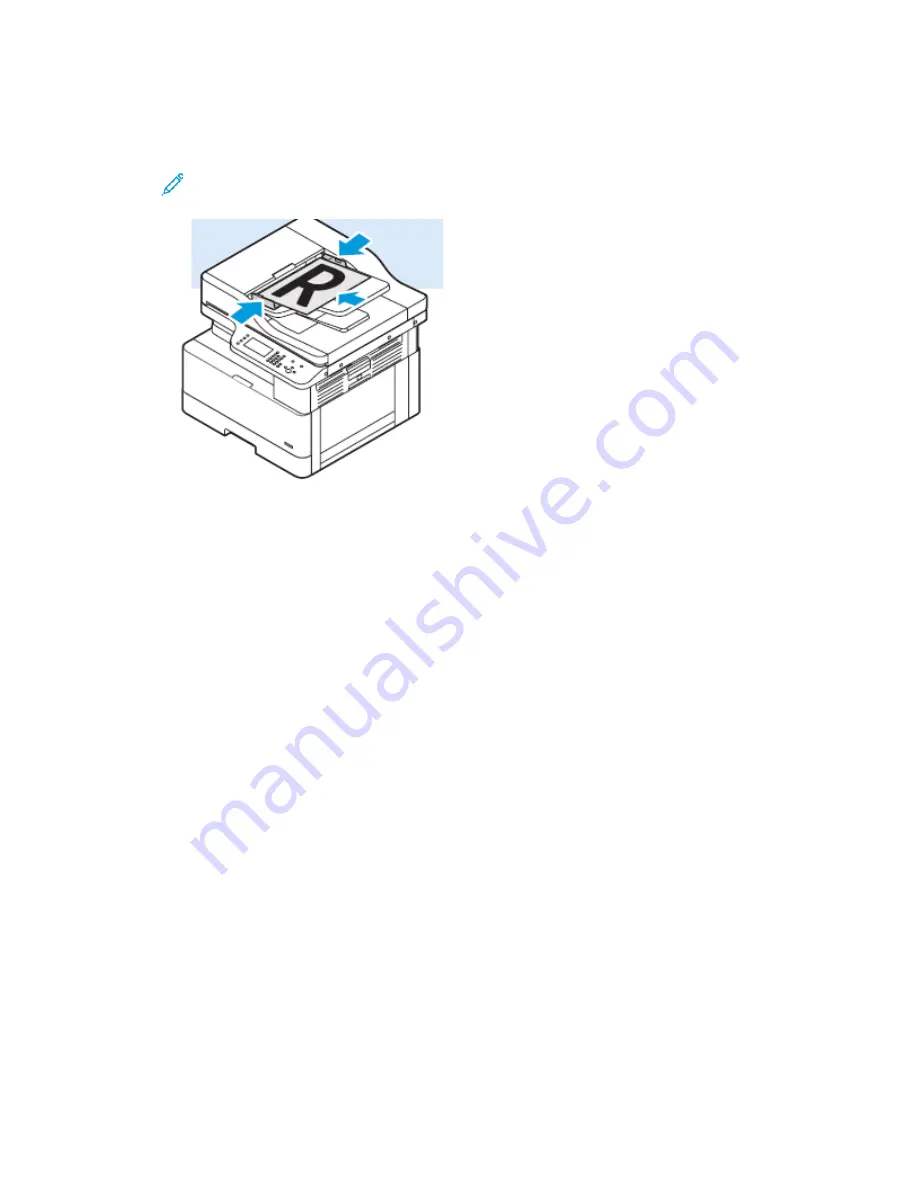
• For multiple or single pages, you can use the optional document feeder to scan images.
Remove any staples and paper clips from the pages, then place the pages face up in the
document feeder.
Note:
For details to
Using the Optional Document Feeder
and
.
2. At the printer control panel, press the
Clear All
button.
3. Press the
Scan To
button.
If the Scan To feature is grayed-out, contact your system administrator to enable the feature. For
details, refer to the
System Administrator Guide
at
www.xerox.com/office/B1022_B1025docs
4. To select Scan To PC, press the
Down Arrow
button twice, then press the
OK
button.
5. To select an option in the WSD PC List, use the
Arrow
buttons.
•
An IP address
: This option scans the image to an IP address.
•
Scan for Print
: This option prints the scanned image to a destination folder.
•
Scan for Email
: This option scans the image to an email address.
•
Scan for OCR
: This option uses optical character recognition to convert printed characters
into digital text.
6. To save the changes, press the
OK
button.
7. Press the green
Start
button.
8. Review the scan, then change scan settings, as needed. For details, refer to
SSccaannnniinngg ttoo aa SShhaarreedd FFoollddeerr oonn aa N
Neettw
woorrkk C
Coom
mppuutteerr
Before you can scan to a shared folder, share the folder, then add the folder as an Address Book entry
in Xerox
®
CentreWare
®
Internet Services.
58
Xerox
®
B1022 Multifunction Printer
User Guide


