NetworkHD 100/200/400 Series Installation Guide | Copyright © 2017 WyreStorm Technologies |
wyrestorm.com
34 of 40
Uploading Configurations to the NHD-000-CTL
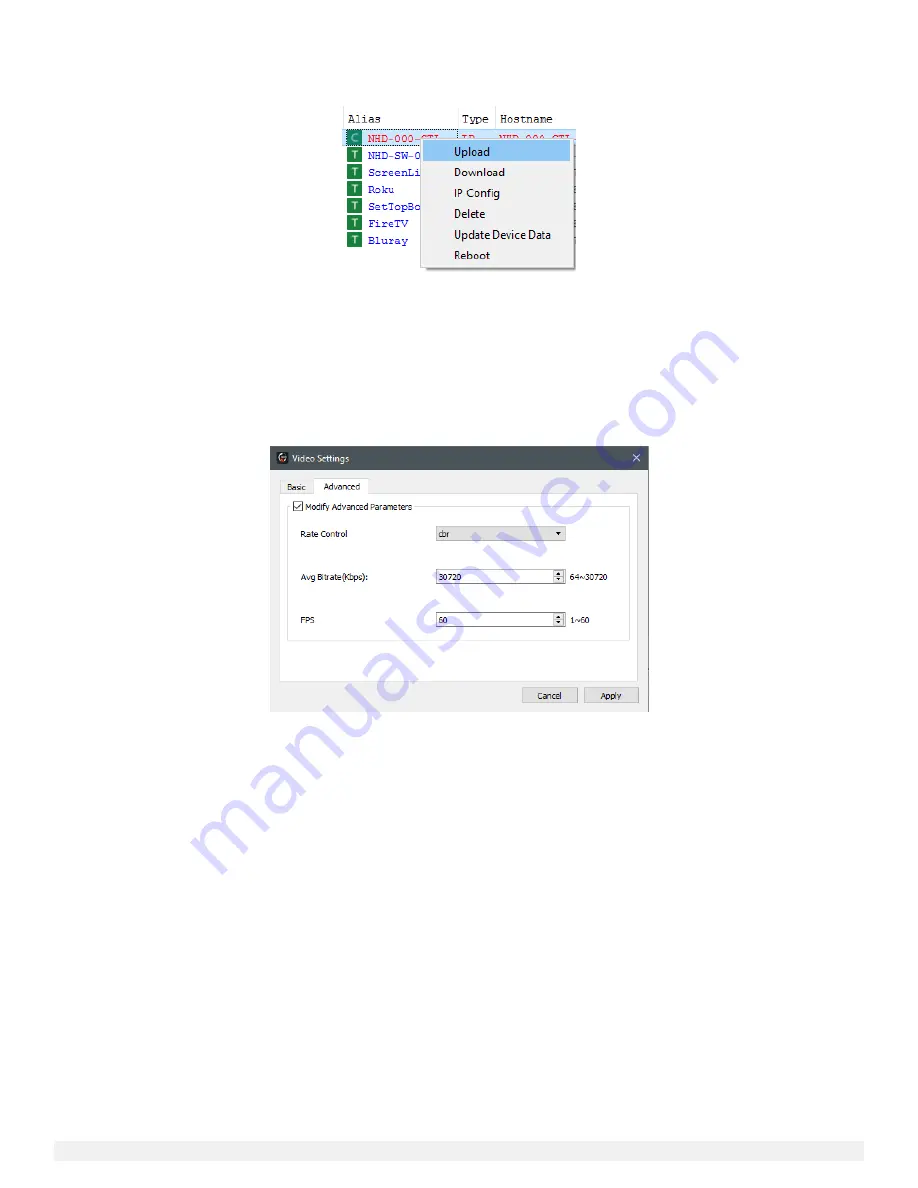
When you have completed creating all required groups, video walls and layouts you can upload the configuration to the CTL directly from
the Console software. Simply right click the CTL in the Other Devices section and press Upload. This will upload the configurations you
have created in the Console Software to the configuration file of the CTL.
Once the configuration file has been uploaded to the CTL you can then open the NetworkHD Touch application or begin to configure a
third-party control system.
Video Adjustments
NetworkHD 100, 200 & 400 components offer various video quality adjustments. These adjustments can be configured per encoder and
decoder or in bulk using Batch Commands. To perform video adjustments per encoder, perform the following.
1.
Right click an encoder in the Other devices section and choose Video Settings.
2.
Select the Advanced tab and then tick Modify Advanced Parameters. Adjust settings respectively.
100 & 200 series decoders offer both High Quality and Low Delay video modes. Each mode has its appropriate use. High Quality mode is
the default setting and is typically used where video quality is a priority. High Quality mode ensures that you are achieving the best
possible image on a display but will increase source to display latency to 250ms-300ms.
Low Delay mode will decrease the source to display latency to 60ms-90ms. This mode is typically configured in a presentation scenario
where a computer mouse is being used. Image quality will be decreased in order to achieve a lower latency.
To configure the Video Mode for a decoder, perform the following.
1.
Right click a decoder in the RX section of the Console and choose Video Settings.
2.
Click the Advanced Tab
3.
Check the Low delay settings box
4.
Select the drop down menu next to Video mode and select High Quality video or Low Delay.
5.
Click Apply.


