17
The TriCoder now displays:
NONPORTABLE MODE
PRESS <F1> TO EXIT
and is ready and waiting for keypad input or scanner input.
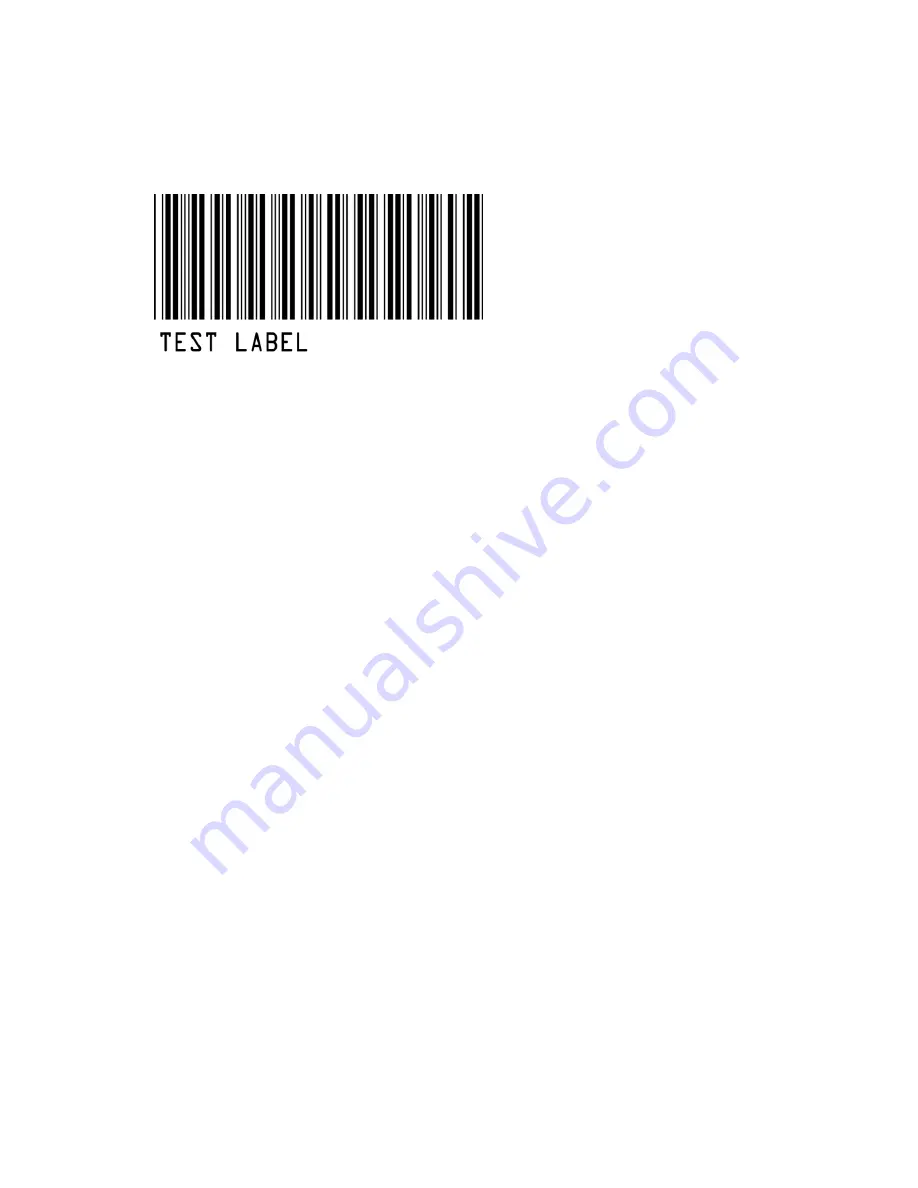
Scan the TEST LABEL above. You should see the word TEST LABEL (or data you entered on the keypad) on the TriCoder screen
AND on your computer screen. If you are not using the TriCoder with a bar code scanner, type several numbers on the TriCoder
keypad, then press the ENTER key.
If you do NOT see your data displayed on your computer screen, or you see partial data (letters or numbers missing), go to
Chapter 8:
TriCoder Setup
and review the
Computer Interface
settings.
PC Serial Interface
Testing communication between a serial interface TriCoder and a PC needs some kind of software to read the serial port. Windows
users should use the
Integrated Hardware Utilities
program that comes on the Utilities CD-ROM shipped with every TriCoder.
Windows Users
Install the
Integrated Hardware Utilities
program by inserting the Worth Data Hardware Utilities CD-ROM in your computer and
clicking on
Start
when the installation dialog appears, then choosing
Run
. If not, click on
Start
, then choose
Run
. Type in
D:/setup.exe
(substitute your drive letter if your CD-ROM Drive is not D:) then click on OK. Follow the directions on your screen to
install the software.
After installing the
Integrated Hardware Utilities
program, run the program by clicking on the
Integrated Hardware Utilities
icon.
After the program is up and running, click on the tab labeled
TriCoder,
then click on “
TriCoder Manager
”, then click on the
Serial
Tab
to switch to the Serial Configuration settings.
Choose the correct serial port - COM1, COM2, COM3 or COM4. The default
Baud Rate
is 9600, the
Parity
is None, the
Data Bits
are 8, and the
Stop Bits
are 1. These are the default settings in the TriCoder also. For testing purposes, it is best to work with the
default settings.


