Gearless Lift Machine
WSG/WGG-29
Operating Instructions
Code
GM.8.002662.EN
Date
04.02.2019
Version
0.19
Page
31
Subject to changes without notice ! Subject to changes without notice !
EN
4
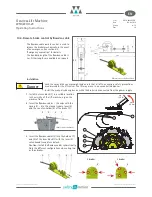
. Tension the Bowden cables on the lever block (1)
using the nuts (10 and 11) on the threaded rod
(12). The manual release levers (4) of the brakes (3)
must not move.
Caution:
Do not operate the lever (9) during ten-
sioning. The brakes must not be released.
9
10
12
11
2
1
5
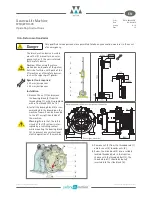
. Perform at least three functional tests by actuat-
ing the lever (9) on the lever block (1) until the
brakes are released. (Make a visual check of the
brake air gap; check that the traction sheave can
turn freely.)
A force of ca. 130 N should be required to release
the brakes with a lever length of 0.5 m (if 3 par-
tial brakes are provided). Check the installation if
greater force than this is required.
Warning:
More excessive force (> 150 N with a
0.5 m lever length) is unacceptable, as it can
damage the brakes beyond repair.
Set the lever (9) back to its original position once
the test is completed (check the air gap with the
traction sheave locked).
Ensure that the manual release levers (4) on the
individual partial brakes are back to their original
positions.
9
1
2
0,5
m
ca.
65 Nm
ca.
130 N
4
6
2
6
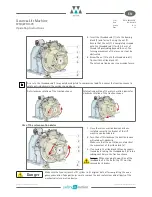
. Upon completion of the three functional tests,
release the brake once again and mark the posi-
tion of the lever at which the traction sheave
can turn freely.
Restrict the movement of the lever using the disc
(14) to prevent it from being pulled further (with
a tolerance of approx. +3°).
To this end, lock the disc (14) on the threaded
rod (12) in the appropriate position by tightening
the lock nuts (13 and 15).
9 1
2
13
12
14 15
7
. Once this has been done, check once again the
functioning of the manual release unit.
9
1
2
13 14 15
+3°
Original position Brake released
Caution
Install the Bowden cables only with large radii) (bending radius > 0.5 m, if possible). Do not
allow any loops to be formed.
(Rear side of the brake)


