22
WPS-165-DVR-4CH Installation and Users Manual
5.6. SOFTWARE UPGRADE
This menu is available to Administrators only.
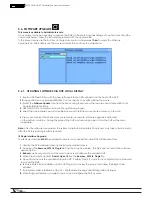
On occasion it may be necessary to update the DVR’s software to take advantage of new features. Using the
commands below, follow the instructions provided with the upgrade file.
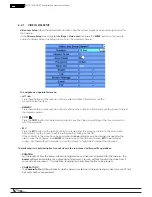
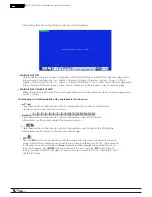
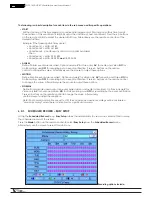
In the Menu display, use the buttons on
the
remote control, and press
▲▼◄►
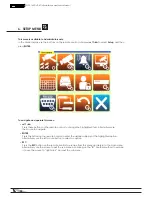
to select the Software
Upgrade icon. Alternatively use the mouse to select this icon from the main Menu.
5.6.1. UPDATING SOFTWARE VIA DVR LOCAL DISPLAY
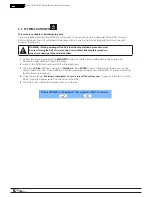
1. Insert a USB Thumb Drive with the new software into the USB connector on the front of the DVR.
2. Bring up the menu by pressing MENU/ESC on
the
remote or by right clicking the mouse.
3. Select the Software Update Icon from the Menu using the mouse
or
the remote
control
(Menu/ESC+ Up/
Down/Left/Right buttons).
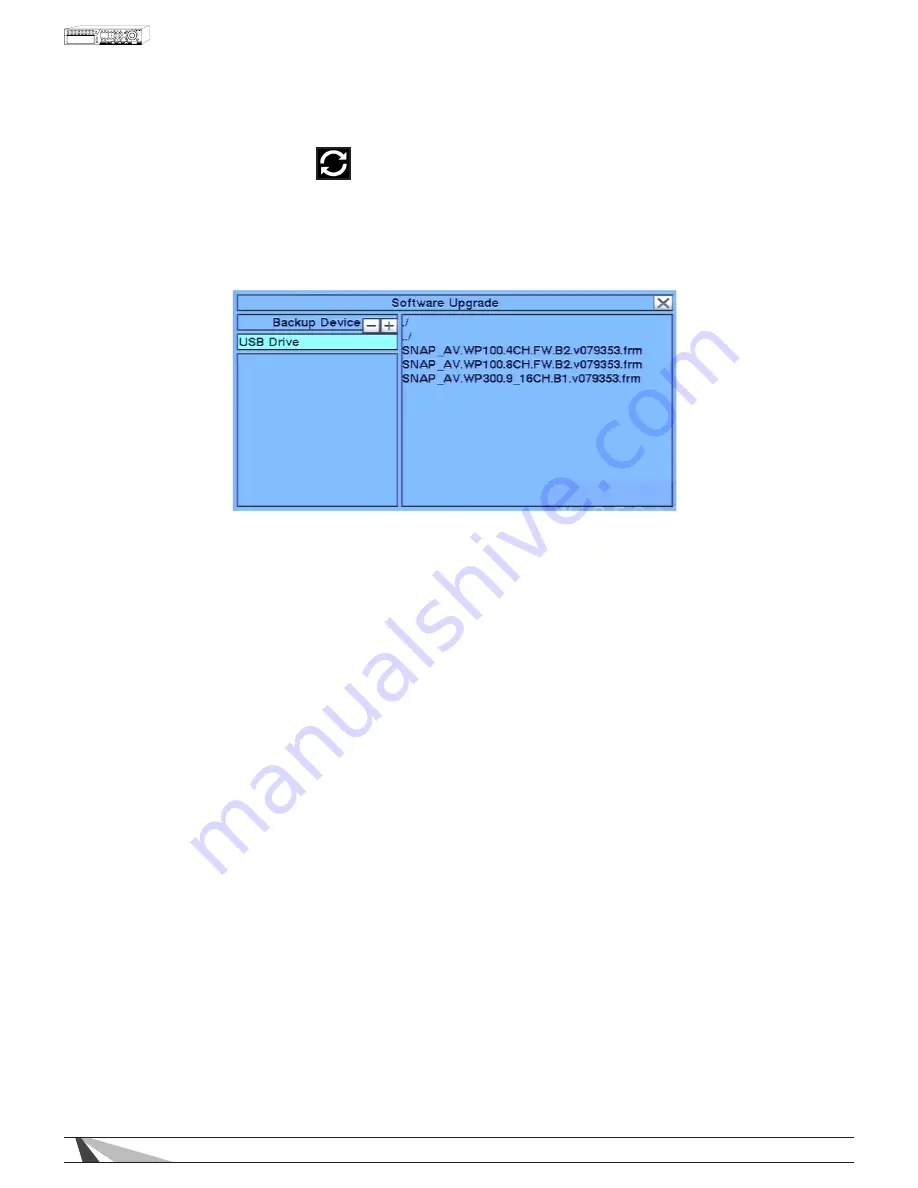
4. USB Thumb Drive contents will show in the right hand window.
5. Select the appropriate new software file mouse and click the mouse or use enter key on remote.
6. Use mouse to select the check mark or press enter on remote. Software upgrade is indicated
on the bottom scroll line. During this process the DVR must remain powered ON or the DVR will become
inoperable.
Note: After the software is upgraded, the system will restart immediately. This process may take a few moments,
after the DVR restarts login will be required.
IE Plugin Interface Upgrade
The IE Plugin interface MUST be updated to ensure it can access the latest DVR software features.
1. Update the DVR software following the instructions listed above.
2. Download the Remove_WPS_IE_Plugin file from the SnapAV website. This file is also located in the software
update zip file.
3. Reboot each computer that will be used to access or configure the updated DVR.
4. When the computer restarts, Do Not Open IE. Run the Remove_WPS_IE_Plugin file.
5. Open IE and access the updated Wirepath DVR. Perform Step 2, 3 and 4 for all computers that will be used
to access the DVR.
6. IE may initially block installation of the DVR Plugin. If so, review the prompt and allow the Plugin to be
installed.
7. If prompted, allow installation of the C++ Distributable Package and IEPlugin.cab packages.
8. When Plugin installation is complete, log in to and configure the DVR as usual.

