49
2.
For the Installer
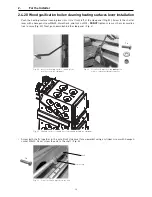
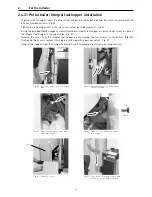
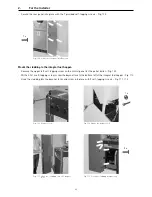
– Secure the rear panel into place with the 7 provided self-tapping screws – Fig. 108.
Fig. 108 Screw the rear panel into position
7 x
Mount the cladding to the integral fuel hopper:
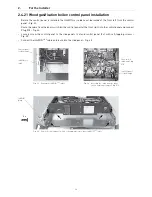
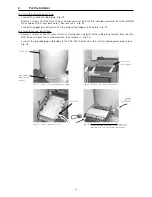
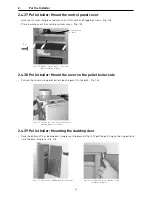
– Remove the upper left self-tapping screw on the control panel for the pellet boiler – Fig. 109.
– With a 2.9x16 self-tapping screw, screw the bayonet lock to the bottom left of the integral fuel hopper – Fig. 110.
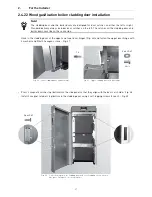
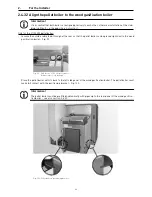
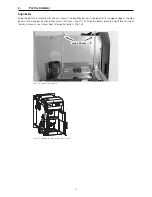
– Hook the cladding into the bayonet locks and screw into place with 5 self-tapping screws – Fig. 111, 112.
Fig. 109 Remove screw
Fig. 110 Mount the bayonet lock
1 x
Fig. 111 Hook the cladding into the bayonet
locks
Fig. 112 Screw the cladding into position
5 x
Summary of Contents for DuoWIN
Page 15: ...15 2 For the Installer ...
Page 69: ...69 5 Technical Data ...

