15
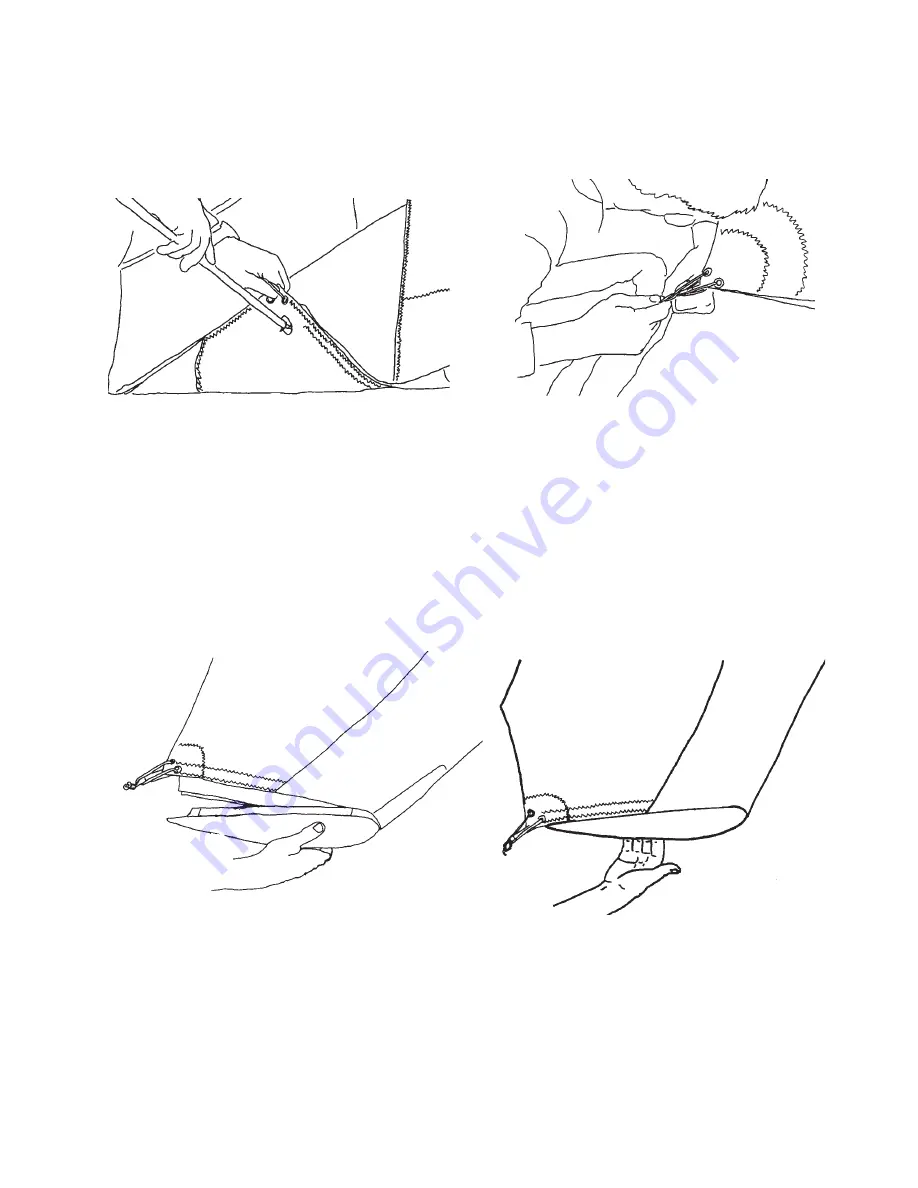
14) Install the plug-on #1 battens by inserting one end through the hole in the bottom surface
at the tip and engaging the forked batten tip on the clevis pin standoff on the back side of
the leading edge. Secure with a double loop of the 505 batten string.
15) At this time preflight the following from the open end of the wingtip:
a) The sail mount webbing - make sure that the inner loop of webbing is laying flat in
the bottom of the slot in the sail mount endcap.
b) The number one batten clevis pin and safety.
c) The clevis pin and safety just aft of the leading edge step down which secures the
48 mm inner sleeve in the rear leading edge.
d) The aft crescent reducer - make sure it is fully engaged in the 60 mm front leading
edge tube.
e) The front crescent reducer clevis pin and safety.
f) The crossbar / leading edge junction bolt castle nut and safety.
16) Install the plastic wing tip fairing. Before doing so, separate the neoprene from the
velcro to provide a space for the edge of the fairing to fit. Make sure that the fairing lodges
between the inside of the sail and the outside of the neoprene seal, and that the fairing is
fully inserted into the leading edge such that the velcro mates securely around the entire
perimeter of the tip fairing. While installing the tip fairing, support the aft tip of the number
one batten as necessary so as to equalize the tension around the perimeter of the open end
of the sail at the wing tip to insure that the sail mates properly to the tip fairing.


