Abisolier- und Crimpautomat /Stripping and crimping machine
CA 100 / 4-10
B-W20411-014.doc / Sep-15
17
7.8
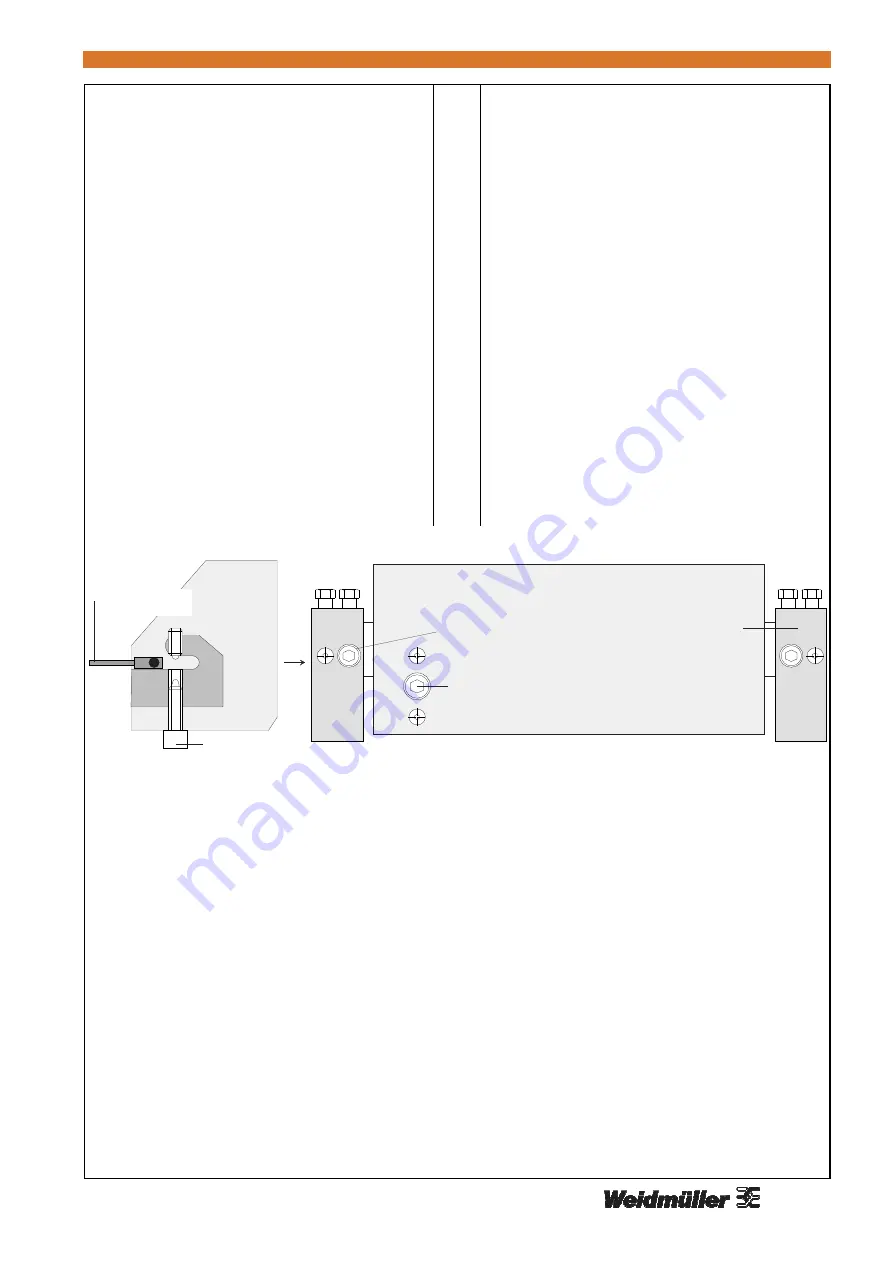
Werkzeugeinheit
•
Werkzeugeinheit in Grundstellung.
•
Klemmschraube ca. 5 Umdrehungen heraus-
drehen.
•
Die Werkzeugeinheit auf dem Werkzeug-
schlitten nach hinten drücken, abschwenken
und wieder vor ziehen.
•
Befestigungsschrauben lösen und die Werkzeug-
einheit entnehmen.
•
Lage der vier O-Ringe an der Befestigungs-
leiste überprüfen.
•
Die beiden Crimpwerkzeuge und Abisolier-
messer nach außen schieben.
•
Die
Achse
des
Schwenkzylinders
muss
waagerecht sein.
•
Werkzeugeinheit einführen und mit Befestigungs-
schrauben fixieren. (Grundstellung unten)
•
Werkzeugeinheit
in
Grundstellung
hoch-
schwenken und Klemmschraube so festdrehen,
dass die Werkzeugeinheit durch ihr Eigen-
gewicht noch nach unten schwenkt. Durch
Schwenken von Hand kontrollieren, ob der
Schwenkzylinder eingerastet ist.
7.8
Tool unit
•
Tool unit in starting position.
•
Release the locking-screws by approximately 5
rotations.
•
Push the tool unit on the tool slide to the back,
turn it downwards and pull it to the front again.
•
Release the fixing-screws and remove the tool
unit.
•
Check the position of the 4 O-rings in the fixing
parts.
•
Push the two crimping-tools and stripping
blades to the outside.
•
The axle of the turning cylinder must stand
horizontal.
•
Place the tool unit and lock the fixing-screws.
(Starting position down)
•
Turn the tool unit upwards and fix the locking-
screw. The tool unit has to turn downwards by
it's own weight. Check if the turning cylinder is
correctly locked.
Klemmschraube
Locking-screw
Befestigungsschraube
Fixing-screw
Werkzeugeinheit / Tool unit
Grundstellung / Starting position
Befestigungsleiste
Fixing part
Schwenkzylinder
Turning cylinder
Grundstellung
Starting position
Klemmschraube
Locking-screw
W
e
rk
z
e
u
g
e
in
h
e
it
/ T
o
o
l u
n
it
Bild / Picture 9: Werkzeugeinheit / Tool unit


