17
Inserting a sensor and s
tarting a session
/
English
CAUTION
• If the transmitter was not fully charged, a message lets
you know that the transmitter might not last for the full
14-day session. You cannot switch transmitters in the
middle of a session. If the transmitter battery dies, you
will need to remove the sensor and insert a new sensor to
start a new session.
• Do not remove the transmitter while the sensor assembly
is attached to you.
• If you feel resistance when removing the sensor insertion tool
with two separate sensor assemblies, call Customer Service.
IMPORTANT
: The CGM session starts automatically when the
sensor is inserted.
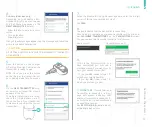
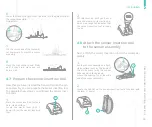
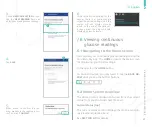
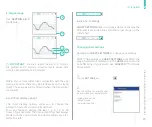
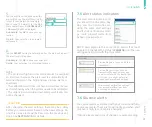
3.
Press the insertion button (2 bumps) until you hear a click. Con-
tinue holding the sensor insertion tool in place.
Do not try to adjust the placement of the adhesive patch after
application.
4.
While holding the sensor insertion tool in place, press the release
button (3 bumps) until you hear a click.
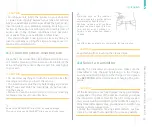
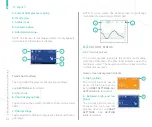
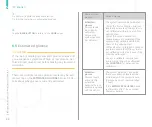
5.
Carefully lift the sensor insertion tool away from your body, in a
straight outward motion.
If you feel resistance, repeat steps 4-5.
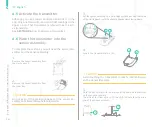
IMPORTANT
: The sensor guide remains connected to the
sensor insertion tool, leaving only the transmitter, sensor, and
adhesive patch on your body.
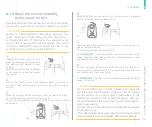
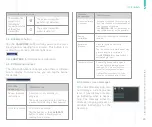
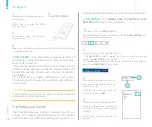
6.
Smooth the sensor adhesive patch to make sure it is fully adhe-
red to your skin. Gently smooth out any wrinkles around the ed-
ges to make sure there are no gaps.
4.10
Apply the sensor assembly
to the insertion site
Now that you have removed the liner on the sensor adhe-
sive patch, you are ready to apply the patch to your skin.
CAUTION
Failure to follow insertion instructions carefully may
cause the sensor to slide along the skin instead of in-
serting into the skin. If this occurs, the session may not
start or the sensor will provide low-quality data, which
will not be displayed in the app. Follow the instructions
carefully to ensure proper sensor insertion.
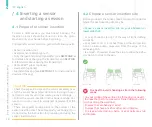
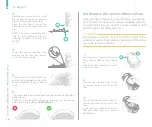
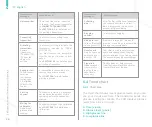
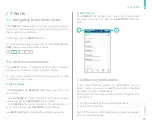
1.
Holding the sensor insertion tool,
place the adhesive patch firmly on
the insertion site, parallel to your
beltline.
Point the release button (3 bumps)
on the sensor insertion tool toward
your navel.
2.
Press down firmly to ensure the adhesive patch is secured to
your skin. Then apply normal pressure to your skin during in-
sertion.
Summary of Contents for A.MENARINI diagnostics GlucoMen Day CGM
Page 1: ...User Guide...
Page 65: ......


