18
Need help or have any questions? Call us at 1-714-963-0329 or send us an email to [email protected]
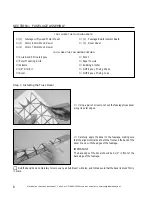
Step 3: Installing the Pushrods
❑
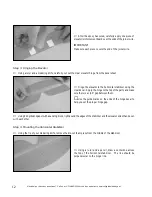
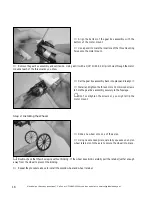
Plug the elevator and rudder servo leads into their proper slots in the receiver. Plug the ESC lead into the receiver and
the flight battery into the ESC . Turn on the radio system and center both of the servos using the trim levers on the
transmitter.
❑
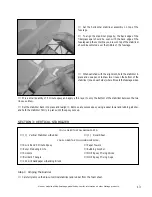
Thread one nylon clevis onto each of the two 1.5mm x 400mm threaded pushrod wires. Thread the clevises on far
enough to leave room for adjustments later.
❑
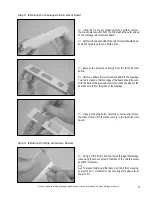
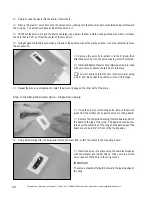
Carefully snap the clevis on one pushrod into the elevator
control horn.
❑
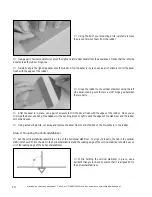
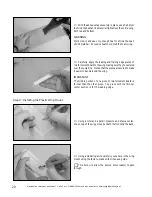
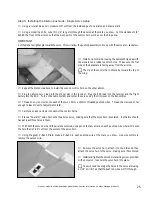
With both the servo horn and the elevator centered, use a
pencil to draw a mark on the pushrod wire where it crosses
the hole that is 1/4" out from the center of the servo horn.
❑
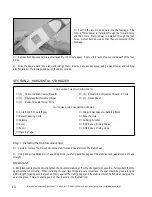
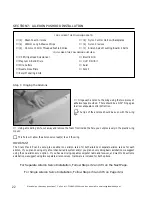
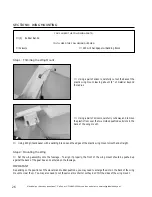
Place a "single arm" servo horn onto the elevator servo, making sure that the servo horn is centered and points toward
the outside of the fuselage. The arm should have at least three holes in it.
❑
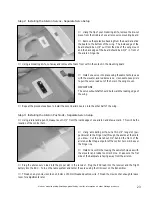
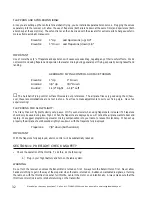
Using Magnum Z-Bend Pliers, make a Z-Bend in the pushrod wire at the mark you drew. Use wire cutters to remove
the excess wire.
❑
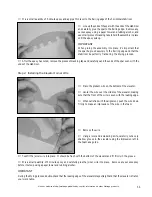
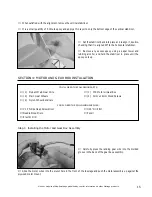
Remove the servo horn, attach it to the Z-Bend, then
attach the servo horn to the servo, making sure it's centered.
Install and tighten the servo horn retaining screw, provided
with your servo, to secure the servo horn into place.
☛
You will need to enlarge the hole in the servo arm using
a 1/16" drill bit, so that the pushrod wire will fit through.

