10
Need help or have any questions? Call us at 1-714-963-0329 or send us an email to [email protected]
❑
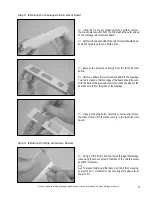
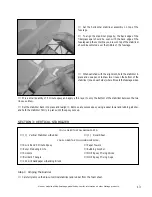
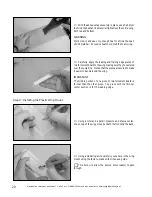
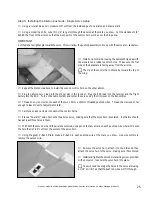
Test fit the two wood dowels into the fuselage. The
3mm x 70mm dowel is installed through the forward holes
and the 3mm x 60mm dowel is installed through the rear
holes. Adjust both dowels so that they are centered in the
fuselage.
❑
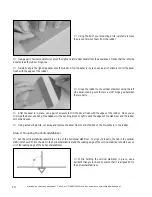
Remove both dowels and mix a small quantity of 5 minute epoxy. Apply a thin layer of epoxy inside each of the four
holes.
❑
Slide the dowels back into place and realign them. Remove any excess epoxy using a paper towel and rubbing
alcohol, and set the fuselage aside until the epoxy sets up.
❑
Kwik Bond 5 Minute Epoxy
❑
Excel Modeling Knife
❑
Scissors
❑
Ruler
❑
Pencil
❑
Masking Tape
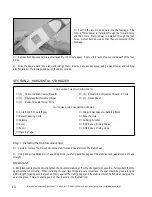
YOU'LL NEED THE FOLLOWING PARTS:
❑
{1} Horizontal Stabilizer w/Elevator
❑
{1} Fiberglass Reinforcement Spar
❑
{1} Prebent Elevator Joiner Wire
SECTION 2: HORIZONTAL STABILIZER
❑
{1} Elevator Reinforcement Board - 2 Parts
❑
{1} Decal Sheet
YOU'LL NEED THE FOLLOWING SUPPLIES:
❑
220 Grit Sandpaper w/Sanding Block
❑
Paper Towels
❑
Rubbing Alcohol
❑
NHP Epoxy Mixing Sticks
❑
NHP Epoxy Mixing Cups
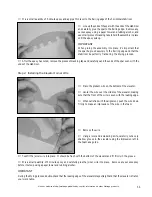
Step 1: Installing the Reinforcement Spar
❑
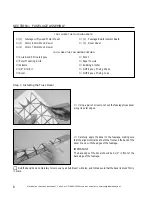
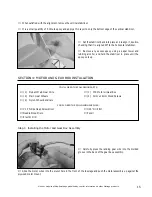
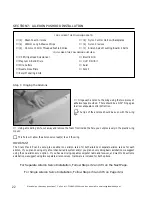
Carefully remove the die-cut horizontal stabilizer and elevator from the foam sheet.
❑
Using 220 grit sandpaper with a sanding block, carefully sand the edges of the stabilizer and elevator smooth and
straight.
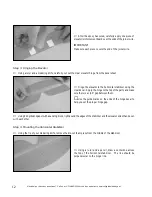
IMPORTANT
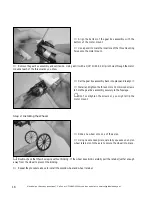
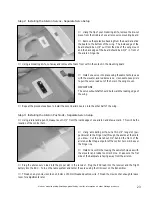
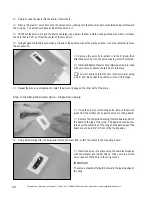
A fiberglass spar is provided to strengthen the horizontal stabilizer. For the strongest joint possible, it's important that the
spar be installed correctly. When installing the spar, two things are very important: the spar should be glued along its
entire length (making sure it is pushed firmly against the trailing edge) and the stabilizer must be flat when you glue the
spar into place. This will ensure you don't build a warp into the stabilizer.

