24
Need help or have any questions? Call us at 1-714-963-0329 or send us an email to [email protected]
❑
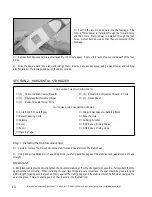
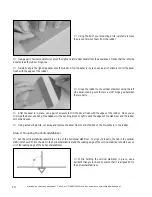
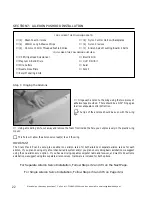
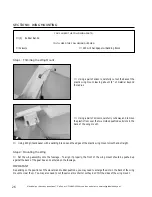
Carefully snap the clevis into the aileron control horn.
❑
Place a "single arm" servo horn onto the aileron servo, making sure that the servo horn is centered and points toward
the wing tip. The arm should have at least three holes in it.
❑
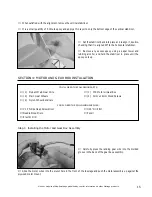
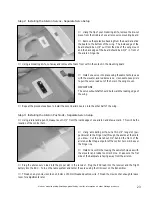
With both the servo horn and the aileron centered, use a pencil to draw a mark on the pushrod wire where it crosses
the hole that is 7/16" out from the center of the servo horn.
❑
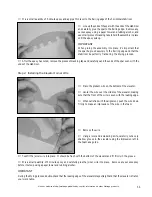
Using Magnum Z-Bend Pliers, make a Z-Bend in the pushrod wire at the mark you drew. Use wire cutters to remove
the excess wire.
❑
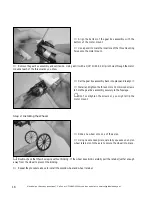
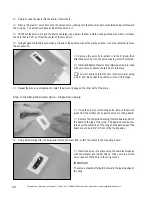
Remove the servo horn, attach it to the Z-Bend, then
attach the servo horn to the servo, making sure it's centered.
❑
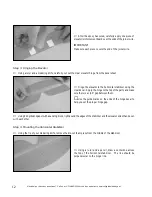
Install and tighten the servo horn retaining screw, provided
with your servo, to secure the servo horn into place.
☛
You will need to enlarge the hole in the servo arm using
a 1/16" drill bit, so that the pushrod wire will fit through.
❑
Repeat the previous procedures to install the aileron linkage on the other half of the wing.
Step 4: Installing the Aileron Servo - Single Servo Setup
❑
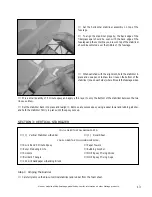
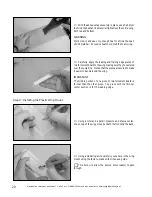
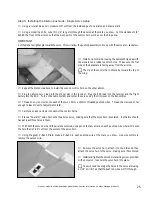
Using the tip of your modeling knife, remove the die-cut
piece from the middle of one aileron servo mounting board.
❑
Remove the protective backing from the board and stick
the board to the
top
of the wing. The board should be cen-
tered over the centerline of the wing and the back edge of the
board should be 2-3/4" in front of the trailing edge.
❑
Install the servo into place using the same technique as
with the elevator and rudder servos. Make sure to pull the
servo lead out of the hole in the wing mount.
IMPORTANT
The servo output shaft should be toward the leading edge of
the wing.
❑
Using a modeling knife, cut away and remove the foam from within the cutout in the mounting board.

