Quick Set up Guide WG13 Alarm & Keypad 29 03 2022 V1
WatchOvers.com
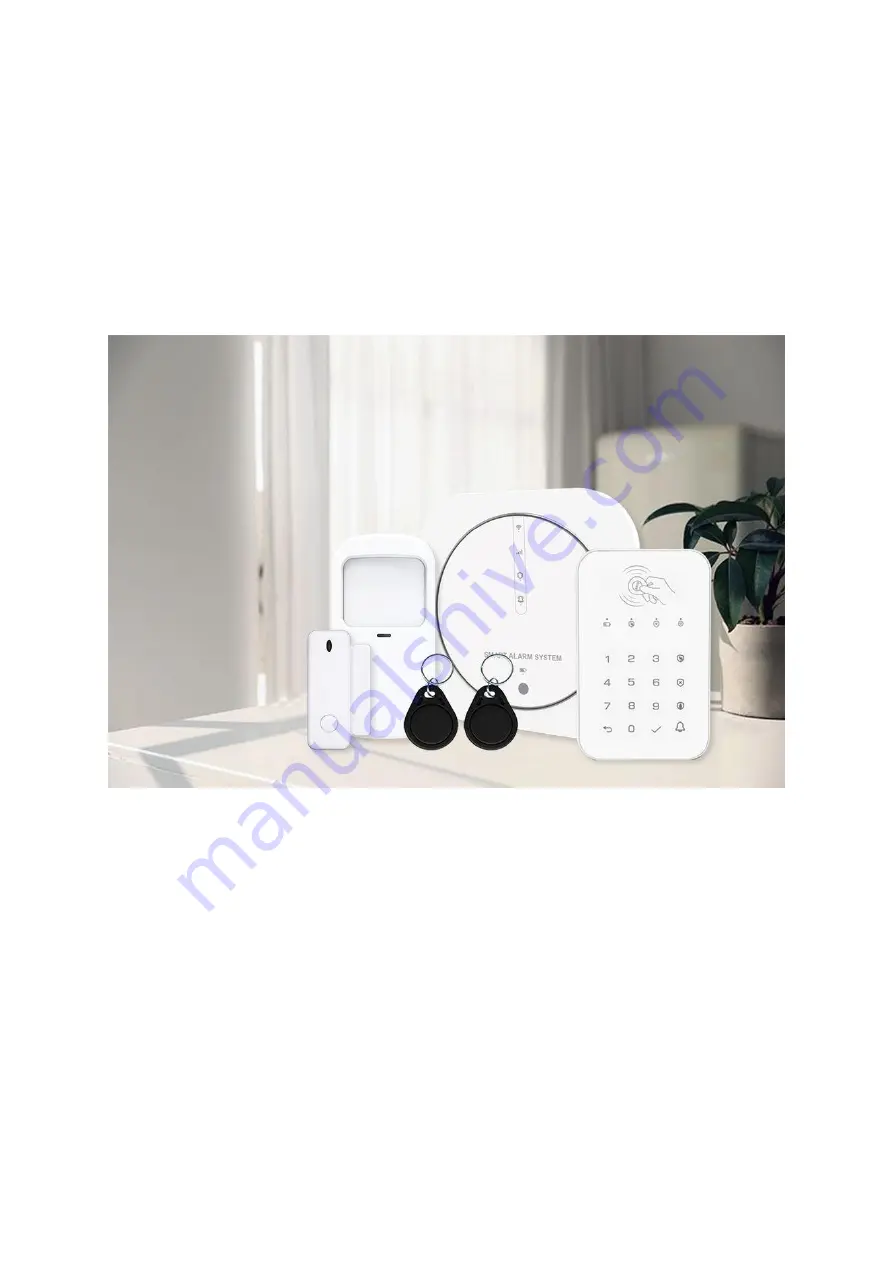
WG13 4G & Wi-Fi Alarm System
Quick Set Up Guide
Page 1: ...Quick Set up Guide WG13 Alarm Keypad 29 03 2022 V1 WatchOvers com WG13 4G Wi Fi Alarm System Quick Set Up Guide ...
Page 2: ...n be armed and disarmed on site by the remote RFID tags supplied or remotely from anywhere through the App The base station can connect with up to 100 wireless sensors 10 RFID tags multiple wireless sirens and an external siren If the building loses electrical power the backup battery built in to the base station provides back up power for up to 3 hours Alert notifications are sent to you and your...
Page 3: ...it means Solid Cellular network is available Pulse every 4s Searching network or no SIM card Blinking Calling or text message sending Nothing Cellular module failure What you see What it means Blinking System Alarming Nothing Normal What you see What it means Solid Away armed mode Breathing Home armed mode Nothing Disarmed Blinking Entry delay if Blinking quickly Exit delay if Blinking slowly What...
Page 4: ... instructions and move to Pairing the Alarm Base Station to your App If you do not have the App installed continue as follows Scan the QR code below or Search Smart Life from wherever you get your Apps to download and Install the App Smart Life App 1 Open the App enter your mobile phone number or email address and click to agree the user agreement then click Register to get the verification code F...
Page 5: ...practice to set up Homes and Rooms from the start Once added to a Home the devices can be moved from Room to Room within the Home Create a Home 1 From the Home page choose Me in the bottom right hand corner 2 Choose 3 Choose 4 Home Name Home Management Create a Home Enter Home Name 5 Location This will show your current location on Maps This feature is optional 6 Rooms You can remove or add rooms ...
Page 6: ...ox will automatically pair once powered on see below Any additional sensors purchased such as door window sensors PIR motion alarms etc will need to be manually paired see instructions below for each sensor type STEP 1 Plug in your base station insert the pin included or a paper clip into the hole indicated at the back then press and hold the Wi Fi configuration switch until the Wi Fi indicator bl...
Page 7: ...D Indicator Blinks for 30 seconds after sensor powers on Lights up when there is motion in the room And blinks to indicate low battery Wireless Keypad When fully charged remove the USB charger and push the On Off switch to the On position Power on off Slide up to ON to power on the sensor Pairing button Press to send a transmission signal for pairing with your base station ...
Page 8: ...otification You can add the phone numbers you wish to have as points of contact and turn on this option Choose Settings Choose Alarm Call number enter the full telephone number of the person who should be called if the alarm is triggered please use the full country pre fix e g Ireland 353 Choose Alarm SMS number enter in the full telephone numbers of those who should receive an SMS should the alar...
Page 9: ...window sensors to Normal Zone 24 Hours Sensors set to 24H Zone will activate the alarm when triggered regardless of the alarm status Armed or Disarmed This setting is useful if you have an area in your home that you don t want people entering or at least you wish to be notified if someone does enter Alternatively if you need to be alerted if someone opens a door to leave the house this setting can...
Page 10: ... is triggered each time To add any additional sensors and to pair the RFID Tags please see separate instructions below 8 Installation Before securing your sensors and alarms in place please test them at the location you wish to fit them to ensure it is within range of the base station Simply place the sensors at desired location and separate them or set off the alarms to check they trigger an aler...
Page 11: ...in the bracket and set the direction of the detection range of the motion sensor Detection Area Top View Side View Notes 1 Do not install the PIR motion sensor outdoors or on glass 2 PIR motion sensors cannot detect motion through glass if someone is moving outside a window but it can give false alerts from outside motion or reflections so do not direct the PIR towards a window from inside 3 Do no...
Page 12: ... indicator blinks STEP 3 Enter setting then press the buzzer beeps twice LAST STEP Press then to exit programming Pairing an RFID Tag The RFID tags supplied with the system are paired with the keypad If they are unpaired or you want to pair more tags you can pair the tag with your keypad as following STEP 1 Enter the admin passcode then press STEP 2 Press 1 then STEP 3 Enter a digit from 0 to 9 to...
Page 13: ... so It is necessary to pair the doorbell code with your base station before using doorbell function To pair the doorbell STEP 1 Set your base station into pairing sniffer mode STEP 2 Press to send the doorbell transmission signal to base station STEP 3 The base station will beep to confirm pairing successful ARMING DISARMING Your Security System via the Keypad Using The User Passcode Enter user pa...
Page 14: ...nent location Door Window Alarm Sensor Pairing your Door Window Alarm Sensor Ensure the Base Station is plugged in and turned on STEP 1 At your device home screen in the App tap Accessories then the base station goes into the pairing sniffer mode with all indicators blinking STEP 2 Trigger the wireless Door Window alarm sensor that you wish to add to send a transmission signal to the base station ...
Page 15: ...re bond Note the maximum distance both parts can be from each other is 2 5 cm If the gap on the door window to the frame is greater than 2 5cm in depth you can use PIR motion alarm instead in this location With the alarm armed open the entry door window to test the alarm is working correctly Wireless PIR Motion Sensor Pairing your Wireless PIR Motion Sensor Ensure the Base Station is plugged in an...
Page 16: ... window but it can give false alerts from outside motion so do not direct towards a window from inside 3 Do not install in places where the PIR Motion Sensor could get wet 4 Do not install the PIR Motion Sensor within 1 meter of a heat source such as an electric heater heat vent or fireplace or a source that may produce turbulent air 5 Do not install the PIR Motion Sensor behind large appliances o...
Page 17: ...the ceiling or wall then insert the wall plugs into the holes Insert the screws into the holes of the plate screw tightly to fix the bracket firmly Fit the battery into the battery holder of the alarm align the back of the alarm and rotate clockwise to lock in place Gently press the test button and to confirm the alarm is working Using the double sided adhesive pad Peel the paper from one side of ...
Page 18: ...device set the type and mode of your device Zone mode will default to 24 hours for your CO Alarm and should NOT be changed from this Please see above instructions under Name Type Mode of each sensor Bracket installation Using Screw fixings Choose the installation location first make two holes in the ceiling or wall then insert the wall plugs into the holes Insert the screws into the holes of the p...
Page 19: ...ottom of the water leak alarm at the same time with your finger The LED light will turn on The water alarm will send a transmission signal to the base station once paired and the base station emits a sound or the voice will prompt adding completed STEP 3 Name your device set the type and mode of your device Zone mode for the Water Leak Alarm should be set to 24 Hours Please see above instructions ...
Page 20: ...s a sound To trigger the Panic Button for pairing Power on the button by simply pressing the SOS button a light will come on the device Installation To install the SOS button push the rectangular double sided adhesive pad from the circular pad and use the rectangular pad to fix the SOS button Peel the paper from one side of the double sided pad and stick the pad to the rectangular center of the SO...
Page 21: ...with all indicators blinking STEP 2 Trigger the SOS Emergency Button that you wish to add to send a transmission signal to the base station before its 20 second sniffer countdown expires once paired the base station emits a sound To trigger the Panic Button for pairing Power on the button by simply pressing the SOS button a light will come on the device STEP 3 Name the device and rename the Zone M...