8
Troubleshooting and Solutions
Warn
i
ng
Make sure the entire extrusion system is depressurized before servicing.
Warn
i
ng
Prior to any repair material supply must be shut off - risk of injury.
9
Disposal
The costs incurred in cleaning and maintenance materials should be disposed
of in accordance with the laws and regulations properly and professionally.
Warn
i
ng
Pay particular attention to the instructions of the manufacturer of extrusion and
detergent. Risk to the health of humans and animals.
10
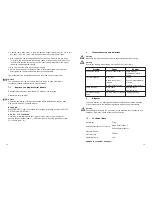
Technical Data
Net Weight
Nozzle equipment of your choice:
570 g
Stage Nozzle
(Item
1
)
Special Nozzle
(Item
21
)
350 bar
Pressure Range
max.
pressure
.
Operating Temp
:
42°C
Subject to technical changes.
13
3.
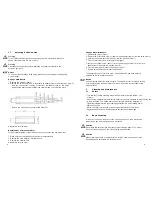
Remove the V-pack (Item 12) and the packing support plate (Item 11) out of the
gun body. To do this, use a solid wire whose end is bent into a small hook.
4.
Now replace the new packing support washer and new V-pack in the gun body.
To do this, use a special tool that has the shape of the packing pressure pin. With
the difference that the tool has a pin at the front the inner diameter of the V-pack.
Install the components individually.
5.
Now turn the screw pack with pushpins in again.
6.
Before the packing bolt is tightened, slide in the material needle from the front.
After tightening, the material needle should still be movable.
The assembly of the remaining components is carried out in reverse order.
Notice
The parts taken from the gun use parts should not be re-used, otherwise a
functionally reliable sealing effect is not guaranteed.
7.3
Replace Leaking Material Needle
Disassemble the pistol as described in 5.5
extrusion gun retooling.
Assemble in reverse order.
Notice
All moving and sliding parts must be greased before installation in the gun body
with an acid-free, non-gumming grease.
Repair Kit
:
WALTHER PILOT repair kit available that contains all wearing parts for the PILOT
EXTRUSION GUN (350 bar).
Pa
rt. N
o
.: V 16 250 00 000
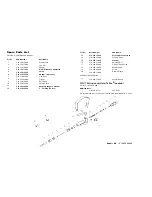
Consisting of: material needle assy. (Item 4), valve (item 5), seal 2x (item 6),
packing support washer (item 11), V-Pack 6x (key 12), packing pressure pin (item
13), washer (item . 15).
12
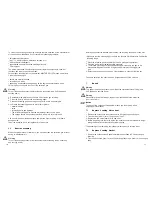
Problem
Cause
Remedy
Leak at the nozzle
•Material
needle
(Item
4
)
Check settings
or Replace material
needle
Too little material
•
Dirty filter
•
Nozzle too small or
clogged
•
Fluid pressure too low
-
Clean
-
Choose larger diameter
or clean
Valve seat leak
•
Worn seals
•
Worn valve
-
Increase fluid pressure
-
Replace seals
-
Replace valve
Fluid leaks fromgun
body
•Pack
i
ng
(Item
12
)
leaking
-
Replace packing
l
l
l


