


Quick User Guide
page 8
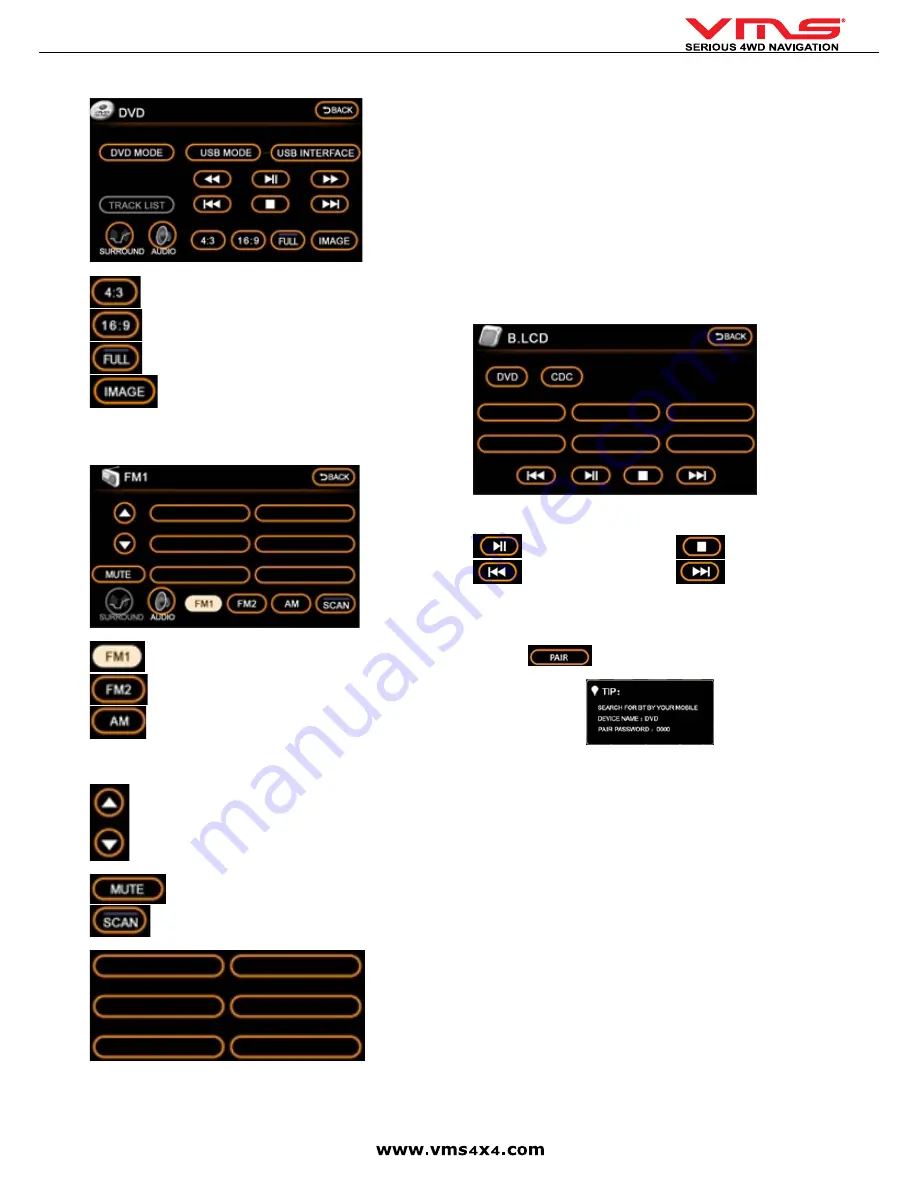
DVD MENU
When a DVD is inserted, the DVD menu will appear.
- Display picture in 4:3 ratio (letterbox).
- Display picture in 16:9 radio (widescreen).
- Display picture full screen.
- Display DVD picture.
PLEASE NOTE:
This icon can only be
activated while the vehicle is not in motion & the park brake is applied.
FM / AM RADIO
To access FM or AM radio, press the
[RADIO]
button in the Main Menu.
- 6 FM presets
- 6 FM presets
- 6 AM presets
To switch between FM1 / FM2 / AM, press the corresponding icons.
- Step up or down (manually change the radio frequency by 1 step).
Turns the radio off.
- Automatically scan for radio stations.
[Preset locations]
1 station can be stored in each location.
SCAN AND STORE RADIO STATIONS
1. Press
[SCAN]
until the desired station appears. Press and hold the desired
preset location and the station will be saved in this position.
2. Repeat the above for other stations.
MANUALLY TUNING A RADIO STATION
If the automatic scan did not find a station, you can manually adjust the station
by pressing the step up or down buttons.
REAR SEAT ENTERTAINMENT
The 7000 series is Rear Seat Entertainment ready. It has the ability to:
Send DVD video & audio to a display located at the rear of the vehicle. Rear
Seat Passengers can watch a movie with wireless headphones. At the same
time, navigation is displayed up front with either radio or iPOD playback through
the vehicle sound system. All controls for rear seat dvd are accessible via the
touchscreen.
To access Rear Entertainment controls, press
[R.ENT]
in the main menu.
PLEASE NOTE:
Rear Entertainment option needs to be [ON] in the settings. If
its not on, the mp3 menu will be displayed instead.
R.ENT MENU
[DVD]
play DVD/CD inserted in the 7000 series.
[CDC]
play disks from a CD/DVD changer.
Play / Pause
Stop
Previous track
Next track
BLUETOOTH PHONE CONNECTIVITY
To access the Bluetooth Phone menu, press
[BT]
in the main menu.
PAIR YOUR PHONE
1: Press the
button. A tip menu appears
2: On your mobile phone, enter the Bluetooth menu & search for a new device.
Follow the on screen instructions.
3: Enter the password = 0000
4: The phone should now be paired.
If you phone does not pair, it may not be Bluetooth V2.0 compliant. Please con-
tact the manufacturer of the mobile phone to obtain further information.
MAKING A PHONE CALL
A call can be made from either the handset or from the touchscreen.
Dialing from the handset: Dial from the handset as usual & the call will be con
-
nected to the handsfree automatically.
Dialing from the touchscreen: Enter the Phone number on the keypad using the
touchscreen and press the dial button.
Dialing from recent history: Select the Phone number to call from the
[RECENTS]
menu, press the dial button on the touchscreen.
Answering a phone call: Press the
[DIAL]
button.
Rejecting a phone call: Press the
[REJECT]
button
Summary of Contents for TOURING 7000 SERIES
Page 1: ...TOURING 7000 SERIES QUICK USER GUIDE...
Page 2: ...Quick User Guide page 2...
Page 22: ...Quick User Guide page 22...
Page 23: ...Quick User Guide page 23...


