


35
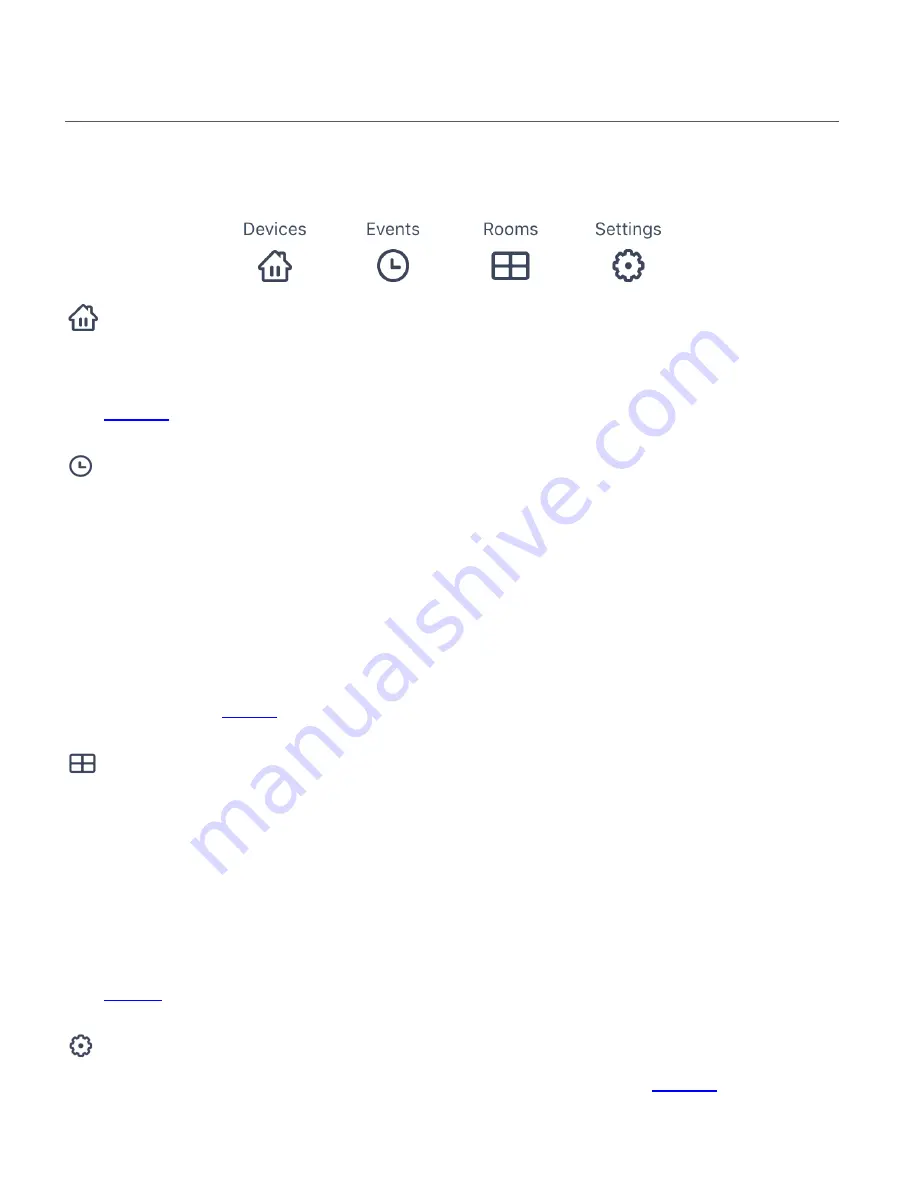
NAVIGATION BAR
The bottom navigation bar allows you to quickly and easily access the controls for your Smart
Home Security devices. When selected, the navigation button appears in green.
Devices:
Tap
Devices
to open the Devices screen. The Devices screen displays the list of Vivitar Smart
Home Security devices: IP Cameras, Lights, Outlets, Power Strips, Sensors, Panic Buttons.
See
Devices
for more information.
Events
:
Tap
Events
to open the Events screen. This feature is available only for Vivitar Smart Home
Security IP Cameras.
FOR IP CAMERAS ONLY: If you have more than one registered camera, the list of cameras
appears. Tap on one of the cameras from the list to open the ‘Events’ screen for the selected
camera. If you have only one registered camera, that camera’s ‘Events’ screen automatically
opens. The ‘Events’ screen displays the video recordings captured as per the sound/motion
detection recorded by your IP Camera. The video recordings are based on your Home & Away
motion detection and sound detection settings. Your Events can be saved to your SD Card and
to your Cloud. See
Events
for more details.
Rooms
Tap
Rooms
to open the Rooms screen. The Rooms screen displays the room that your device is
connected to. If you have multiple devices registered and connected or shared to the app, then
each room icon appears in the ‘Rooms’ screen. Tap a Room name to view the list of devices
connected to that specific room.
NOTE: Each device includes a room name as per the room name added during initial setup or
via the device’s settings. The room name options include: Kitchen, Office, Living Room, Dining
Room, Bathroom, Bedroom, Hallway, Cellar and New Room (custom added room name)
See
Rooms
for more information.
Settings
Tap
Settings
to open the settings screen for your connected device. See
Settings
for more
information.


