50
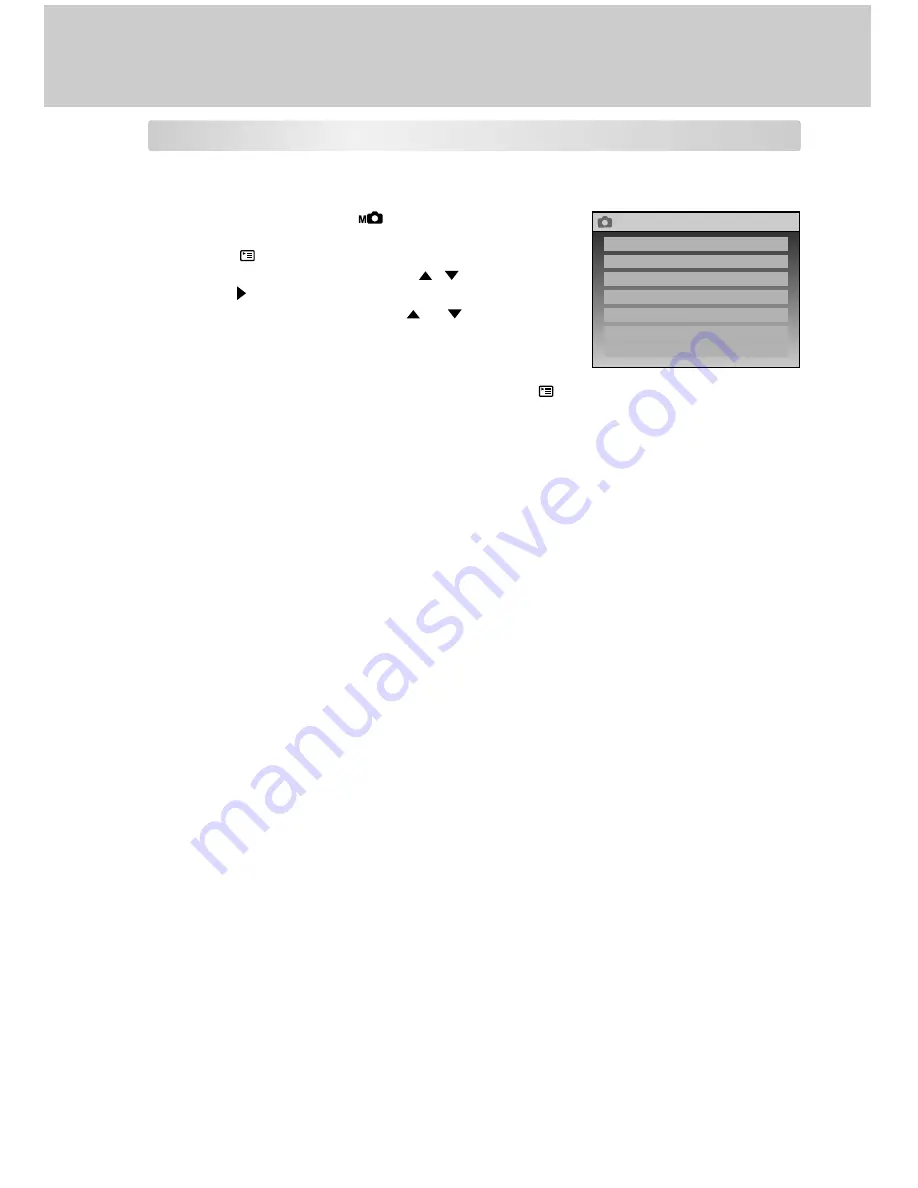
Manual Photography Menu
Manual Photography menu items: ISO, DIGITAL ZOOM, QUALITY SETTING, CREATE
FOLDER, PICTURE, DISPLAY SETTINGS and LCD BRIGHTNESS.
1. Rotate the mode dial to [
] manual photography
mode.
2. Press the
menu button.
3. Scroll through the option using the
/
buttons, and
press the button.
4. Change the setting by using the
or
buttons and
press the
OK
button.
After a setting is completed, the screen returns to
the manual photography menu.
5. To exit the manual photography menu, press the
menu button.
ISO
Refer to “ISO” in Automatic Photography menu.
DIGITAL ZOOM
Refer to “DIGITAL ZOOM” in Automatic Photography menu.
QUALITY SETTING
Refer to “QUALITY SETTING” in Automatic Photography menu.
CREATE FOLDER
Refer to “CREATE FOLDER” in Automatic Photography menu.
PICTURE
Refer to “PICTURE” in Automatic Photography menu.
DISPLAY SETTINGS
Refer to “DISPLAY SETTINGS” in Automatic Photography menu.
LCD BRIGHTNESS
Refer to “LCD BRIGHTNESS” in Automatic Photography menu.
MENU
ISO
QUALITY SETTING
DIGITAL ZOOM
CREATE FOLDER
PICTURE
DISPLAY SETTINGS
LCD BRIGHTNESS


