18
Setting the Time and Date
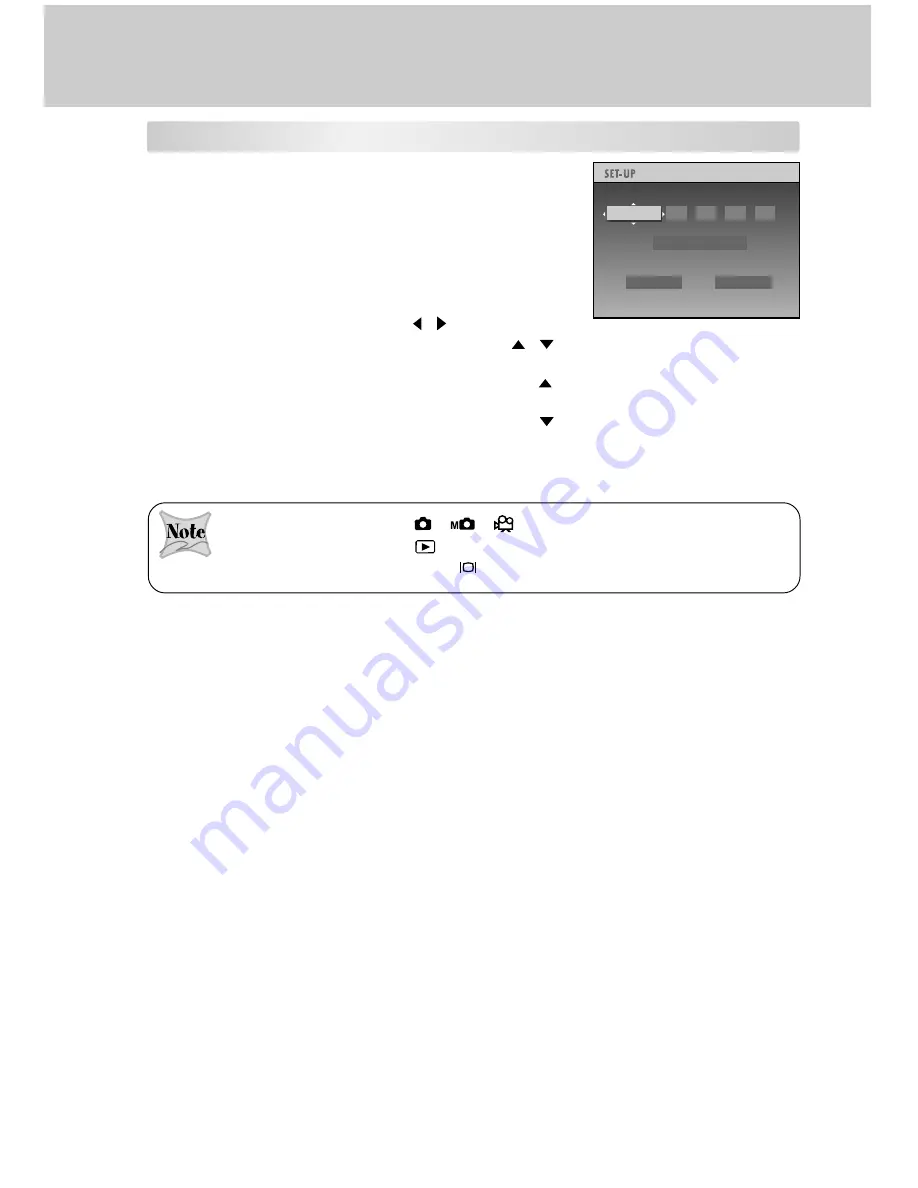
The Time & Date screen will be presented if/when:
The camera is turned on for the first time.
The camera is turned on after removing the batteries/
AC power adapter or replacing the batteries.
When the date and time setting screen appears, follow
the steps to set the correct date and time. You may skip
this procedure by choosing
CANCEL
.
1. Select the desired item using the / buttons. Enter
the values of the time and date by using the
/
buttons.
To increase the value for each option, press the
button.
To decrease the value for each option, press the
button.
Seconds cannot be set.
2. Press
OK
after all options are set.
When the mode dial is set to [
][
][
], the viewfinder micro display is active, and
when the mode dial is set to [
], the large 2.5” LCD monitor display is active. To switch
between the two displays, press the [
] button.
2003
03
YYYY.MM.DD
OK
CANCEL
.
.
:
03
03
03
TIME&DATE


