


47
UNITS
°F
UNITS
°C
User Settings
The Settings screen provides access to many features and settings of the Thermostat.
Features you can control on the Settings screen are ºF / ºC display, humidity targets,
display behavior, information about the Thermostat, and installer settings. The following
pages provide detailed information about each of these settings.
From the Home screen, press and hold the SIDE button for three (3) seconds to access the
settings screen. Then use the UP/DN arrows to select the desired user setting. Then press
the SIDE button.
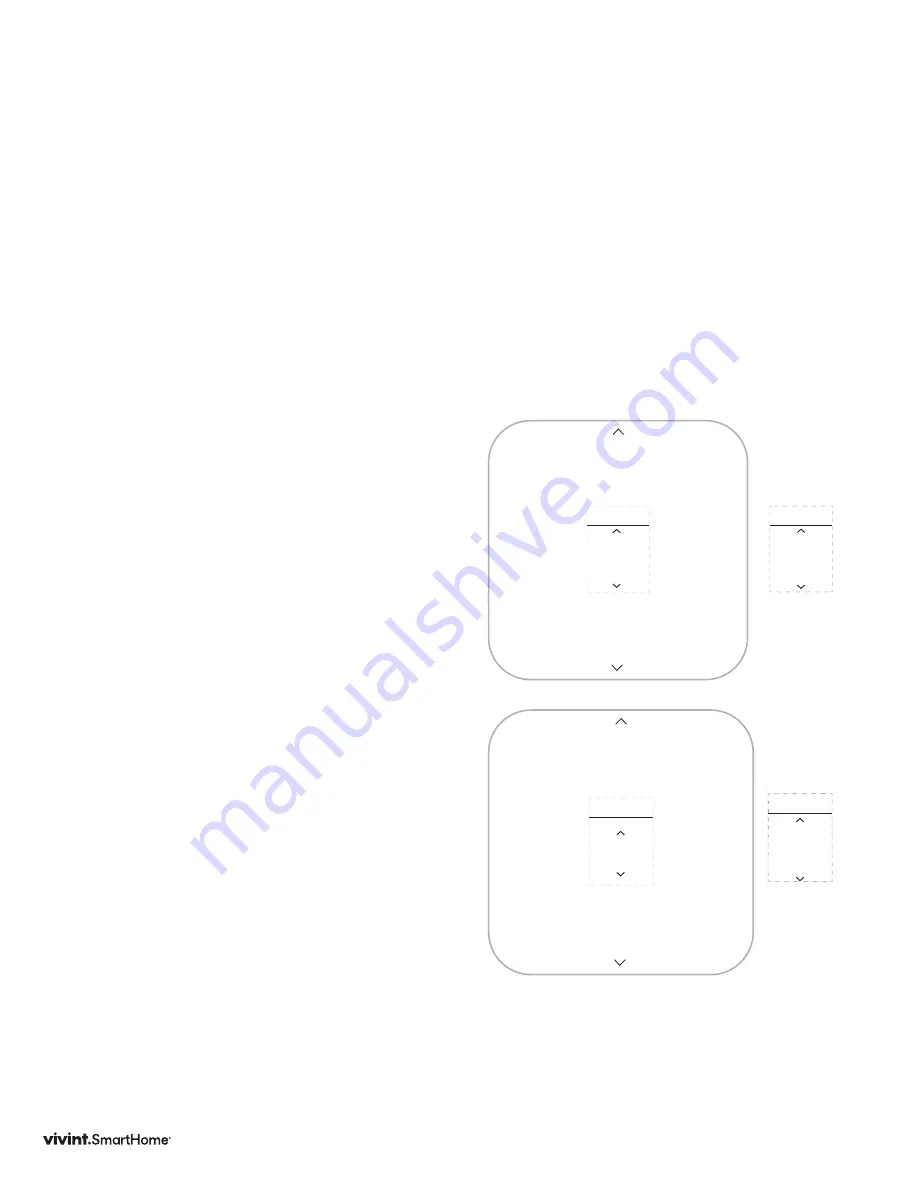
Units
The Thermostat can display either
Fahrenheit or Celsius temperature
units. The Thermostat can display room
temperatures in a range from 28°F to
99°F (-2°C to 37°C) with increments of
0.5° (F or C).
1. Press DOWN to highlight Units, then
press the SIDE button.
2. Using the UP or DOWN arrows, select
an option, then press the SIDE button to
confirm and return to USER settings.
Display
The Thermostat display can operate in one
of two modes: Wake on Approach or Wake
on Button Press.
Wake on Approach means that the
device’s display will automatically turn
on when it senses you approach within 3
(three) feet of the unit. This feature also
sends notifications to the panel and mobile
app that the thermostat has detected
movement. This feature is only available
when the thermostat is powered via C-wire.
Wake on Button Press means that you will
have to press one of the buttons on the unit
to wake the display.
2. Press DOWN to highlight Display, then
press the SIDE button.
3. Press UP or DOWN to select an option,
then press the SIDE button to confirm
and return to USER settings.
Wake on
Approach
DISPLAY
Wake on
Button
Press
DISPLAY
Options:
Options:
Vivint Element Installation Guide
Customization
Summary of Contents for SmartHome ELEMENT
Page 1: ...ELEMENT THERMOSTAT USER GUIDE...
Page 2: ......
Page 5: ...5 Getting Started...
Page 9: ...9 Wiring...
Page 16: ...16 Wiring Diagrams...
Page 24: ...24 Setup...
Page 41: ...41 Product Overview...
Page 46: ...46 Customization...
Page 59: ...140 02345 02 10 20...