37
Testing the Installation
After installation, operation can be tested. In the Settings menu, under the User Settings, is
the Testing menu. There is a heating test and a cooling test. The heating and cooling tests
run for up to 30 minutes. You can stop a test at any time by selecting the arrow and pressing
the SIDE button.
Use the UP and DOWN arrows to move the highlighted selection on the screen.
Use the SIDE button to make a selection or advance through options.
To Check Heating
1. From the Thermostat’s Home
screen, press and hold the SIDE
button until the Settings menu
appears (approximately 3 seconds).
2. Highlight User, then press the SIDE
button. The User Settings menu
opens.
3. Use the UP/DN arrows to select
Testing. Press SIDE button. The
Testing menu opens.
4. Use the UP/DN arrows to select
Heat, Press the SIDE button. The
Heat Test opens .
5. Press the SIDE button to start test.
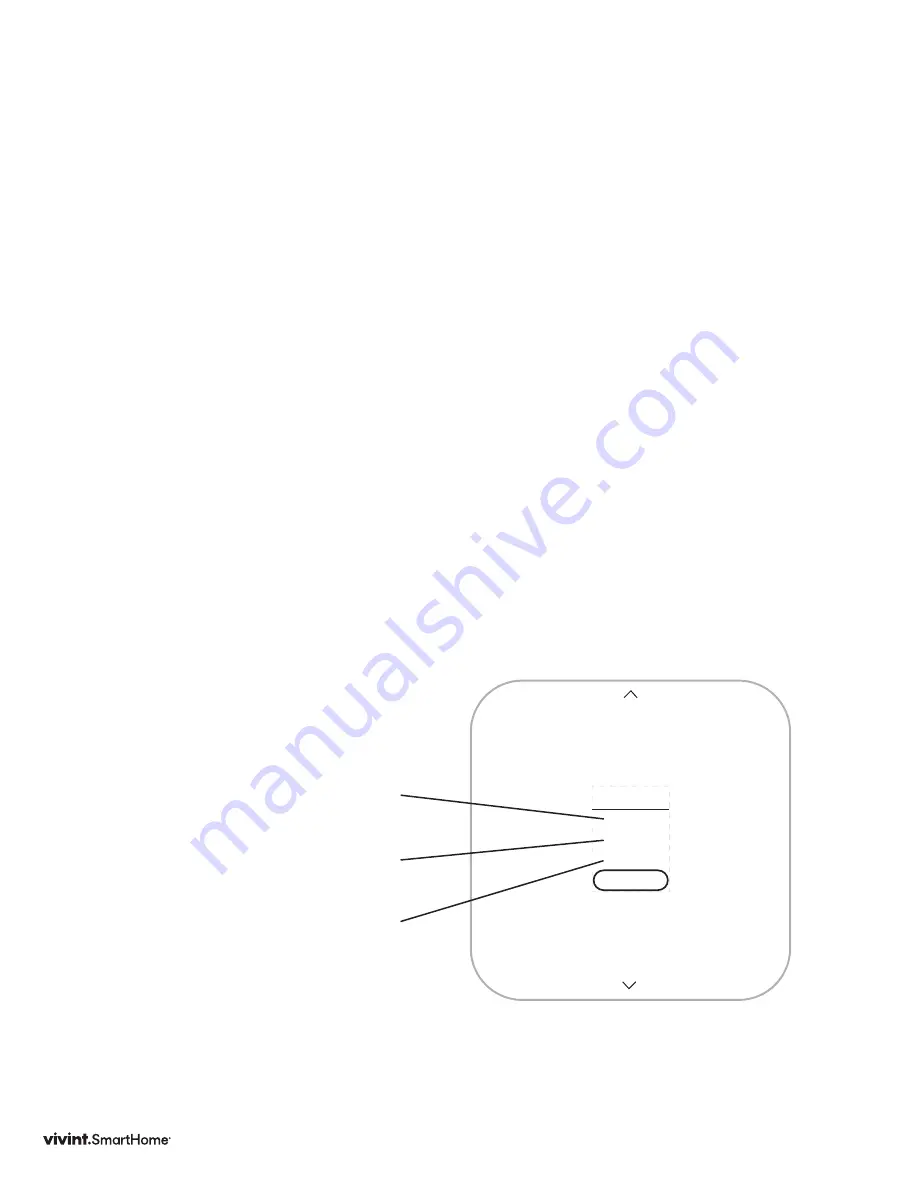
The Thermostat screen displays the
following:
• HEAT TIME
: how long the test
has been running in minutes and
seconds
• ACTIVE:
the wires the system
is using to communicate with the
heating system (example: W, G)
• CHANGE
: the amount of
temperature change caused during
the test (example: +3 .4°)
6. Press the SIDE button to stop test.
7. Press the SIDE button again to exit
back to TESTING menu.
A test of a successfully functioning
heating system will show a rise in the
temperature, as well as the proper
wires indicated as being active. If the
temperature appears to drop, or the
wrong wires are indicated as being
active, the test indicates a problem
with the Thermostat installation.
Check the wire connections and run
the heating test again.
W,G
+3.4°
18:24
HEAT
STOP
Vivint Element Installation Guide
Setup
Summary of Contents for SmartHome ELEMENT
Page 1: ...ELEMENT THERMOSTAT USER GUIDE...
Page 2: ......
Page 5: ...5 Getting Started...
Page 9: ...9 Wiring...
Page 16: ...16 Wiring Diagrams...
Page 24: ...24 Setup...
Page 41: ...41 Product Overview...
Page 46: ...46 Customization...
Page 59: ...140 02345 02 10 20...


