Transcendent VT-TR5HA DVR Series
57
8
Playback & Backup
8.1 Instant Playback
Click
on the tool bar at the bottom of the preview camera window to play back the
recording (click
on the tool bar at the bottom of the live preview interface to set the default
playback time). Refer to the picture below. Drag the playback progress bar to change the
playback time. You can also click the right-click menu “Instant Playback” in the camera
window and then set the instant playback time to play back the recording.
8.2 Playback Interface Introduction
Click
on the tool bar at the bottom of the live preview interface or click Start
à
Playback
to go to the playback interface as shown below (click
on the tool bar at the bottom of the live
preview interface to set the default playback time).
The added cameras will playback their recordings in the playback interface automatically. You
Transcendent VT-TR5HA DVR Series
58
can also add the playback camera manually. Click
in the playback window to pop up the
“Add Camera” window. Check the cameras in the window and then click “Add” to add
playback camera.
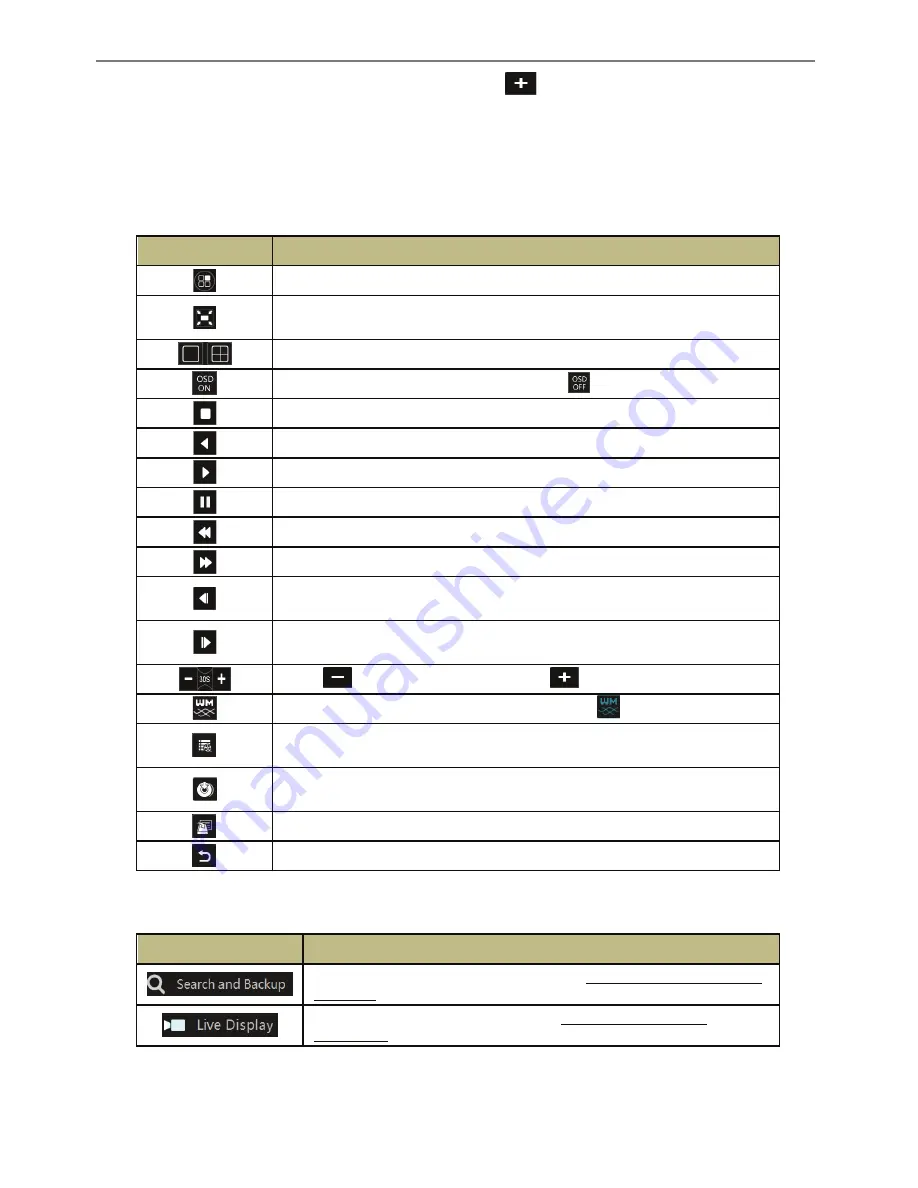
The buttons on the tool bar (area
①
) at the bottom of the playback interface are introduced in
the table below.
Button
Meaning
Start button. Click it to pop up area
②
.
Full screen button. Click it to show full screen; click it again to exit the full
screen.
Screen mode button.
OSD ON button. Click it to enable OSD; click
to disable OSD.
Stop button.
Rewind button. Click it to play video backward.
Play button. Click it to play video forward.
Pause button.
Click it to decrease the playing speed.
Click it to increase the playing speed.
Previous frame button. It works only when playing is paused in single screen
mode.
Next frame button. It works only when playing is paused in single screen mode.
Click
to step backward 30s and click
to step forward 30s.
Click it to show the water mark on the image; click
to hide the water mark.
Event list/tag button. Click it to view the event recording of
manual/schedule/sensor/ motion and the tag information.
Backup button. Drag the mouse on the time scale to select the time periods and
cameras, and then click the button to back up the record.
Backup status button. Click it to view the backup status.
Back button. Click it to return.
Introduction of area �:
Button
Meaning
Click to go to recording search interface; see 8.3 Record Search, Playback
& Backup for details.
Click to go to live preview interface; see Chapter 5 Live Preview
Introduction for details.
Click on the playback window to show the tool bar as shown in area
③
; right click on the
window to show the menu list. The tool bar and menu list are introduced in the table below.


