C
ONFIGURING
THE
O
NE
T
OUCH
B
UTTONS
35
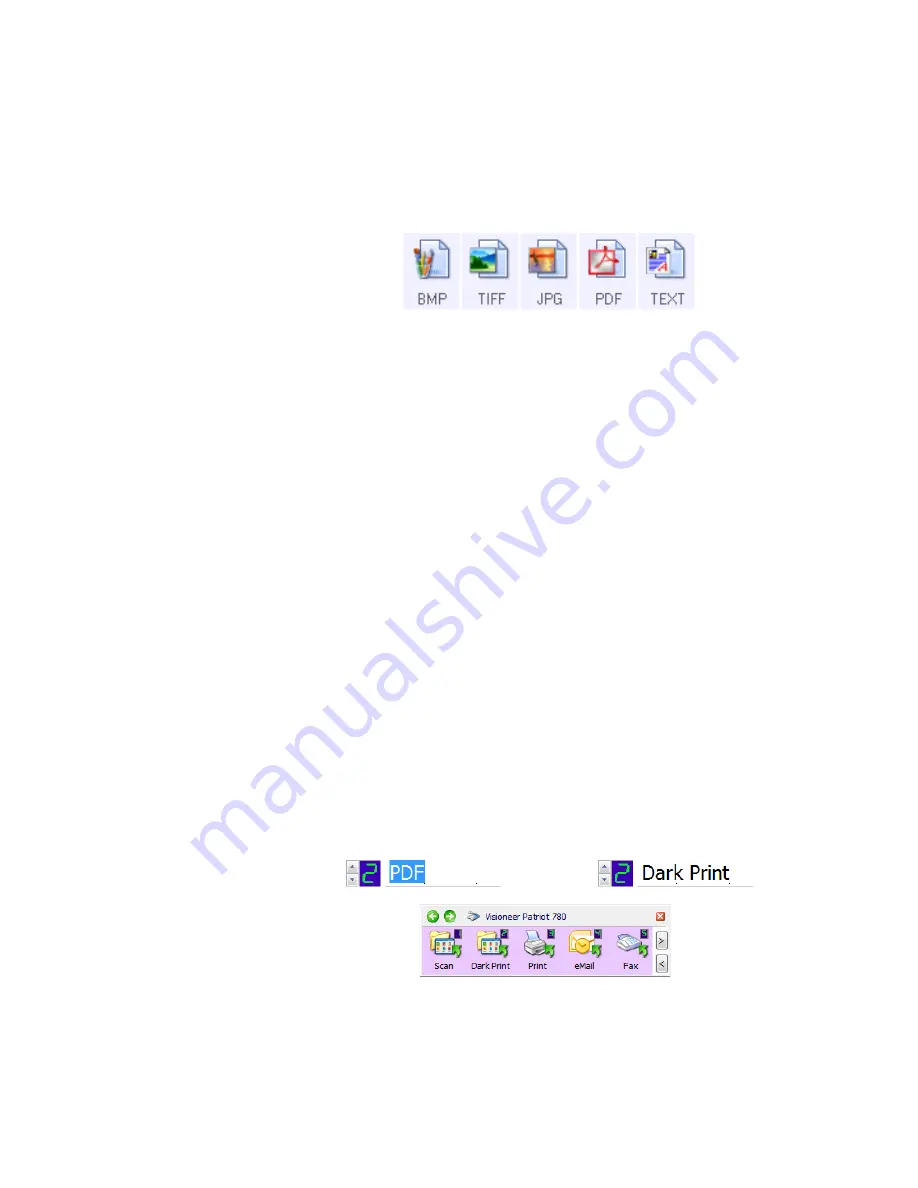
Select Format
—A set of file formats for the scanned image. The formats are
based on the type of destination you select. This example shows the formats
that apply to Microsoft Outlook and Transfer to Storage.
O
THER
O
PTIONS
IN
THE
O
NE
T
OUCH
P
ROPERTIES
W
INDOW
Options tab
—Displays a window for selecting OneTouch Properties options.
See “Selecting OneTouch Properties Options” on page 48.
Properties button
—Displays a window for selecting properties for each type
of Destination Application. See “Setting Destination Application Properties”
on page 50.
Refresh button
—If you install new applications on your computer, and they
do not appear in the
Select Destination
list, click the
Refresh
button.
New/Copy/Edit/Delete buttons
—Click
New
or
Copy
to add new scan
configurations to the list. Click
Edit
or
Delete
to change or remove them. See
the sections “Creating a New Scan Configuration” on page 36 and “Editing or
Deleting Scan Configurations” on page 43.
R
ENAMING
A
O
NE
T
OUCH
B
UTTON
The OneTouch buttons have names that identify their pre-set functions, such
as OCR and PDF, but you can edit the names.
1.
Open the OneTouch Properties window.
2.
Select the name’s text and type a new name.
3.
Click
OK
or
Apply
. The button is now renamed.


