VE810 Series 4 User Manual
84
© 2015 Vision Engraving Systems
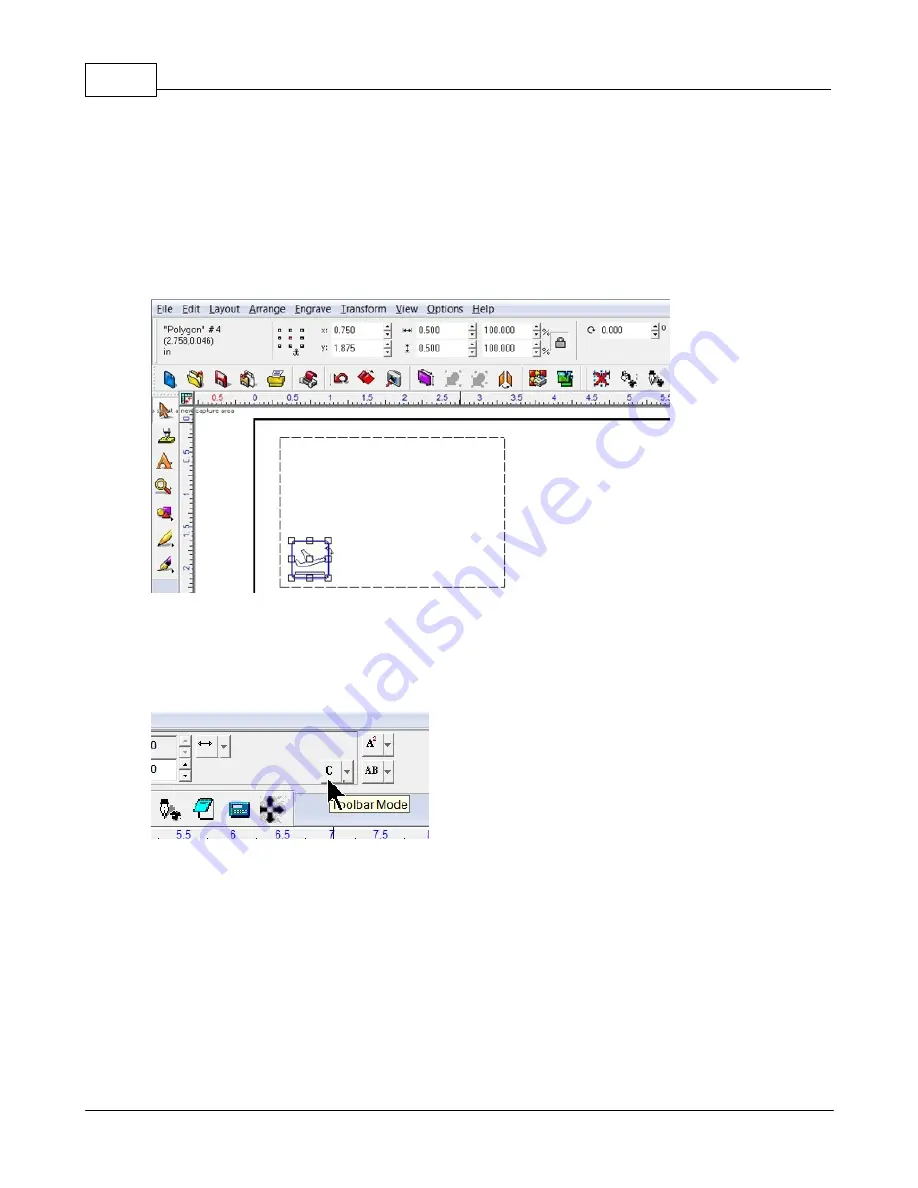
A Clip Art image will be added to the badge. The image is GENE0038.CDL from the Vision software clip
art in the General folder (installed as C:\Vision Express 9\ClipArt\GENERAL). To import the clip art,
simply browse the folder in Windows Explorer and drag the file to the engraving area on the plate within
the Vision software. the image will be quite large, so it must be re-sized to fit, either by changing the
size manually on the toolbar, or by selecting the object and clicking on a corner node (holding down the
left mouse button) and dragging the corner to make the image smaller.
For this example, the image was re-sized to 0.5 x 0.5 inches (12.7 x 12.7 mm) and located at X 0.75, Y
1.875 as shown below.
Next, three text fields are entered with the Text Compose tool. At first, when clicking in the middle of the
Plate Object, the text field is set to centered within the plate and auto sized. We will adjust the text frame
size and location using text Frame mode. To enable, select the Toolbar Mode Icon on the toolbar (only
visible after selecting text, or after clicking on the Text Compose icon, then clicking within the plate
object), then select the Frame mode. This will allow sizing and placement of the text field.


