


7 of 9 pages
CONTROLLER
RECEIVER
4) Move the Speed slider until Segment Display reads your desired value.
You may tap the Tap Sync button twice to define your beat time.
5) While pressing and holding down the Rec Speed button, tap the Flash
button (25-48) that stores the program.
6) The program will then run with the set time or beat when engaged.
7) Repeat steps 4 and 5 to set a new beat tine.
4. Chang the Speed Mode between 5 Minutes and 10 Minutes
1) Press and hold the Record button.
2) Tap the Flash button 5 of 10 three times while holding down the Record
button.
3) The 5 MIN or 10 MIN should light up indicating the Speed slider is set to
run in the 5 or 10 minute mode.
5. MIDI
5.1 Setting MIDI IN
1) Tap the Flash button 1 three times while holding down the Record button,
the Segment Display reads “CHI” indicating MIDI IN channel setup is
2) Tap the Flash button numbered from 1-16 to assign MIDI IN Channel
1-16, the relevant channel LED lights indicating MIDI IN channel is set.
5.2 Setting MIDI OUT
1) Tap The flash button 2 three times while holding down the Record
button.the Segment Display reads “CHO” indicating MIDI IN channel
setup is available.
2) Tap the Flash button numbered from 1-16 to assign MIDI OUT Channel
1-16, the relevant channel LED lights indicating MIDI OUT channel is
set.
5.3 Exit MIDI Setting
Press and hold down the Record button, While holding down the Record
button tap the Rec Exit button to exit MIDI setting.
5.4 Receiving MIDI File Dump
Tap the Flash button 3 three time while holding down the Record button, the
Segment Display reads “IN” indicating the controller is ready to receive
MIDI file dump.
5.5 Sending MIDI File Dump
Tap the Flash button 3 three time
while holding down the Record button, the
Segment Display reads Speed button, the corresponding program will not
run with the Standard “OUT” indicating the controller is ready to send a file
NOTE:
1) During file dump, all other operations will not function. Functions will
automatically return when the file dump is completed.
2) File dump will be interrupted and stop if errors occur or power failure
5.6 Implementation
1) During receiving and sending MIDI data, all MIDI scenes and channels
being run will automatically paused if there is no response within 10
minutes.
2) During receiving and sending file dump, the controller will automatically
search for or send Device ID of 55h(85), a file named DC2448 with an
extension of “BIN(SPACE)”.
3) File dump allows this controller to send its MIDI data to next unit or ot
other MIDI devices.
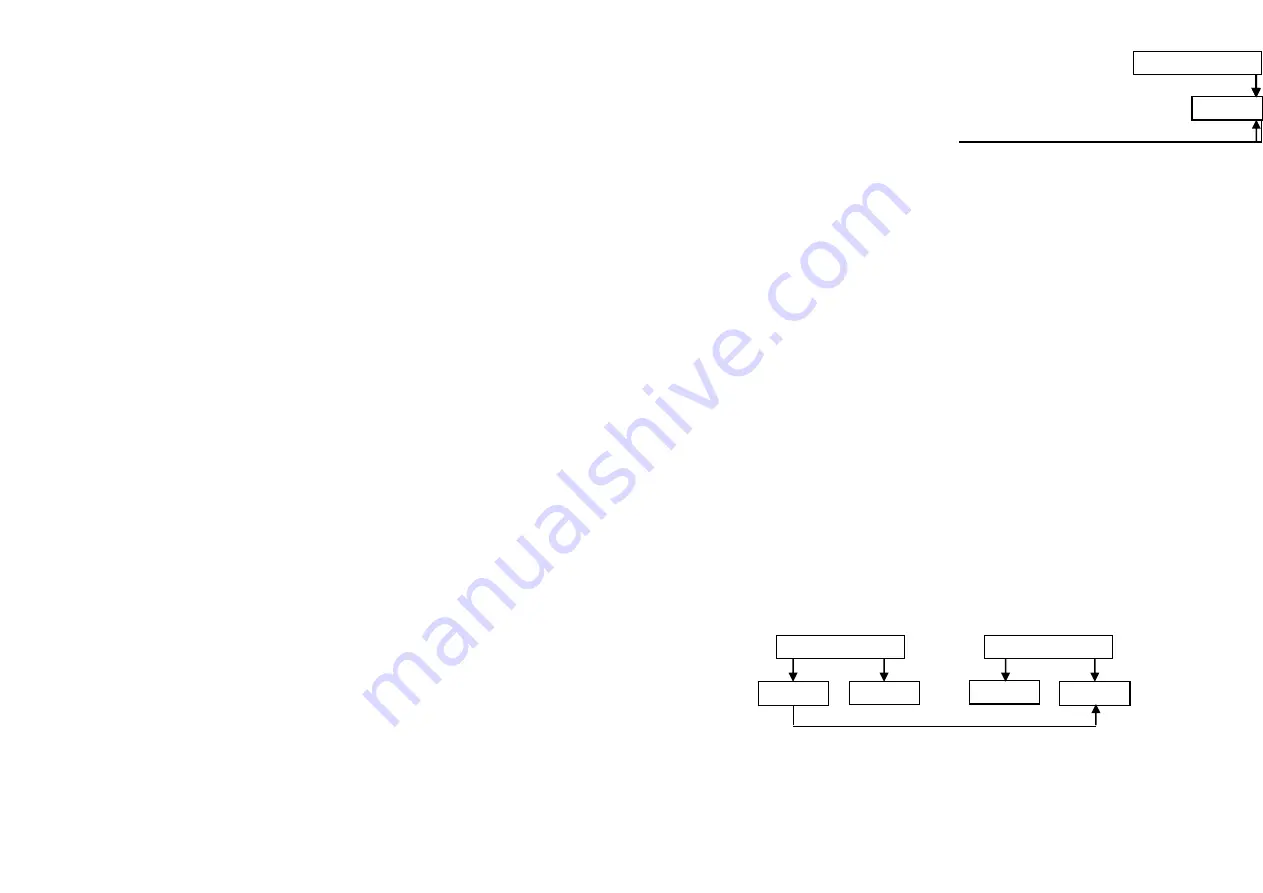
4) There are two types of file dump mode described as below;
Open
Loop
Mode
CONTROLLER
MIDI OUT
MIDI IN
RECEIVER
MIDI IN
MIDI OUT
MIDI OUT
MIDI IN
MIDI IN
MIDI OUT


