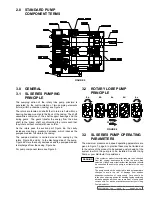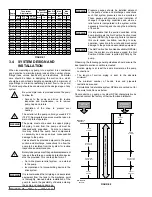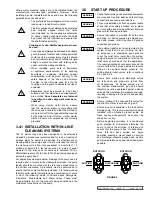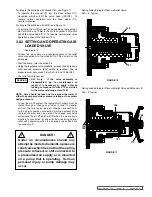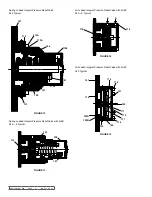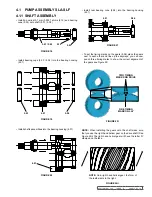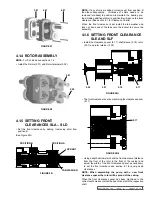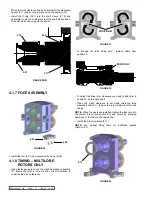
fIGURE 48
6
4
7
2
8
1
5
3
5.05
fIGURE 47
5.03
fIGURE 49
MaCHINEd
faCE
fIGURE 50
5.11
5.05
fIGURE 51
5.22
TWO TIMING
MaRKs ON dRIVE
ONE TIMING
MaRK ON laY
fIGURE 52
SECTION TSM 288
ISSUE
A
PAGE 19
OF 36
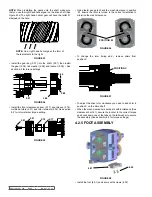
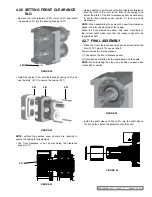
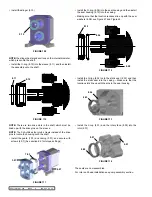
• Install the bearing cone (5.03) and the bearing pre-load
spacer (5.05) secure using the M12 screws (5.20) see Figure
48 for the correct order to tightening the screws also see
section 6.2 for torque settings.
4.2.2 ROllING TORQUE /
PRE-lOad
Use a torque meter to check the rolling torque see section 6.2
for torque settings
The rolling torque as standard with new components will be
under the required amount and will require adjustment.
• To adjust the pre-load modify the size of the bearing pre-load
adjustment spacer (4.10)
NOTE:
When machining the spacer make sure small cuts are
taken i.e. 0.02 mm – 0.03
4.2.3 fINal PRE-lOad assEMblY
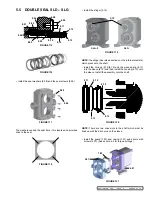
• When the pre-load is set remove the bearing pre-load spacer
(5.05) and install the front lip-seals (5.11) – refer to lip-seal
setting distances section 6.3
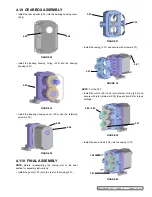
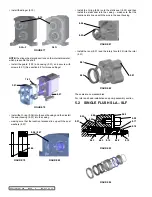
• Install the gearbox O-ring (5.22) and secure the pre-load
spacer (5.05) with the M12 screws (5.20) see Figure 48 for
the correct order to tightening the screws also see section
6.2 for torque settings.
4.2.4 TIMING – MUlTIlObE ROTORs
ONlY
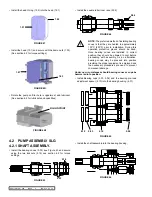
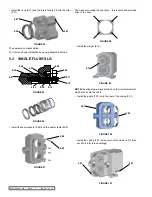
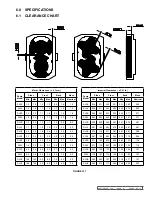
• To set the timing marks on the gears (5.06) lay the gears
next to each other and line up the keyways, You can now
punch three timing marks to show the correct alignment of
the gears see Figure 52

