37
Chapter 5: Analog Video Driver Properties
SwiftCap:
• Pull down the Capture menu, select
Settings…
• Select the device from the drop list in the
upper left corner of the Capture Settings
dialog box.
• Real Producer 8, VidCap32, and other
Video for Windows applications:
• Refer to Using the Osprey AVStream
Driver with Video for Windows
Applications, below.
A
CCESSING
THE
P
ROPERTY
P
AGES
From Windows Media Encoder 9:
1. In the View menu, select Properties Panel.
2. Click the Confi gure… button to the
right of the video device name.
You can select the input to the device directly
from the ensuing dialog. For other device
settings, click the Video Properties button.
From Helix Producer Plus:
• For audio, click “Settings” to the right of
the “Audio:” drop box, and select “Vendor-
Provided Controls” from the drop list.
• For video, click “Settings” to the right
of the “Video:” drop box. Select
“DirectShow Filter Video Capture” from
the drop list to set up the Osprey device.
Select “DirectShow Pin” to set up the
capture pin on the Osprey device.
Set up “DirectShow Filter Video Capture” the way
you want it before you set up the capture pin.
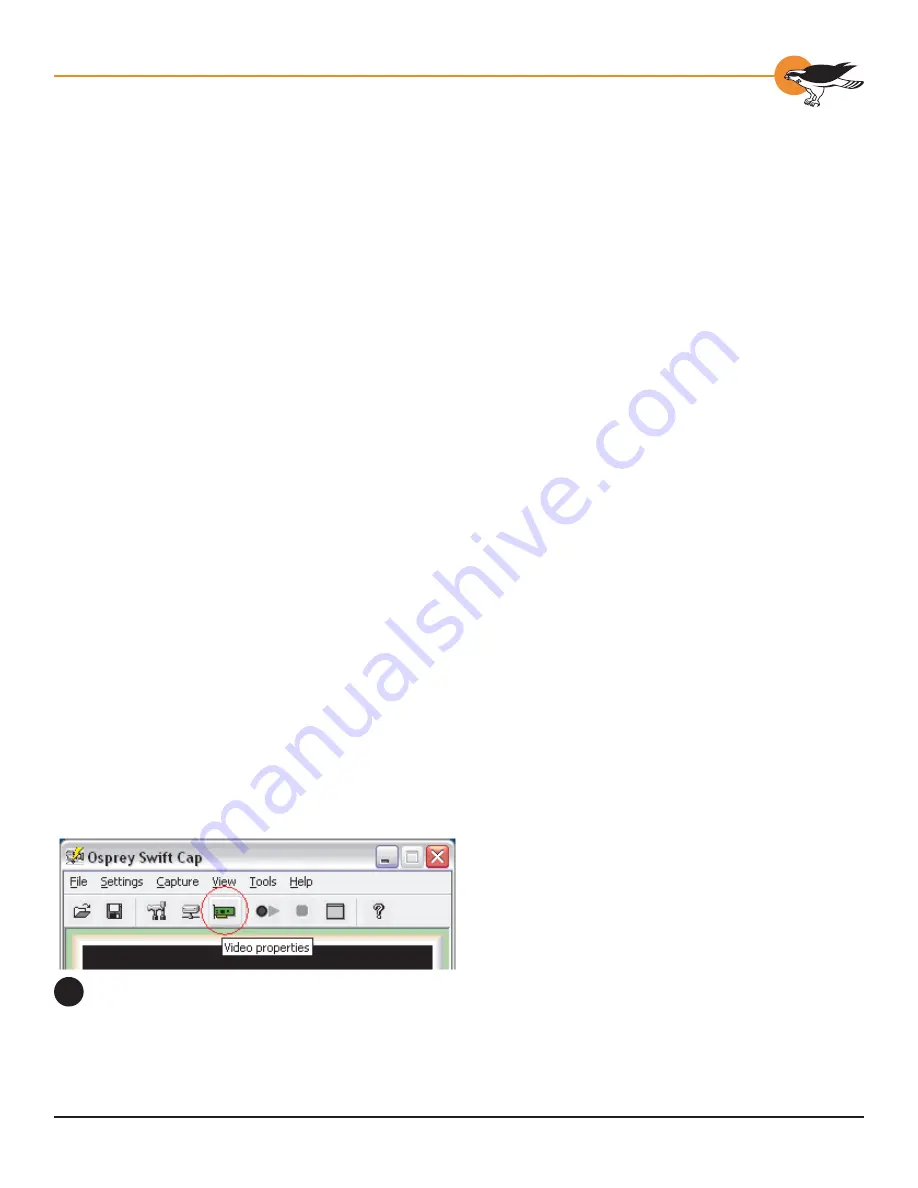
From SwiftCap:
Click the Video Properties toolbar icon (figure 2).
From Real Producer 8, VidCap32, and other
Video for Windows applications:
Refer to Using the Osprey AVStream Driver with
Video for Windows Applications, below.
The Video Properties Toolbar icon in
SwiftCap.
2
Summary of Contents for Osprey-300
Page 1: ...Osprey 300 User s Guide...


