6
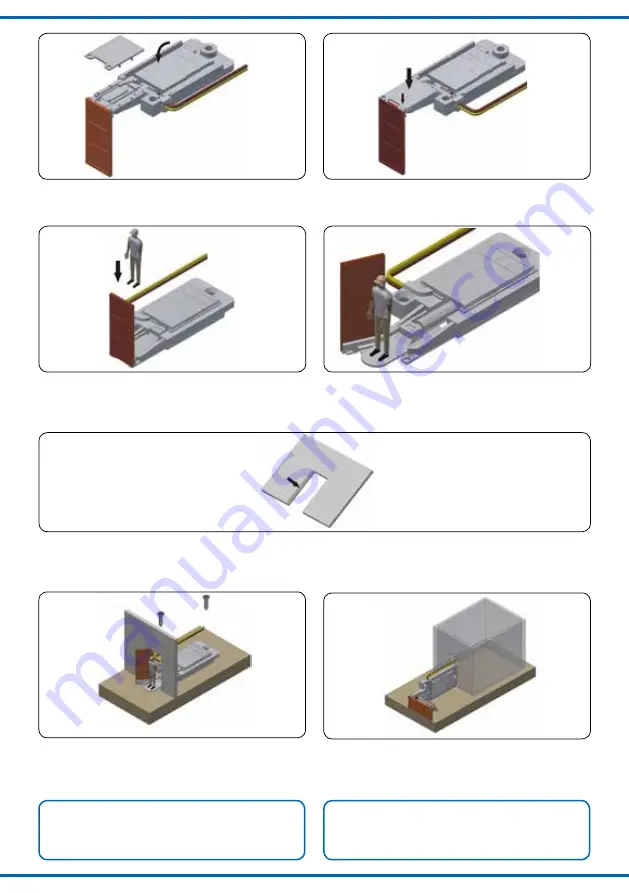
Fig. 3.1
Fig. 3.2
Fig. 2.7
Fig. 2.9
Fig. 3
Fig. 2.8
Fig. 2.10
Abb. 3.1
Abb. 3.2
Abb. 2.7
Abb. 2.9
Abb. 3
Abb. 2.8
Abb. 2.10
Ein Anbringen der Figur ist jetzt bei geschlossener Tür
möglich. Achtung: die Breite der Figur ist durch die Tür-
öffnung begrenzt. (Abb. 2.9, Abb. 2.10).
3.3 Einbau in das Modellhaus
Den Türpfosten an der Seite, an der sich die Türdrehach-
se befindet, ggf. mit einer Feile so bearbeiten, dass die
Tür so weit wie möglich geöffnet werden kann (Abb. 3).
Setzen Sie den Antrieb an die vorgesehene Stelle des
Modellhaus und deren Türöffnung (Abb. 3.1).
Befestigen Sie den Antrieb mit den beiliegenden Schrau-
ben (5) (Abb. 3.1).
Tipp:
Bei einem eingebauten Modellhaus können Sie den
Antrieb notfalls auch durch die Türöffnung installieren
(Abb. 3.2, Abb. 3.3, Abb. 3.4).
At this stage it is possible to mount the figure when the
door is closed. Attention: The width of the figure is limited
by the door opening (fig. 2.9, fig. 2.10).
3.3 Mounting in the model house
Where necessary, work the door post at the side of the
pivotal point with a file in a way that the door can be
opened as wide as possible (fig. 3).
Position the drive at the designated spot of your model
house and its respective door opening (fig. 3.1).
Fasten the drive with the enclosed screws (5) (fig. 3.1).
Hint:
If the model house is already mounted, you can install
the drive also through the door opening, if necessary
(fig. 3.2, fig. 3.3, fig. 3.4).
Summary of Contents for 4570
Page 20: ...20 Notizen Notes ...


