


21
• New Server Time
Select your time zone from the drop-down list. If you want the server clock to automatically
adjust for daylight savings time, select the “Automatically adjusts for daylight saving time
changes”.
From
the
Time Mode section, select the preferred method to use for setting the time:
-
Synchronize with computer time: Sets the time from the clock on your computer.
-
Synchronize with NTP Server: The network camera will obtain the time from an NTP
server every 60 minutes.
-
Set manually: This option allows you to manually set the time and date.
• Date & Time Format
Specify the formats for the date and time (12h or 24h) displayed in the video streams.
Select Date & Time format from the drop-down list.
- Date Format: Specify the date format. YYYY: Year, MM: Month, DD: Day
-
Time Format: Specify the date format. 24Hours or 12 Hours
When the settings are complete, click Save, or click Reset to revert to previously saved settings.
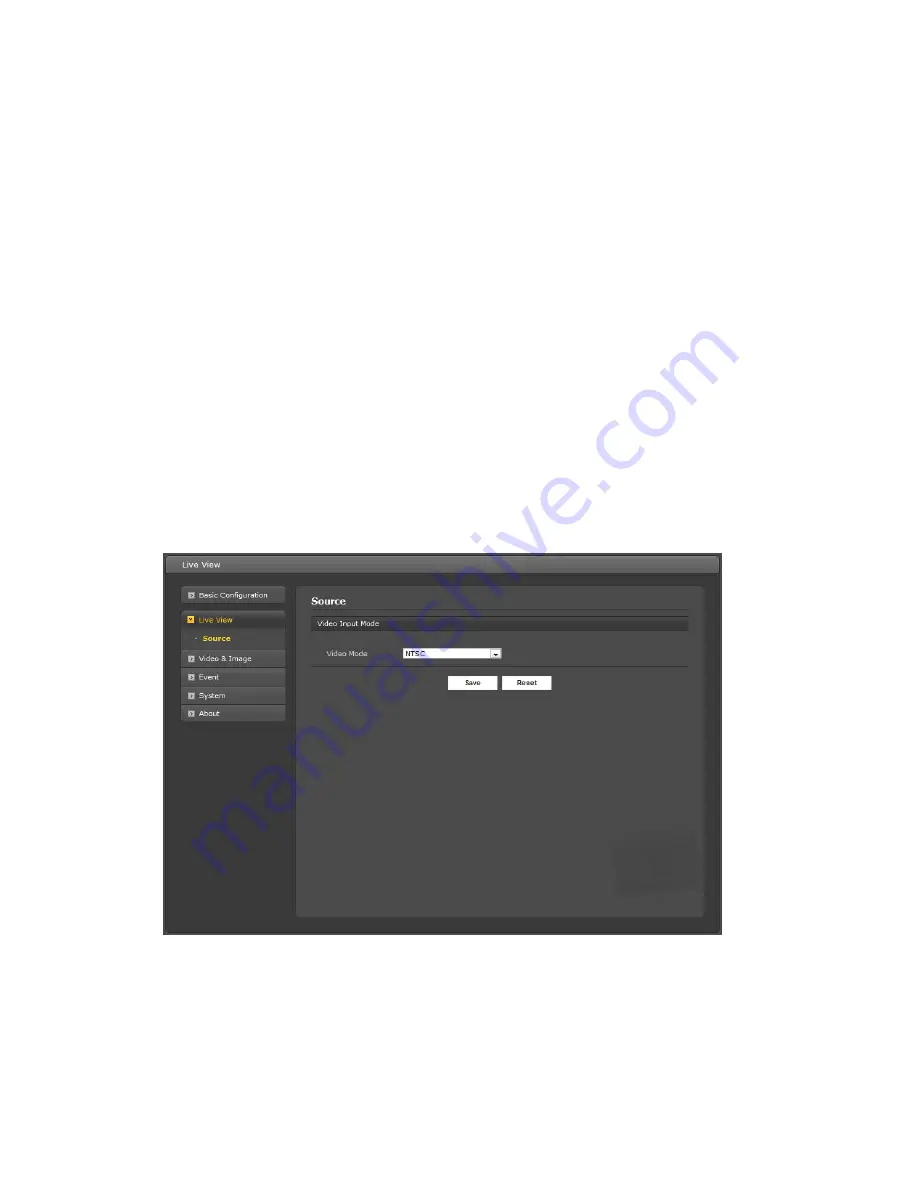
3.5.2 Live View
Source
Use the Video Mode drop-down list to select the video input mode, NTSC or PAL. This defines the
Video Output Port for the Service Monitor.
When the settings are complete, click Save, or click Reset to revert to previously saved settings.
Summary of Contents for CE102D
Page 9: ...9 Locking Screw Camera Dimension Refer to the diagrams below for exact dimensions...
Page 22: ...22 3 5 3 Video Image Basic Refer to 3 5 1 Basic Configuration Video Image for more details...
Page 71: ...CE102D Network Indoor Camera Dome Vicon Industries Inc Internet Address www vicon security com...


