


Chapter 2
Using the Port Selection and Domain Setup Window
Discovering Sync Groups on the Network
Xgig Maestro Introduction Guide
November 2015
Version 8.1
Page 13
The
Chassis
view displays a graphic of the chassis in the Sync Group you select in the
Sync Group pane.
The
Domain(s)
pane lists the domains in the selected Sync Group.
The
Authentication Password
area is used to enter the password required to access
secured Sync Groups.
The
New Domain Specification
area provides an entry field for a name you assign to
domains you set up.
The
Port LEDs
area provides buttons to blink LEDs on the blades in the Xgig chassis.
The
Refresh
button updates the graphic on the screen.
The
Close
button closes the Port Selection and Domain Setup window.
Discovering Sync Groups on the Network
By default, the window displays all the Sync Groups found in the same subnet as your
client.
To discover a Sync Group elsewhere on your network:
1
Click the
Port Selection and Domain Setup
button to open the window where you
locate and set up the chassis and ports that you want to use as Xgig BERTs, Xgig
Jammers, Xgig Generators, Xgig Target Emulator, Xgig Load Tester, and Xgig Delay
Emulator.
2
In the Address text field at the top of the Port Selection and Domain Setup window,
enter the name or IP Address of the chassis you want to use. Or click on the down
arrow at the right end of this field to open a drop-down list of recent entries.
3
Click
Discover
.
If the application can discover the chassis, it displays the chassis in the Sync
Group(s) pane on the left side of the Port Setup window. The application displays the
entire Sync Group to which that chassis belongs. In addition, all Sync Groups found
in that same subnet of your network are discovered.
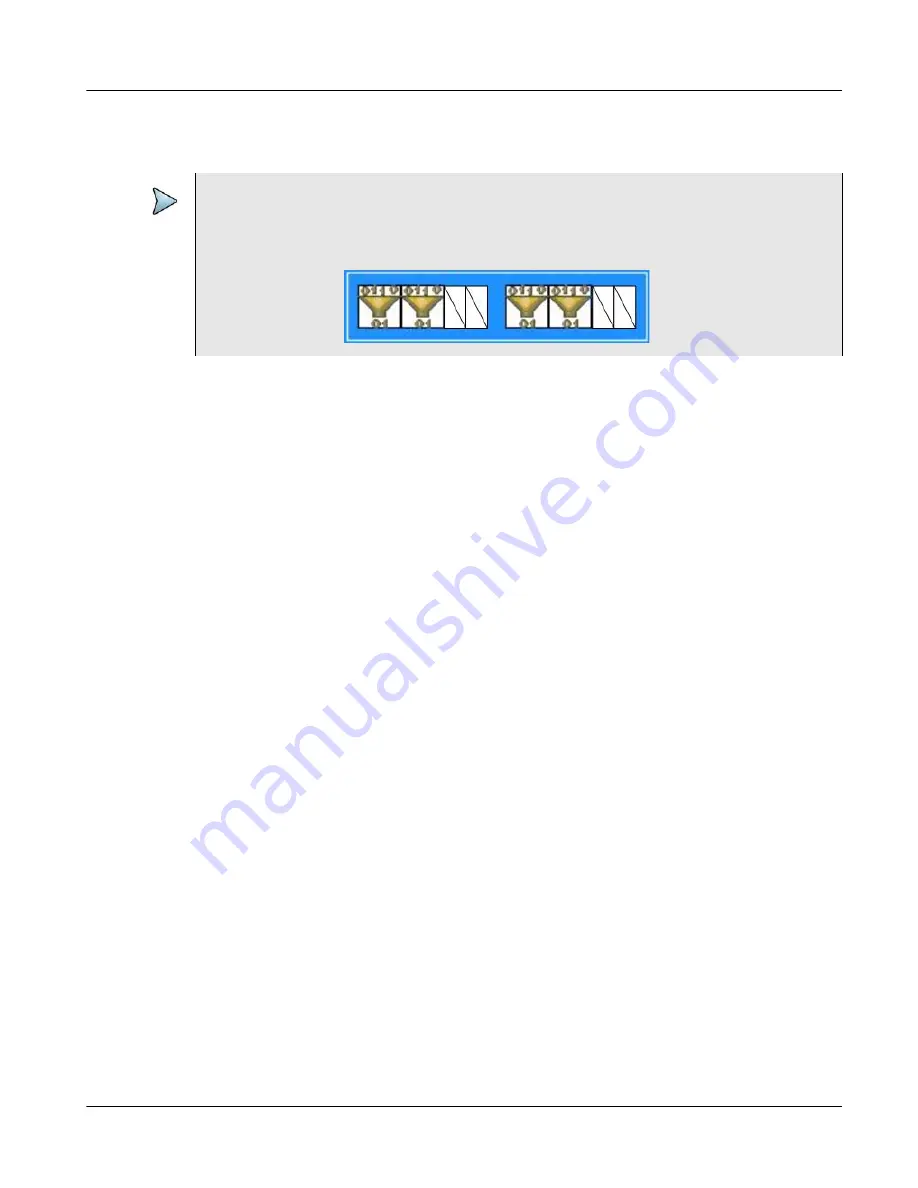
NOTE
The 6 Gigabit SAS/SATA Wide Port Analyzer (Xgig-LXP) and the 6 Gibabit SAS/SATA
Multi-Function blade each have four ports although eight ports are shown in the chassis
view. The four non-operational ports are displayed with a diagonal line as shown here:


