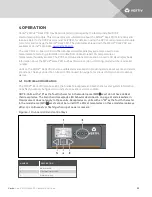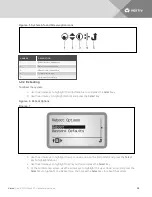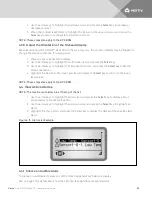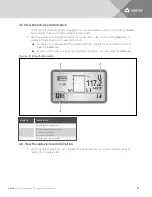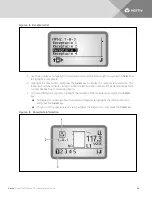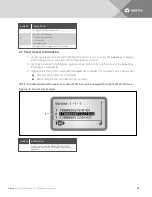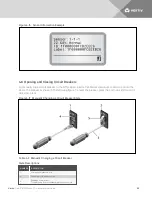
Figure 3.9 RPC BDM
NUMBER
DESCRIPTION
1
Scan switch
2
RJ-45 communication and power input port
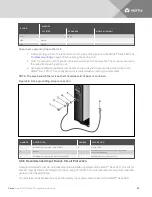
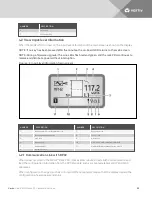
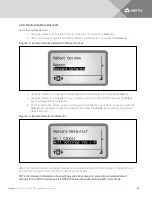
To install an RPC BDM in a rack:
1. Determine the mounting location on the frame member where the RPC BDM will be installed.
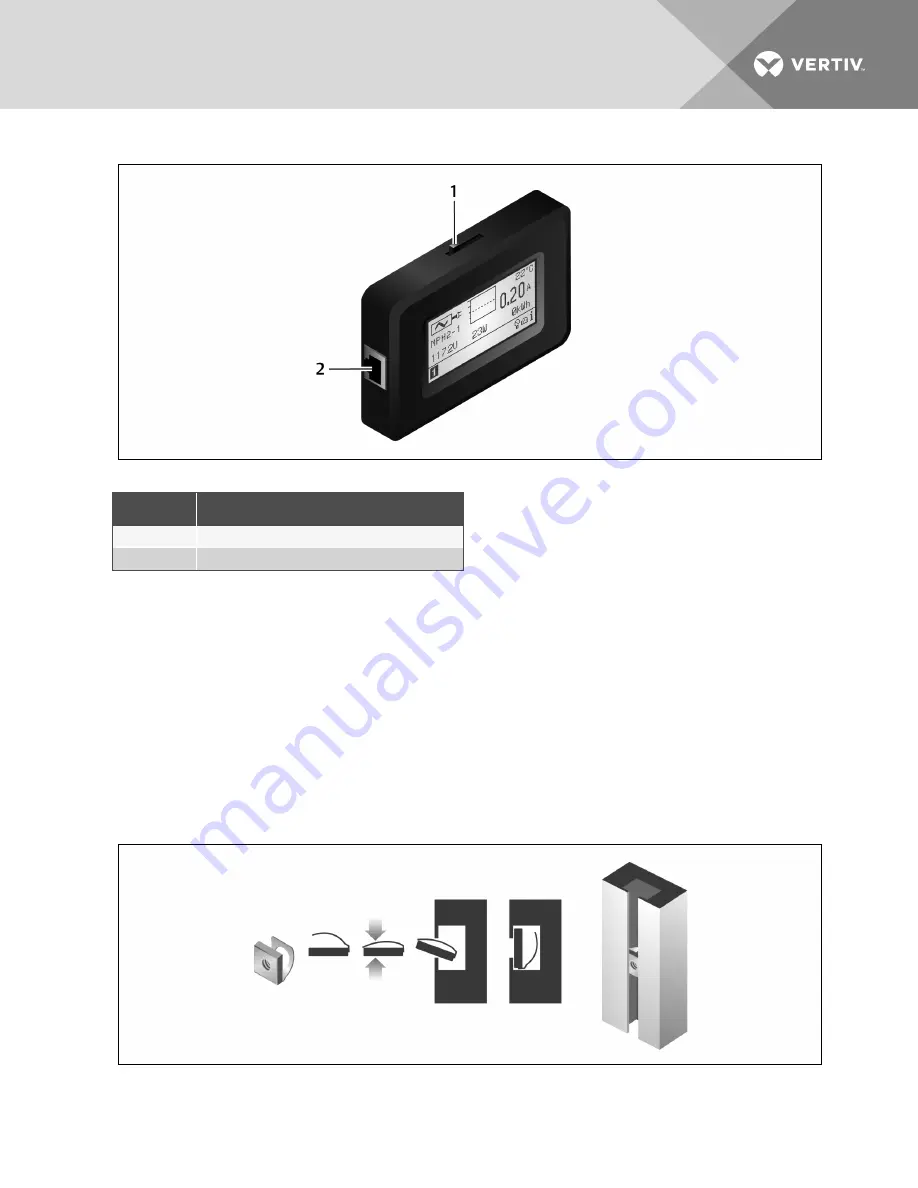
2. Insert a spring nut into a T-slot and flip it so that it is square in the slot as shown in the
following figure.
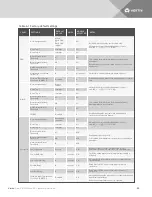
3. Insert the MPH2™ Rack PDU screw into the spacer sleeve.
4. Insert the MPH2™ Rack PDU screw into the spring nut and tighten securely with a flat-head
screwdriver.
5. Hang the RPC BDM on the screw with the hooded mounting slot on the back of the RPC BDM.
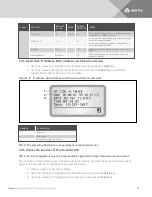
6. Connect the RPC BDM to the RPC2 with an Ethernet cable.
7. Be certain to connect the cable to the display port on the MPH2 rack PDU.
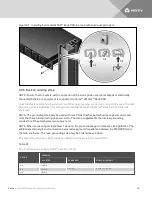
Figure 3.10 Inserting the spring nut into a T-slot
Vertiv
| Vertiv™ MPH2 Rack PDU Installer/User Guide
23
Summary of Contents for MPH2
Page 1: ...Vertiv MPH2 Rack PDU Installer User Guide ...
Page 16: ...Vertiv Vertiv MPH2 Rack PDU Installer User Guide 12 This page intentionally left blank ...
Page 42: ...Vertiv Vertiv MPH2 Rack PDU Installer User Guide 38 This page intentionally left blank ...
Page 48: ...Vertiv Vertiv MPH2 Rack PDU Installer User Guide 44 This page intentionally left blank ...
Page 49: ......


