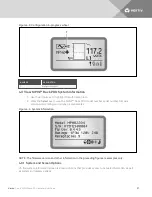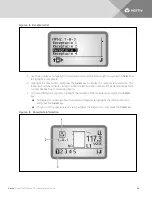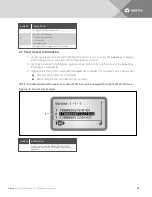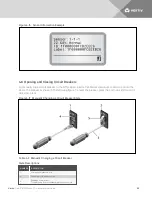
4. Use the arrow keys to highlight the up/down arrow, and press the
Select
key to increase or
decrease contrast.
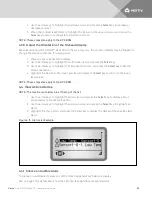
5. When the contrast is satisfactory, highlight the Return to Previous Level icon, and press the
Select
key to return to the system-information screen.
NOTE: These steps also apply to the RPC BDM.
4.3.6 Adjust the Orientation of the On-board display
Because mounting of the MPH2™ Rack PDU in the rack may vary, the on-board display may be “flipped” to
change the screen orientation for viewing ease.
1. Press any key to activate the display.
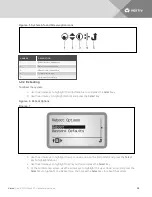
2. Use the arrow keys to highlight the Information icon, and press the
Select
key.
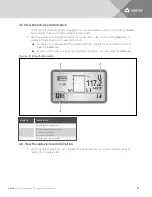
3. Use the arrow keys to highlight the Flip-orientation icon, and press the
Select
key to flip the
screen orientation.
4. Highlight the Return to Previous Level icon and press the
Select
key to return to the input-
level screen.
NOTE: These steps also apply to the RPC BDM.
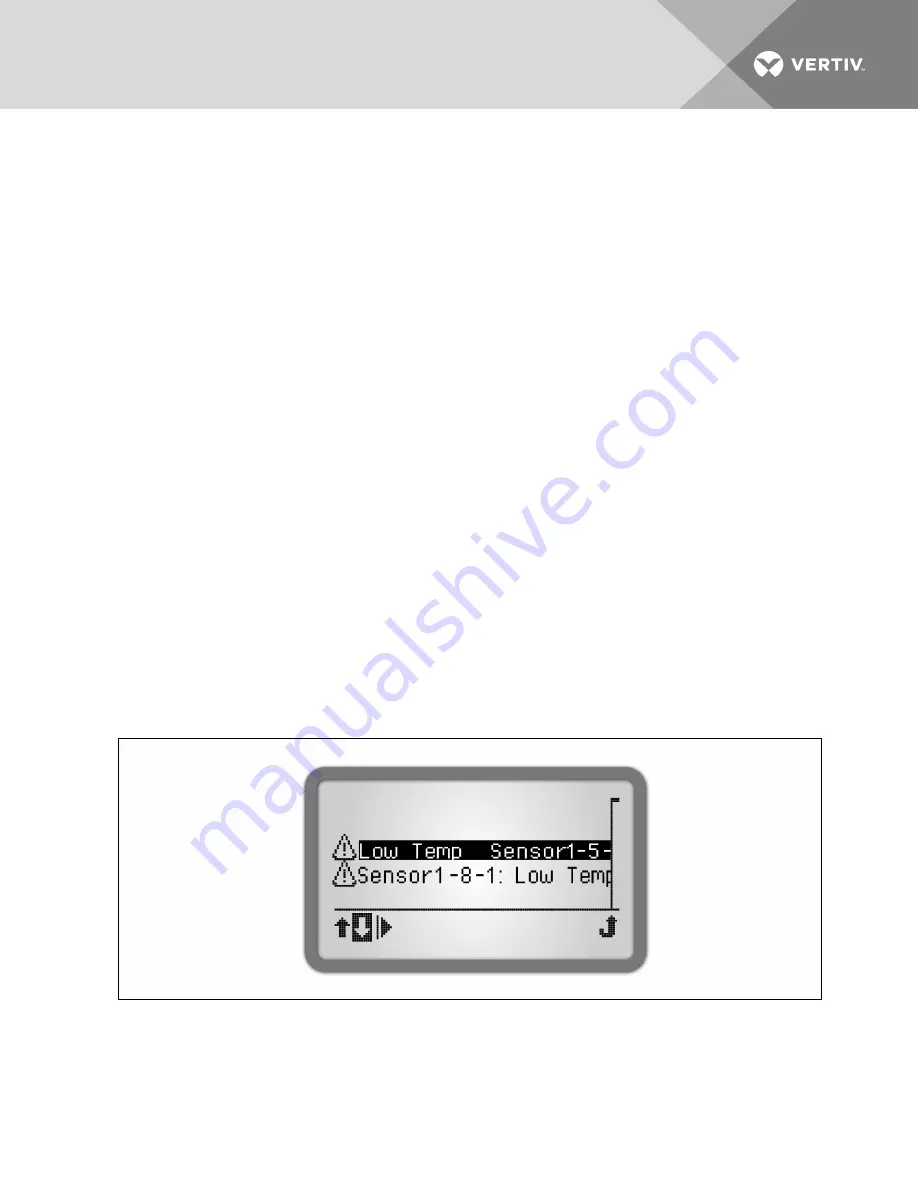
4.4 View Active Alarms
NOTE: The most-recent alarms are at the top of the list.
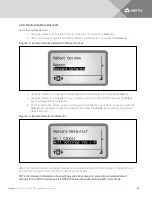
1. Use the arrow keys to highlight the Alarm icon, and press the
Select
key to display a list of
active alarms on the MPH2 rack PDU.
2. Use the arrow keys to highlight the up/down arrow, and press the
Select
key to highlight an
alarm.
3. Highlight the Play button, and press the Select key to display the details of the specific alarm
alarm.
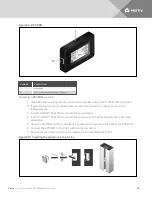
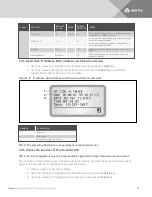
Figure 4.11 Alarm List Example
4.4.1 Silence an Audible Alarm
To silence an audible alarm, press any of the three navigation keys below the display.
See on page 41 for details about how the LED interface signifies events and alarms.
Vertiv
| Vertiv™ MPH2 Rack PDU Installer/User Guide
32
Summary of Contents for MPH2
Page 1: ...Vertiv MPH2 Rack PDU Installer User Guide ...
Page 16: ...Vertiv Vertiv MPH2 Rack PDU Installer User Guide 12 This page intentionally left blank ...
Page 42: ...Vertiv Vertiv MPH2 Rack PDU Installer User Guide 38 This page intentionally left blank ...
Page 48: ...Vertiv Vertiv MPH2 Rack PDU Installer User Guide 44 This page intentionally left blank ...
Page 49: ......

