SensorDAQ User's Manual
2
Quick Start
Install Software
Install National Instruments application software LabVIEW 7.1 or newer.
1.
The SensorDAQ CD contains necessary drivers and sample programs that you
can use to get started collecting data and programming with SensorDAQ.
•
Place the CD in the CD-ROM drive of your computer.
•
Installation will launch automatically. If not, choose
Settings
→
Control Panel from the Start menu. Double-click
Add/Remove Programs. Click the Install button in the dialog
box.
•
The installer will launch, and a series of dialog boxes will
step you through the installation of the NI-DAQ software. We
recommend that you accept the default directory.
•
Copy the VI sample folder “SensorDAQ
”
from the CD to the
user.lib folder located in the most recent version of LabVIEW
– National Instruments\LabVIEWxx\user.lib
Note: If you have Windows 2000, change the property of the
SensorDAQ folder so that it is not Read Only.
•
Proper installation of the driver requires that you reboot your
computer.
Connect Equipment
2.
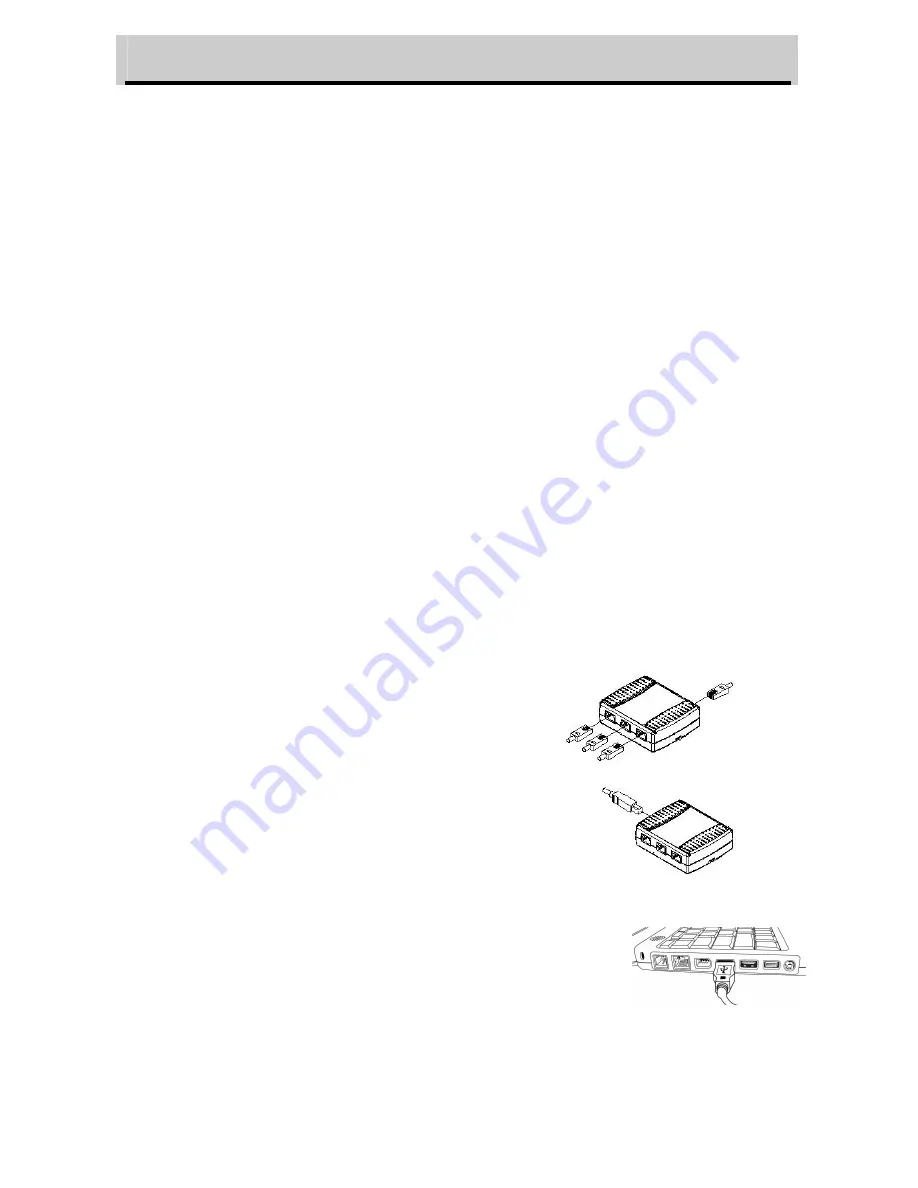
Connect a Vernier sensor to
SensorDAQ. If you get a “Found New
Hardware
”
message, choose Next.
3.
Connect the USB cable to SensorDAQ.
4.
Attach the other end of the USB cable to any
unused USB port on your computer. The green
LED next to the USB cable port on the
SensorDAQ should be blinking.


