23
24
Configuration
3.
Under
Download unsigned ActiveX controls
, click
Prompt
(recommended) or
Enable
.
Select Enable or Prompt under
Download unsigned ActiveX controls
Click OK
4.
Click
OK
. Click
OK
again to save changes.
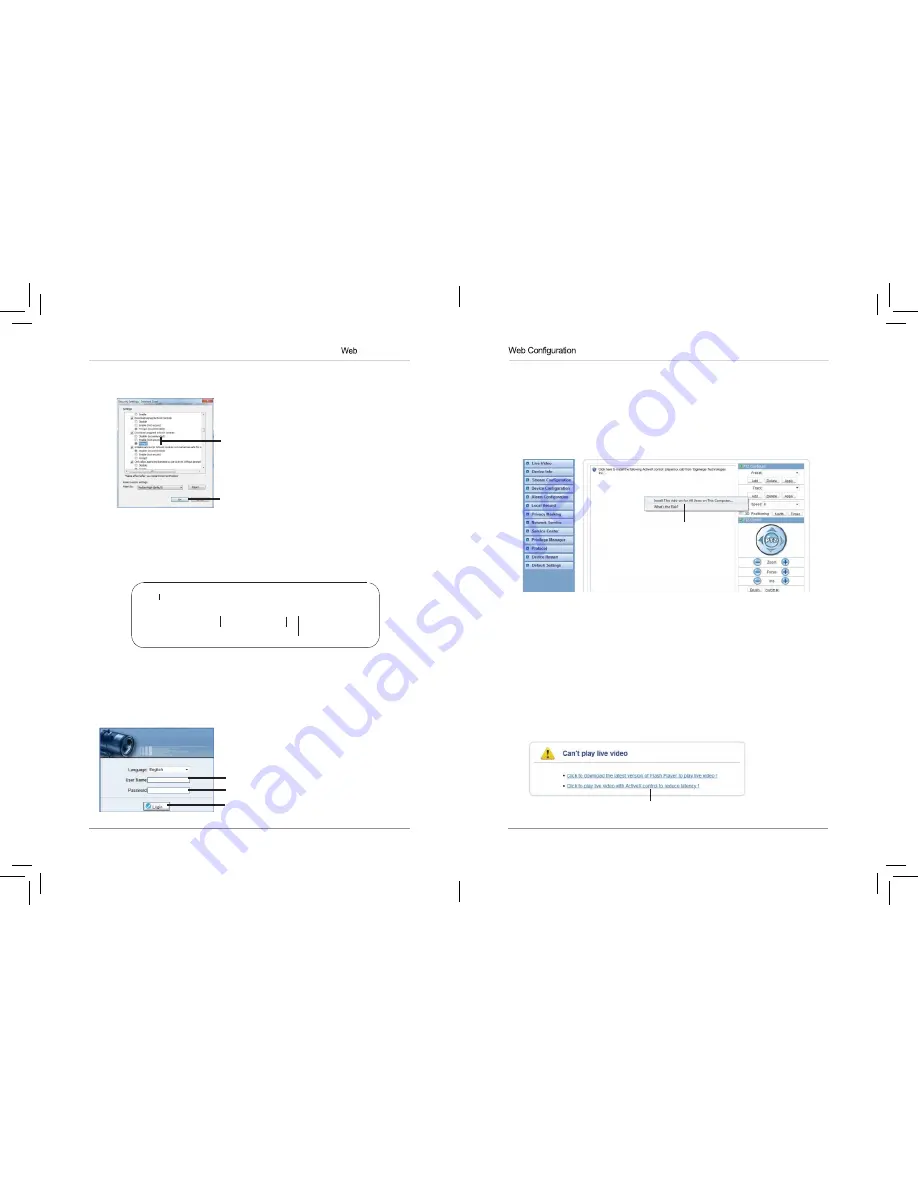
Step 2 of 2: Log into camera:
1.
Connect the camera to your local network and find the camera’s IP
address. See “6. Finding the Camera’s IP Address” on page12.
2.
Enter the camera’s IP address in the address bar in the following format:
http://
http://
192.168.0.120
:
80
IP address
Colon
HTTP port number
NOTE:
You can also connect to the camera using a DDNS address (DDNS
setup and port forwarding required; see “7. Configuring Remote
Connection” on page 16 for details).
3.
Under
User Name
and
Password
, enter the camera’s User Name
(default:
admin
) and Password (default:
admin
) and click
Login
.
Enter Camera User Name (default:
admin
)
Enter Camera Password (default:
admin
)
Click Login
4.
If your computer has Flash Player installed, the main screen for the
camera web interface opens. From here you can view and configure the
camera.
NOTE:
The ActiveX plug-in may provide smoother video performance than
Flash Player. To use ActiveX, click the message above the video window.
Then click inside the video area,
select Install this Add-on for all users on
this computer
, and follow the prompts.
Install ActiveX plug-in
NOTE:
If your computer does not have Flash Player installed, you will be
prompted toselect if you wouldlike touseActiveXor FlashPlayertoconnect
to the camera:
•
Click to play live video with ActiveX control to reduce latency
(recommended):
Uses an ActiveX plug-in to connect to the camera. To
install the plug-in, click on the video area, and select
Install this Add-on
for all users on this computer
, and follow the prompts.
•
Click to download the latest version of Flash Player to play live video:
Opens a link to download Flash Player from Adobe’s website. After
completing the installation, restart your browser and reconnect to the
camera.
Select ActiveX or Flash Player


