background image

28

Information about the lithium ion battery:

 The lithium ion battery can only be 

charged within a temperature range of 0-45 °C. It takes approximately 5 hours to fully 
charge the battery. Please note the safety instructions when operating the battery! 
The battery life without an external power source is approx. 4 hours when the device 
is being used for navigation and approx. 5 hours when the device is being used as an 
MP3 player . 
In many countries it is forbidden to dispose of empty batteries with normal household 
waste. Please find out the regulations that apply in your area regarding the disposal 
of used batteries.

Assembly and Mounting

On no account should the screen be adjusted by moving the device itself.

Dismounting:

 To detach the device, switch the pressure lever in the opposite direc-

tion and carefully pull the transparent rubber end of the suction cup to remove it from 
the window.

Initial Setup

When you switch on the navigation system for the first time,
you must firstly deactivate the transport safety switch. This can
be done by performing the following steps:

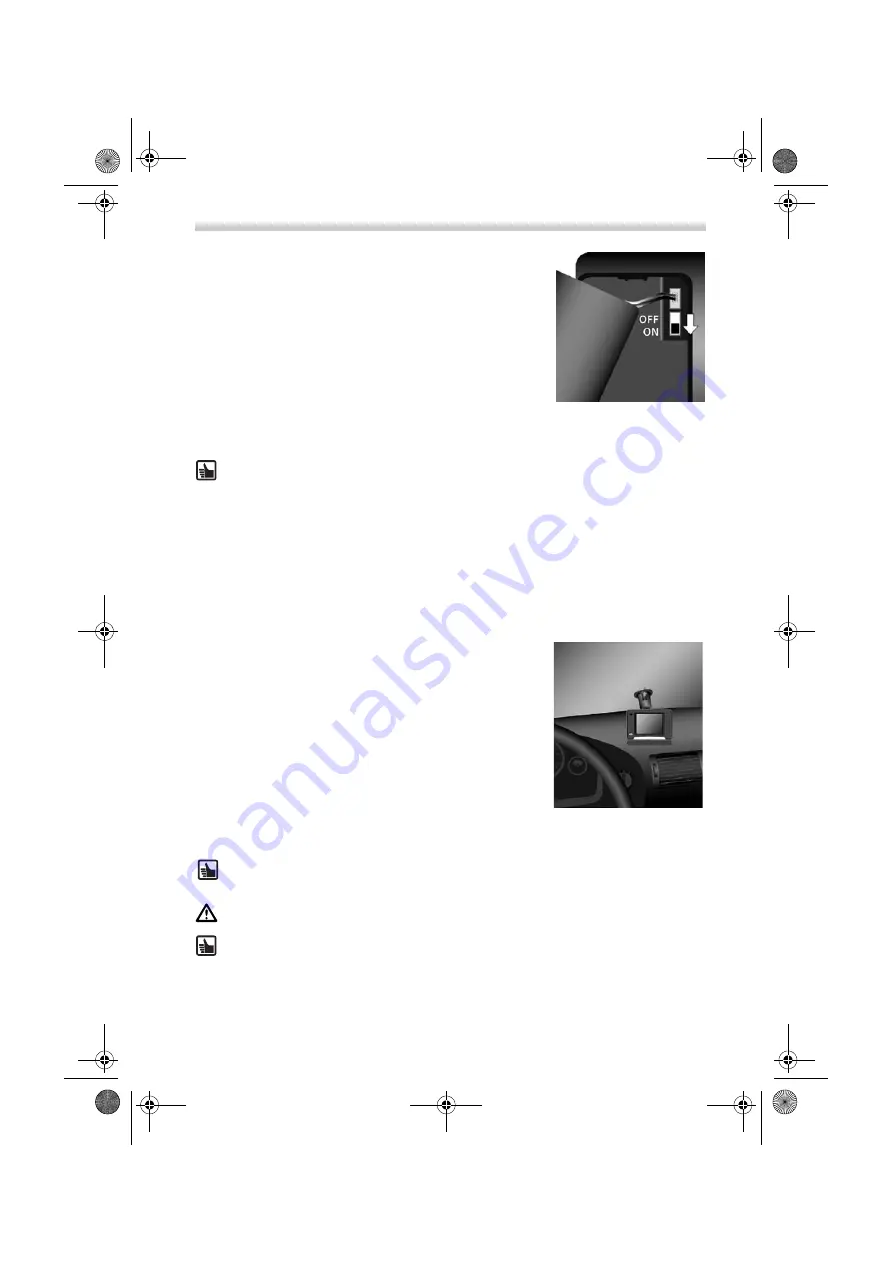
Open the battery compartment and lift up the battery. Here 
it is important that the connecting cable is not unplugged. 

Next to the cable socket, you will see a small switch. Move 
the switch downwards in order to activate the power sup-
ply.

Connect the navigation system to a power supply - either to 
the vehicle's cigarette lighter or the 100V/240V mains supply. The battery will then 
start to charge.

To mount the device in the vehicle, proceed as follows:

Find a suitable place in the vehicle for mounting the mount. 
The screen be must be clearly visible from the driver's seat 
but the device should not obscure the driver's view. 

Please note the safety instructions when choosing the loca-
tion page 23. 

Attach the navigation system near to the dashboard so that 
it will not cause any damage if it falls down. 

Using the cloth provided, clean the area of the windscreen 
that you wish to stick the suction cup to. This is to remove 
grease and dust from the area.

Press the suction cup against the glass and move the pres-
sure lever towards the glass until it locks into place.

Attach the navigation system to the mount and make sure it is firmly locked in place.

Extensive information on installation can be found in the detailed installation instruc-
tions provided.

Initial Setup and Mounting

MS2000-2100Traffic.book  Seite 28  Mittwoch, 4. Januar 2006  3:02 15

Summary of Contents for MS 2000 -

Page 1: ...portant Notes Premiers pas et instructions importantes Primeros pasos y advertencia importante Primi passi e avviso importante Primeiros passos e avisos importantes Aan de slag en belangrijke aanwijzingen Komma igång och viktiga anvisningar Komme i gang og viktige råd Kom i gang og viktige anvisningar MS 2000 MS 2100 TMC Quick Start Guide ...

Page 2: ...cle is stationary If you decide to install the device in your vehicle using a mount please be aware of the following On no account should the screen be adjusted by moving the device it self Position the screen so that you are able to glance at the display quickly and easily The device should also be positioned in a way that avoids reflections and glare from the screen The screen should not be inst...

Page 3: ...le bicycle or in a convertible car This is because the device is not splash proof Avoid touching the screen with sharp or rough edged objects as these can damage the sensitive touchscreen display GPS Global Positioning System is a satellite based system that supports geographical and time related information all around the world The system is operated and con trolled by the United States of Americ...

Page 4: ...the vehicle adapter for cigarette lighter 6 AC cable 100V 240V to power the navigation system from outside the vehicle including adapter for the UK You should not use any cables other than the AC and DC cables provided to power the device and to charge the battery 7 DVD ROM Microsoft Windows with additional map data PC MapTool Microsoft ActiveSync and general user s guide 8 USB data cable to conne...

Page 5: ...s LED can display the following colours Green Battery fully charged The navigation device is being powered by the battery or the power cable either 100V 240V or 12V 24V Yellow Battery is being charged Red Battery level is critical almost dead Front 1 Display touchscreen 2 Infrared sensor Usable with remote control on steering wheel RCS 5100 accessories 1 2 3 Back 4 Compartment for lith ium ion bat...

Page 6: ... 2100 Traffic 12 Connection for 100V 240V mains adapter or 12V 24V cigarette lighter Left Side Right Side 12 11 9 10 Underside 13 Serial port Only for service pur poses 14 USB port for connecting to a PC 13 14 15 Mount 16 Base 17 Suction cup 18 Locking lever 19 self adhesive disk 20 Screws vertical adjustment 21 Screws horizontal adjustment 22 Axial adjustment 23 Optional longer center support arm...

Page 7: ... lift up the battery Here it is important that the connecting cable is not unplugged Next to the cable socket you will see a small switch Move the switch downwards in order to activate the power sup ply Connect the navigation system to a power supply either to the vehicle s cigarette lighter or the 100V 240V mains supply The battery will then start to charge To mount the device in the vehicle proc...

Page 8: ...se features Acrobat Reader is included on the DVD ROM GPS Reception When you switch on the device for the first time it can take several minutes for the GPS re ception to reach a sufficient level and to determine your current position If you are unable to obtain a sufficient GPS signal please read the Troubleshooting chapter for suggestions on solving the problem Configuration Press the on off swi...

Page 9: ...No option no reset will be made If you choose the Yes option the GPS receiver will be reset Information on GPS will be shown on the following screen The current position will be determined If the GPS quality column is displayed in green colour the navigation system is again ready for use Note If you are using the navigation system in an inner city area it may take longer to load maps and navigatio...

Page 10: ...elect the desired type of voice for the alerts i e male or female km miles Here you can select your preferred unit of measurement Clock 12 24 Here you can select how you wish the time to be displayed 12 hour or 24 hour clock Brightness Here you can select the brightness setting for daytime nighttime operation Avoid road Choose this option if you want to avoid driving on a specific stretch of a pla...

Page 11: ...ss Firstly tap the Navigation button in the main selection screen of the navi gation system The destination selection screen appears Next tap the Address button The address selection screen appears Note If you wish to enter the name of a town or street that contains hyphens then use the space button rather than an actual hyphen Next select the desired destination in this case Hamburg by using the ...

Page 12: ...on screen keyboard type in the de sired house number e g 14 Tap the entry Karlstraße 14 to select it You have now selected all elements for the de sired destination The route will now be calculated and displayed on the map By tapping the Map button you can show the destination point on the country town map Tap the Calculate button The route will automatically be calculated and displayed on the map...

Page 13: ... the arrow button bottom right of screen you can open another menu This contains additional functions and information for the current operation process Additional Navigation Functions Tap the arrow symbol in the bottom right of the navigation screen The buttons for the extended navigation func tions appear Example End navigation Tap the End Navigation button You return to the main selection screen...

Page 14: ...re described in the detailed user s guide on the DVD ROM provided Tap the button with the name of the current street in the upper part of the navigation screen The buttons for the extended navigation func tions appear Example Navigation info page i This page shows the following information dis tance to destination expected time of arrival cur rent altitude etc A list of all the restaurants in Hamb...

Page 15: ...eed to perform from entering the address to starting and ending the simulation process In the Navigation and Route Planner modes you can quickly and easily call up destinations or addresses you have entered before by tapping Previous desti nations This saves you having to type in the information again Starting the Navigation Simulation Tapping the Simulation button starts the navigation simulation...

Page 16: ...ll see the title of the song the total playing time and the elapsed play ing time as well any selected play functions random repeat and the selected equalizer mode e g Jazz By tapping the Navi button you will return to the general navigation screen or to the navigation currently running Route Sound Tap the Browser button to open a file browser where you can choose your music titles see below Tap E...

Page 17: ...nd Repeat buttons to acti vate or deactivate the corresponding func tions To return to the Music menu tap the Back button The folder selection screen appears Tap the up arrow to scroll up the list of fold ers Tap the down arrow to scroll down the list of folders Tap the Back button to return to the previous menu Tap the desired folder in the browser screen The title selection screen appears Next t...

Page 18: ...s in the menu you can perform the following functions 1 Jump to previous picture 2 Jump to next picture 3 Switch to previous folder 4 Switch to next folder 5 Start slide show 6 If you tap on the picture the image is dis played in full screen mode 1 3 2 4 5 The folder selection screen appears Tap the up arrow to scroll up the list of folders Tap the down arrow to scroll down the list of folders Tap...

Page 19: ...i PC Map Tool You can connect the navigation system to your PC and then copy additional map material with the PC Map Tool included on the DVD ROM to the internal memory of the device or to a SD card optional You will need to install Microsoft ActiveSync included on the DVD ROM on your PC Use the USB data cable supplied with the navigation system to con nect the device to your PC Please connect the...

Page 20: ...d PC Map Tool are on the DVD ROM Acrobat Reader will be needed to download these features Acrobat Reader is included on the DVD ROM Notes on file management at the navigation system After a connection via the Microsoft ActiveSync software has been established the navi gation system will appear as Mobile Device in the file explorer on your PC The Resident Flash directory contains the following sub ...

Page 21: ...The data you have saved will not be lost Re start the navigation system by pressing the normal on off switch System doesn t start screen remains blank Make sure that the battery is fully charged and or that the device is connected to a power source If you are using the DC cable check that the plug is securely and correctly con nected to the cigarette lighter The system shuts itself down after a ce...

Page 22: ...ensions approx 120 mm wide x 80 mm long x 37 mm deep Weight approx 228 g Operating temperature 20 C to 60 C Short time storage temperature 30 C to 60 C Loading temperature for lithium ion battery 0 C to 45 C You can use SD cards with a storage capacity no larger than 2 GB Imprint 2006 Siemens VDO Trading GmbH All rights reserved This documentation is protected by copyright Subject to technical and...

Page 23: ...44 MS2000 2100Traffic book Seite 44 Mittwoch 4 Januar 2006 3 02 15 ...

Page 24: ... 01 2006 Siemens VDO Trading GmbH MS 2000 MS 2100 TMC ...

Reviews: