14
03-914647-00:4
5
Push the copper tubing into the bulkhead fitting as far as it will go,
then pull back very slightly and tighten 3/4-turn past finger-tight with
a 7/16" wrench.
6
Make sure the gas supply control valve, which controls gas pressure
to the GC, is completely closed. Open this valve slowly and monitor
the pressure gauges on the dual stage regulator. The first pressure
gauge should now read the pressure of the cylinder.
7
Cautiously turn the regulator valve to supply gas to the GC. Watch
the pressure gauge closely and adjust the pressure according to the
table above.
8
Leak check all fittings.
Connect GC
to Power
Plug the GC power cord into an appropriate source of power. For site power
requirements, refer to page 9.
Turn Power
On
Turn on the GC power switch located at the top left of the GC.
•
The GC display should illuminate after a few moments and go through
an initialization sequence.
•
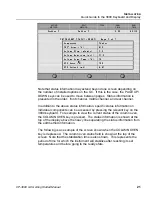
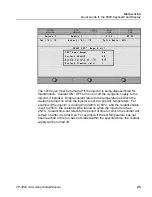
The 3800 automatically enters the INSTRUMENT STATUS screen on
power up. Press the SETUP key and select view SETUP to verify the
3800 configuration.
Factory
Default States
and Settings
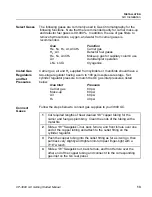
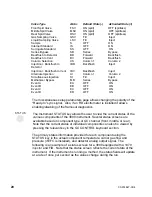
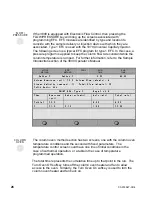
Your GC is shipped from the factory with default settings. The following is
relevant information on the factory default states and settings:
•
When the GC is turned on, all installed heated zones except for the
column oven default to power OFF.
•
The default active method is method 1. The column oven defaults to
power ON and a set temperature of 50
°
C.
•
When installed components that use a heated zone are turned ON in the
active method, they default to a set temperature of 50
°
C.
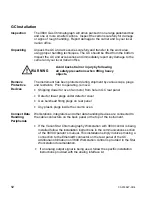
Cylinder
Regulator
1/8" Copper Tubing
Swagelok
Nut
Back Ferrule
Front Ferrule

