56
03-914647-00:4
Replace the
Glass Insert
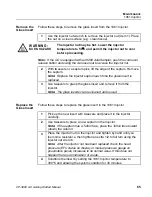
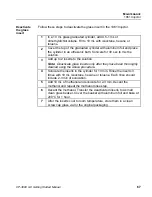
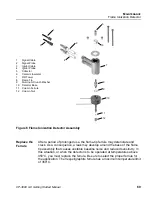
Follow these steps to replace the glass insert in the 1079 Injector.
1
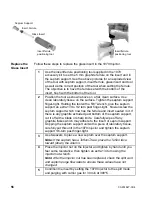
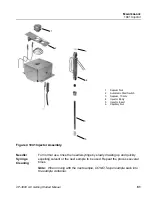
Use the insert/ferrule positioning tool supplied in the 1079
accessory kit to set the 5 mm graphite ferrule on the insert and in
the septum support. See the above pictures for an exploded view
of the tool with septum support, insert ferrule, glass insert and tool
as well as the correct position of the tool when setting the ferrule.
The objective is to have the ferrule set with the bottom of the
insert, flush with the bottom of the tool.
2
Position the tool as shown above on a flat, clean surface. Use
clean laboratory tissue on the surface. Tighten the septum support
finger-tight. Holding the tool with a 5/8
″
wrench, give the septum
support an extra 1/3 to 1/2 turn past finger-tight. Now unscrew the
septum support which now has the ferrule and insert seated in it. If
there is any graphite extruded past bottom of the septum support,
cut it off with a blade or sharp knife. Carefully wipe off any
graphite flakes which may adhere to the insert or septum support.
Gripping the septum support unit with a piece of laboratory tissue,
carefully put this unit in the 1079 injector and tighten the septum
support 1/6-turn past finger-tight.
3
Use tweezers to place a new septum over the septum support.
Note: If the septum has a Teflon
face, place the Teflon face
toward (down) the column.
4
Place the injector nut on the injector and tighten by hand until you
feel some resistance, then tighten an extra 1/4 turn using the
injector nut wrench.
Note: After the injector nut has been replaced, check the split vent
and septum purge flow rates to ensure these values have not
changed.
5
Condition the insert by setting the 1079 Injector to the split mode
and purging with carrier gas for 30 min at 300
°
C.
Insert/ferrule
positioning tool
Insert/ferrule
positioning tool
Glass Insert
Insert Ferrule
Septum Support


