M
AINTENANCE
1079 Injector
CP-3800 GC Getting Started Manual
55
Remove the
Glass Insert
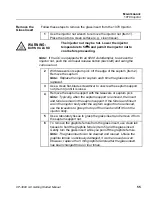
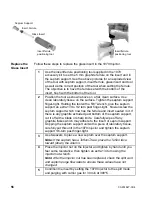
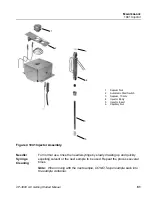
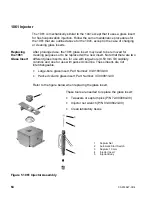
Follow these steps to remove the glass insert from the 1079 Injector.
1
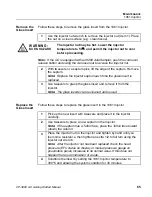
Use the injector nut wrench to remove the injector nut (Item 1).
Place the nut on a clean surface (e.g., clean tissue).
WA R N IN G :
B U R N H A ZA R D
The injector nut may be hot. Lower the injector
temperature to 50
°
C and permit the injector nut to
cool before proceeding.
Note: If the GC is equipped with an 8200 AutoSampler, to access the
injector nut, push the carrousel release button (back left) and swing the
carrousel out.
2
With tweezers or septum pick, lift the edge of the septum (Item 2).
Remove the septum.
Note: Replace the injector septum each time the glass insert is
replaced.
3
Use a clean flat-blade screwdriver to unscrew the septum support
nut (Item 4) until it is loose.
4
Remove the septum support with the tweezers or septum pick.
Note: Typically, when the septum support is removed, the insert
and ferrule remain in the septum support. If the ferrule and insert
are in the injector body after the septum support nut is removed,
use the tweezers to grasp the top of the insert and lift it from the
injector body.
5
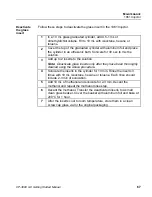
Use a laboratory tissue to grasp the glass insert and remove it from
the septum support nut.
6
To remove the graphite ferrule from the glass insert, use clean lab
tissues to hold the graphite ferrule (Item 5) and the glass insert.
Gently turn the glass insert while you pull off the graphite ferrule.
Note: The glass inserts can be cleaned and reused. Unless the
graphite ferrule is obviously damaged, it can be reused as well.
However, replace the 5 mm graphite ferrule after the glass insert
has been changed three or four times.

