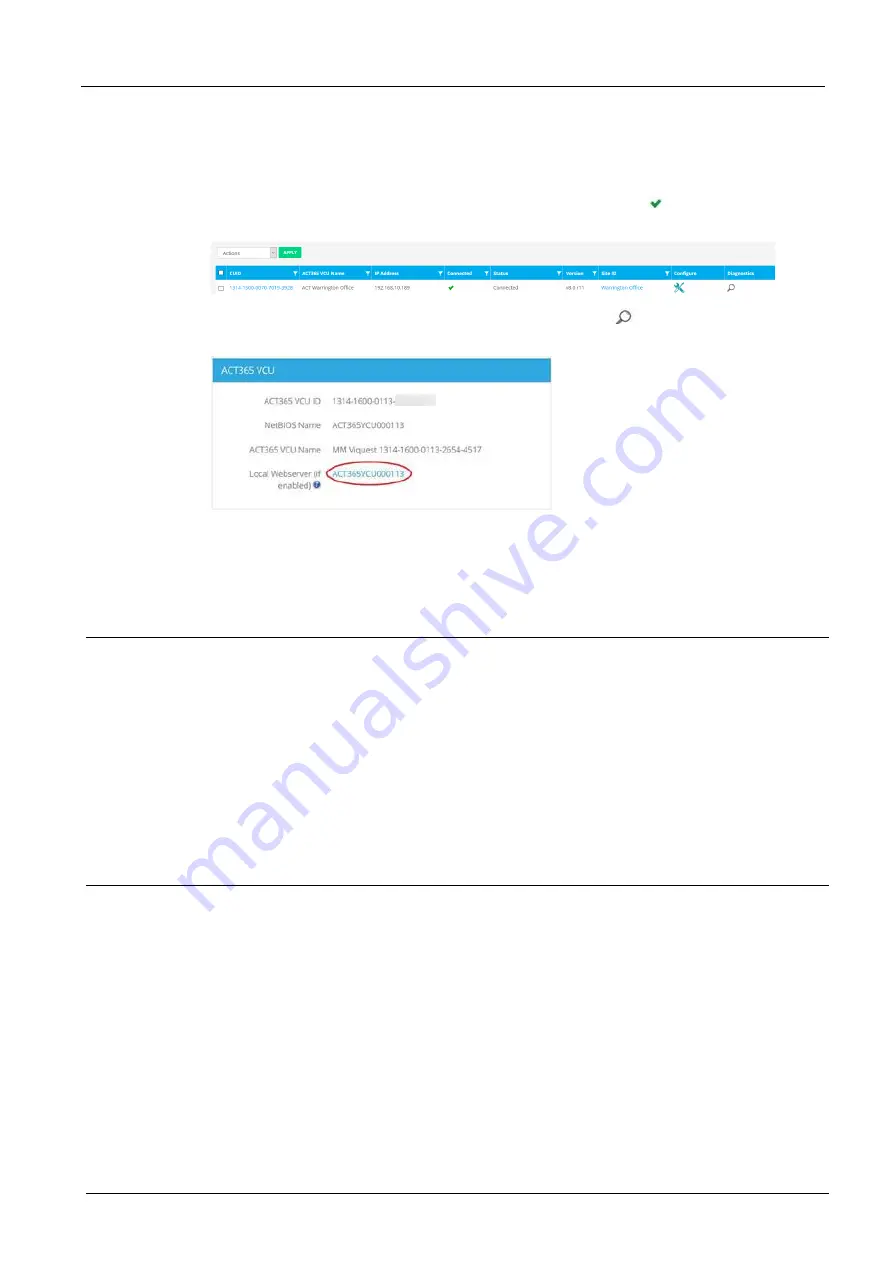
describes the ACT365-VCU location.
c. Select the site where the ACT365-VCU will be installed.
d. Click
Save
.
The ACT365-VCU is added to the customer site. A green tick mark
appears in the
Connected
column if the connection is successful.
6. To verify the ACT365-VCU status, select the diagnostics icon
for the ACT365-VCU and
select the hyperlink for the ACT365-VCU in the first panel.
on page 32 for information on ACT365-VCU diagnostics.
on page 17 for information on configuring cameras on ACT365-
VCU.
5.5 Associating cameras to doors
Associating cameras to a door enables customers to view recorded footage. Log events for the footage
can be replayed from the
Reports > Log Events
menu.
1. Log in to the ACT365 Installer Portal at ACT365.eu.
2. Click
Access Control > Doors
.
3. Click the name of the door for which you wish to make the camera association.
4. In the
Door Camera Associations
panel, click the field to open a drop-down list from which you
can select the cameras to be associated with the door.
5. Click
Save
.
5.6 Configuring motion detection for a camera
If motion detection is enabled on a camera, motion events detected by that camera are recorded in the
event log, and appear on the recorded footage timeline for that camera (see
on the ACT365 Installer Portal
To configure motion detection for a camera, log in to the ACT365-VCU web interface (see
on page 17), then:
1. Click the
Cameras
tab.
2. In the
Selected Cameras
panel, click the name of the camera for which you wish to configure
motion detection.
3. Click
Motion
.
The
Motion Analytics Configuration
popup displays.
ACT365-VCU / ACT365-VCU2A / ACT365-VCUPoE – Installation and Operating Instructions
Configuring ACT365-VCU
© Vanderbilt 2019
23
A-100528-b
20.05.2019


