


Vanderbilt recommend using a name that describes the camera location, for example, Front Door.
6. Select the
Record
check box if the ACT365-VCU should record camera footage. The ACT365-VCU
will record approximately 20 days of camera footage (dependent on the type of scene the camera is
viewing). Once the ACT365-VCU data storage limit is reached, data is recycled. When data is
recycled, the oldest data is removed first.
If you do not select
Record
, the ACT365-VCU will support live view only.
7. Click
Add
.
The camera is added to the ACT365 Installer Portal at ACT365.eu.
A summary of the camera settings is displayed on the
Cameras
tab.
After a camera has been added, the camera details appear in the
Selected Cameras
list and the camera is
accessible on ACT365.
5.4 Installing ACT365-VCU on the ACT365 Installer Portal
To add an ACT365-VCU to a customer site on the ACT365 Installer Portal:
1. Log in to the ACT365 Installer Portal at ACT365.eu.
ACT365 is only available to registered installers. You can register at ACT365.eu.
2. Enter the customer portal from the ACT365 Installer Portal.
To do this:
a. Click
Customers
to open a list of customers.
b. Click the
Enter Customer Portal
icon
beside a customer name to enter the customer
portal.
3. Click
Hardware > ACT365 VCUs
.
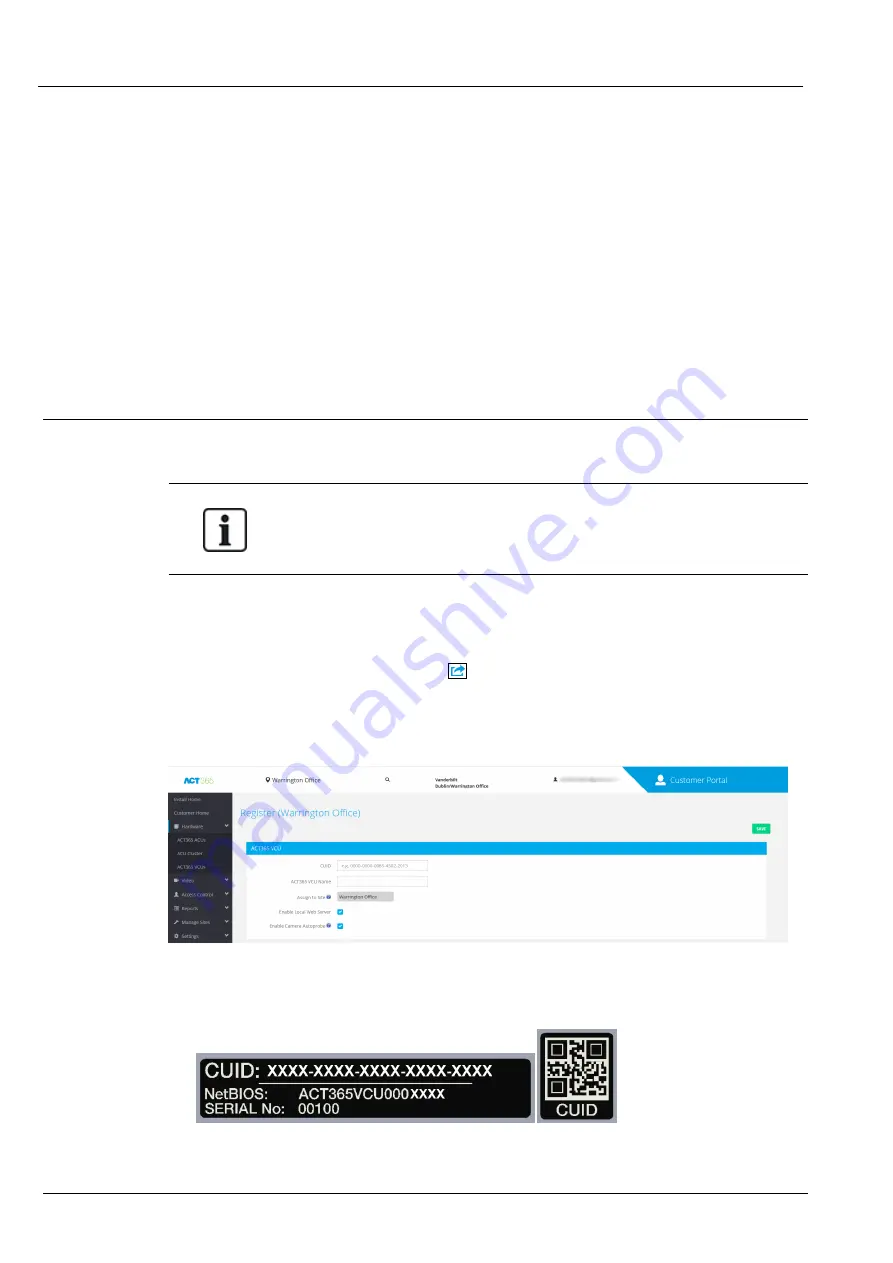
4. Click
ADD ACT365 VCU
.
5. Enter the ACT365-VCU details.
a. Enter the Controller Unique Identifier (CUID). This is printed on the label on the bracket beside
the PCB.
b. Enter the name of the ACT365- VCU. Vanderbilt recommend that you enter a name that
ACT365-VCU / ACT365-VCU2A / ACT365-VCUPoE – Installation and Operating Instructions
Configuring ACT365-VCU
© Vanderbilt 2019
22
A-100528-b
20.05.2019


