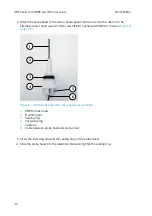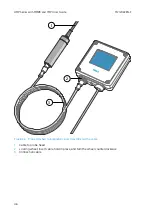
• M10×1.5 cable gland (included with HMP9 probe)
• Drill with 8.5 mm bit
• M10×1.5 threading tap
• 13 mm wrench
1. Drill a 8.5 mm diameter hole in the installation location.
2. Use a threading tap to create a M10×1.5 thread in the hole.
3. Install the base of the cable gland in the hole and tighten with a 13 mm wrench.
4. Insert the seal of the cable gland in the base and place the nut of the cable gland over the
probe head.
5. Insert the probe head in the cable gland up to the black plastic part of the probe head.
Leave the black plastic part entirely outside the cable gland. Tighten the cable gland to
finger tightness.
6. Tighten the nut of the cable gland with a 13 mm wrench until the probe head stops
moving. Do not overtighten.
4.9.2 Overview of HMP9 Duct Installation Kit
Duct Installation Kit (Vaisala item ASM214055) is an optional accessory designed to support
the probe head of a HMP9 Humidity and Temperature Probe in installations to ducts and
chambers. The kit is lightweight and can be installed with minimal tools.
The kit does not include an attachment for the probe body of HMP9. To mount the probe body,
use the probe holder supplied with HMP9, or attach it directly to a compatible Indigo
transmitter.
mm
[in]
99 [3.90]
Ø3.5 [0.14]
Ø 12 [0.47]
84 [3.31]
34 [1.34]
271 [10.67]
Ø 12
[0.47]
Figure 15 Duct Installation Kit ASM214055 dimensions
Chapter 4 – Installation
33
Summary of Contents for HMP Series
Page 10: ...HMP Series with MMP8 and TMP1 User Guide M212022EN F 8...
Page 116: ......
Page 117: ......
Page 118: ...www vaisala com...


