User Guide Ver:1.1 Page:
33
When Auto-Activation is enabled, USBK does not ask for password confirmation to verify
user. Thence, it can be used directly on test & measurement equipments such as
oscilloscope, EKG, etc.
NOTE:
To enable Auto-Activation, the status of device must be “
Deactivate
”. If the status is
Activate
, you must deactive USBK for changing Auto-Activation setting.
To enable Auto-Activation
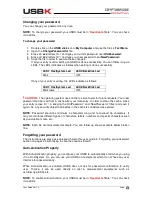
Below command is used to enable Auto-Activation
#
usbk -u DEVICENAME -p PASSWOD -k KEYNO -t
!
CAUTION:
If you carry and lose your BackDisk plugged-on your USBK in “Auto-Activation
Enabled”, any user can access your data on your BackDisk when he plug in the computer as
no password is asked to verify user. Just carry only your USBK when “Auto-Activation
Enabled” for the security of data on your BackDisk.
To disable Auto-Activation
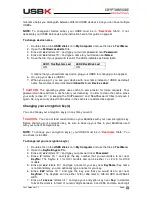
Below command is used to disable Auto-Activation
#
usbk -u DEVICENAME -p PASSWOD -T
Changing Device (USBK) Label
You can optionally change USBK label to identify your device. For example, you can type
your name or company name in “Device Label” to make it distinctive.
Additionally, the “Device Label” as nickname helps you distinguish between different USBK
devices since you can have multiple USBKs.
NOTE:
To change your device (USBK) label, the status of device must be “
Deactivate
”. If
the status is
Activate
, you have to deactive USBK for changing Device Label.
To change device label
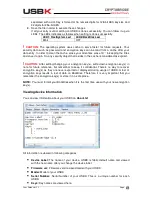
Below command is used to change device label:
#
usbk -u DEVICENAME -p PASSWOD -n DEVICELABEL
After changing device label, the status of USBK is “
Force Remove
”. In this status, You can
not do any setting. You must unplug USBK from Host system and then re-plug for appying
this change and doing any settings.


